Add a Pipeline Stage
Create a custom pipeline stage by specifying a display label, a unique system key, and a color theme. The new stage will appear immediately as a column on the Kanban board.
Step 1 — Open the Add Stage dialog
In the Configure Pipeline dialog, click the + Add New Stage button at the top.
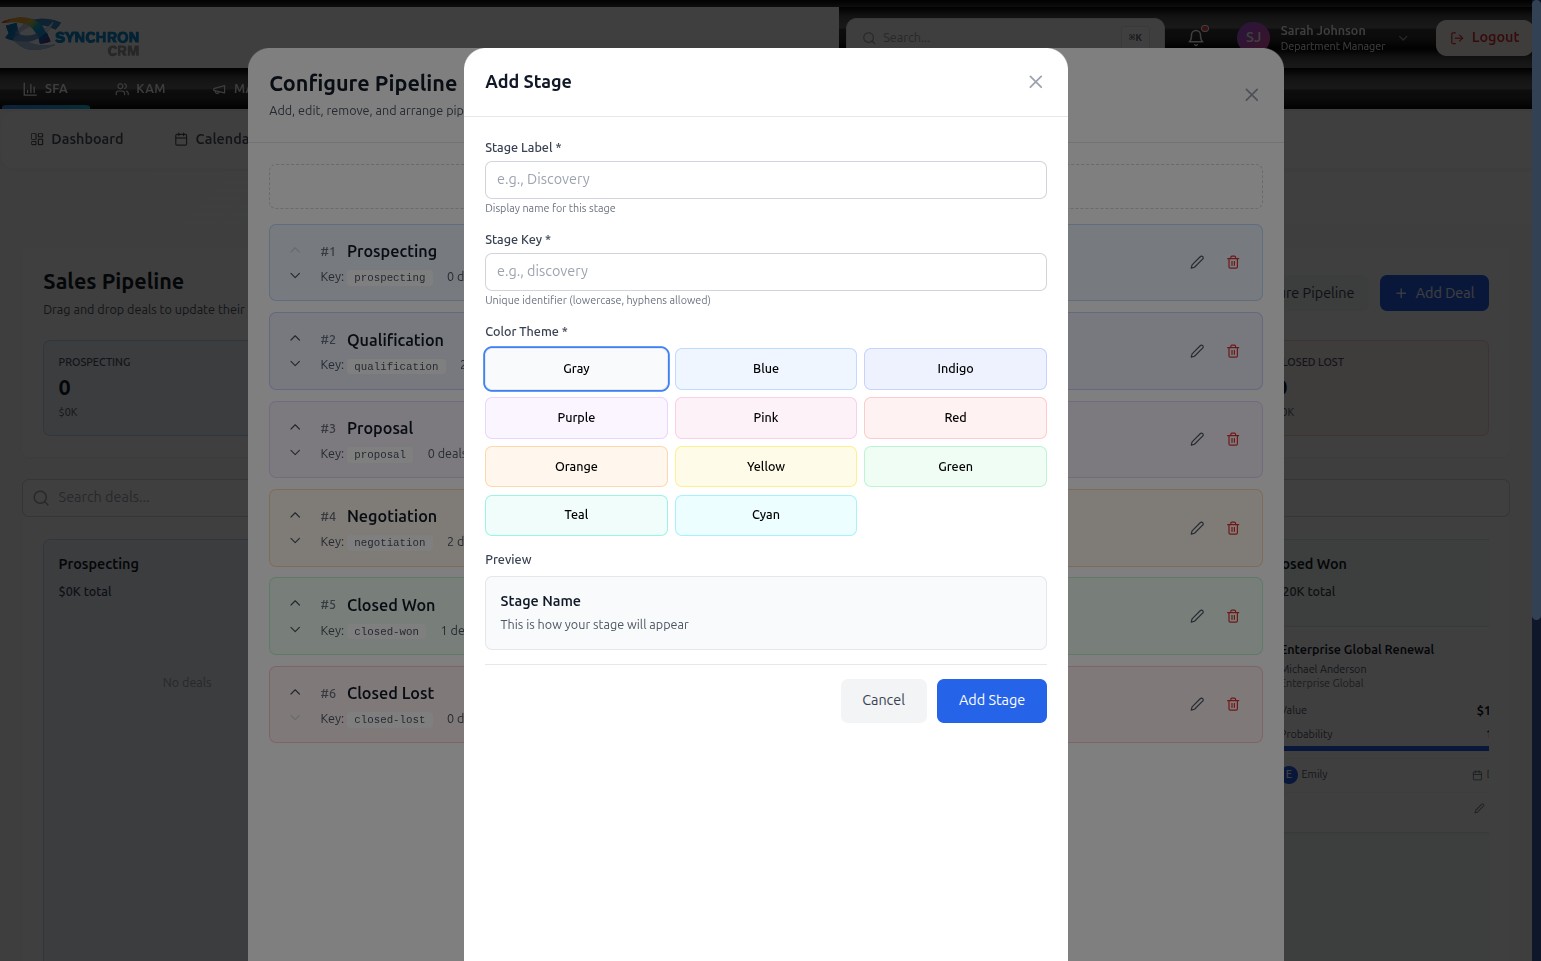
The "Add Stage" dialog opens with two required text fields, a color selector, and a preview panel.
Step 2 — Enter the Stage Label
In the Stage Label* field, type the display name that users will see on the pipeline board and in all stage selectors (e.g., "Discovery", "Contract Review", "Proposal Sent").
The label should be short and descriptive — it appears as the column header on the Kanban board. A helper text below the field confirms the format.
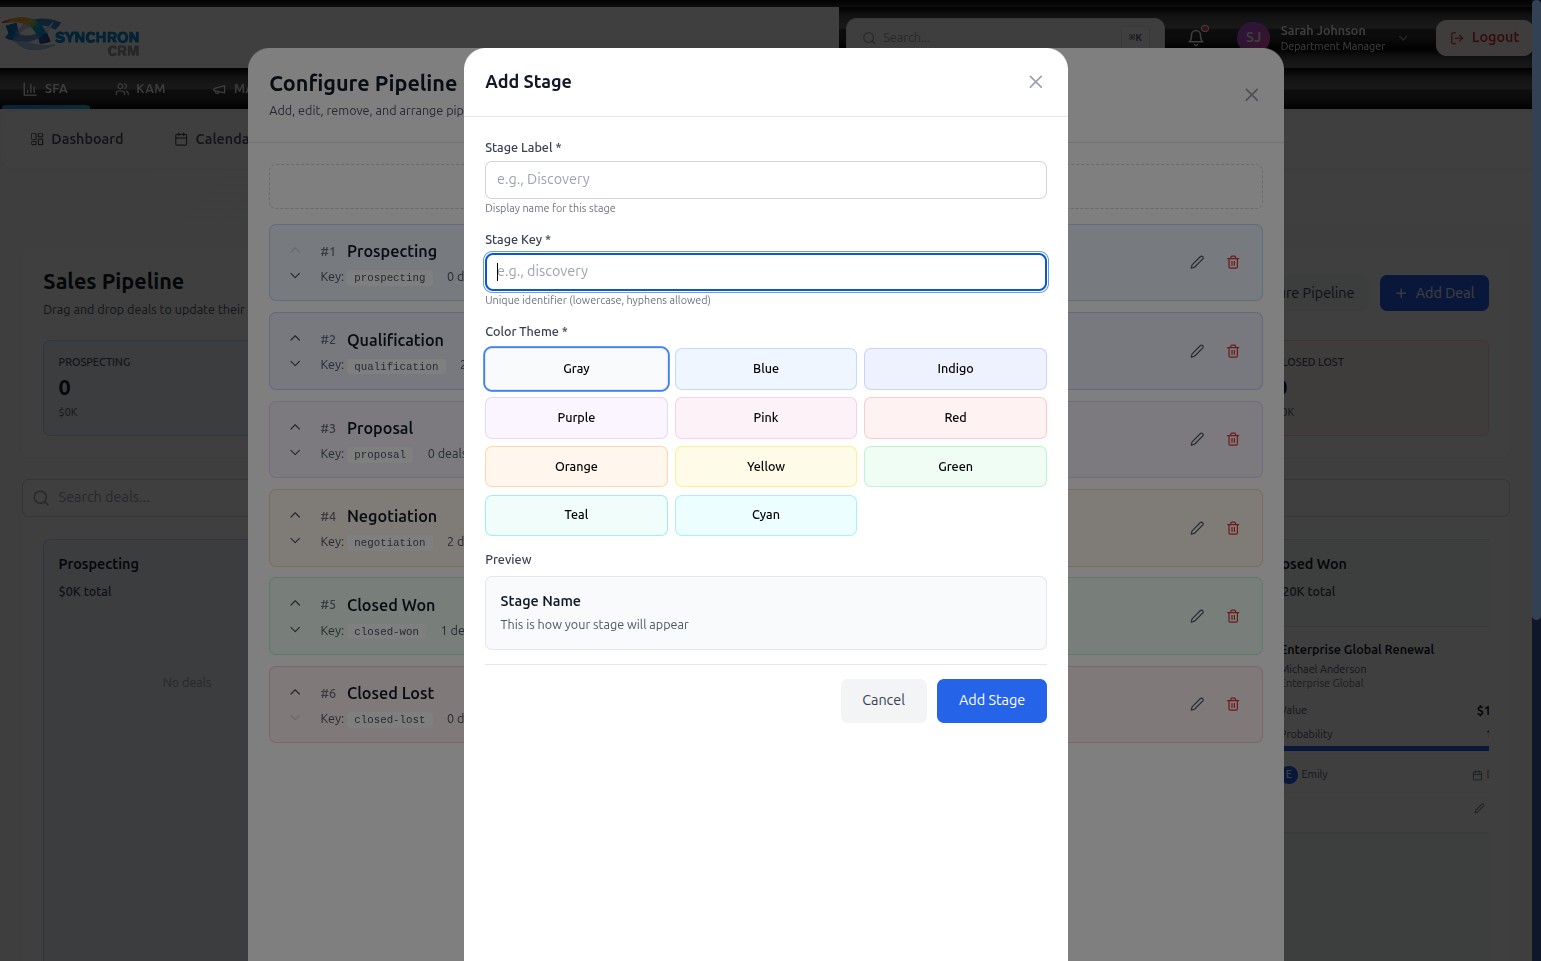
Step 3 — Enter the Stage Key
In the Stage Key* field, type a unique identifier for this stage.

The key is used internally by the system and must follow these rules:
- Lowercase letters only — no uppercase
- Hyphens ( - ) are allowed in place of spaces
- No special characters or spaces
- Must be unique across all pipeline stages
Examples of valid keys: discovery, contract-review, proposal-sent
Step 4 — Select a color theme
Click one of the 11 color swatches in the Color Theme* section to choose a visual color for this stage column.
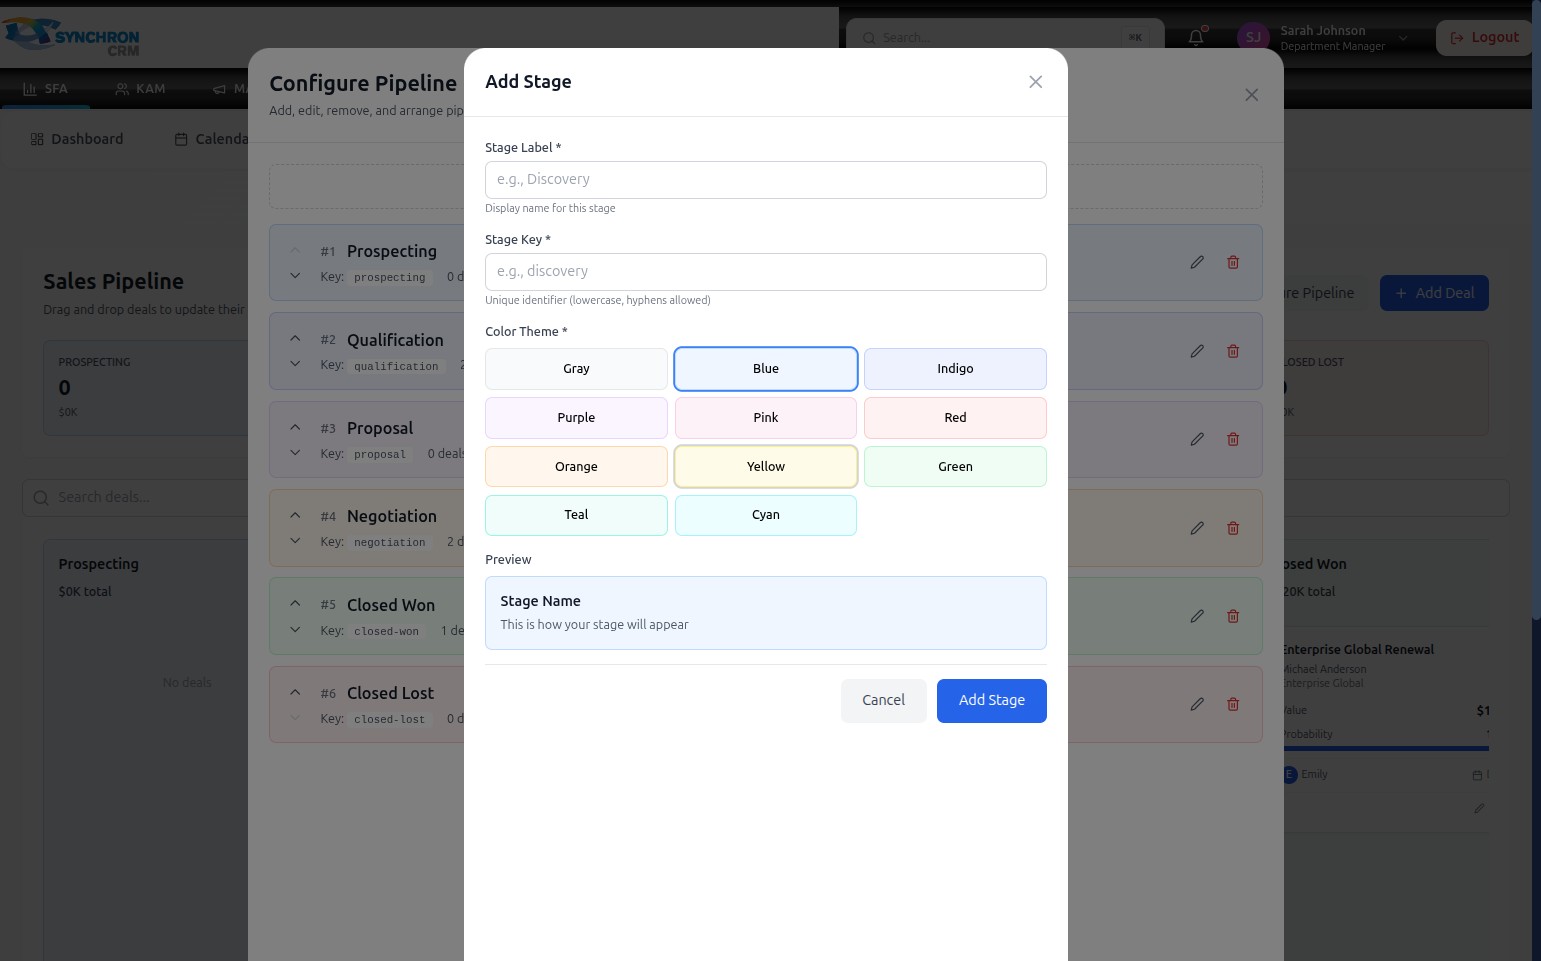
Available colors: Gray · Blue · Indigo · Purple · Pink · Red · Orange · Yellow · Green · Teal · Cyan
Step 5 — Review the preview
After selecting a label and color, the Preview panel at the bottom of the form updates to show how the stage card will appear on the board.
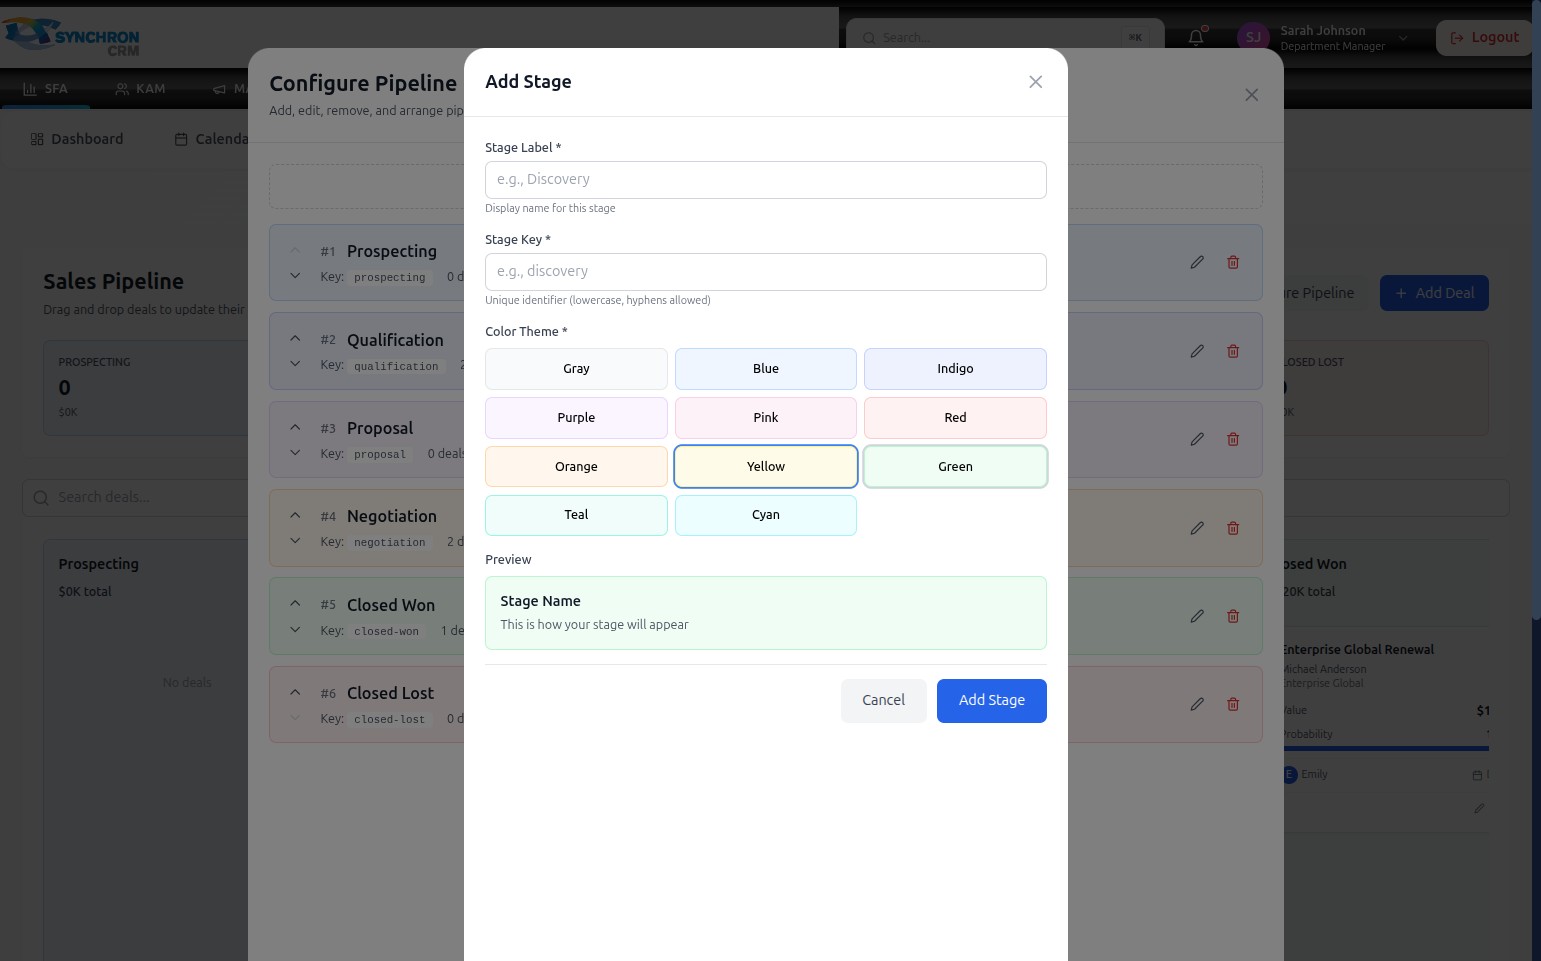
Confirm the color and label look correct before saving. If you want a different color, click another swatch — the preview updates immediately.
Step 6 — Confirm selection and prepare to save
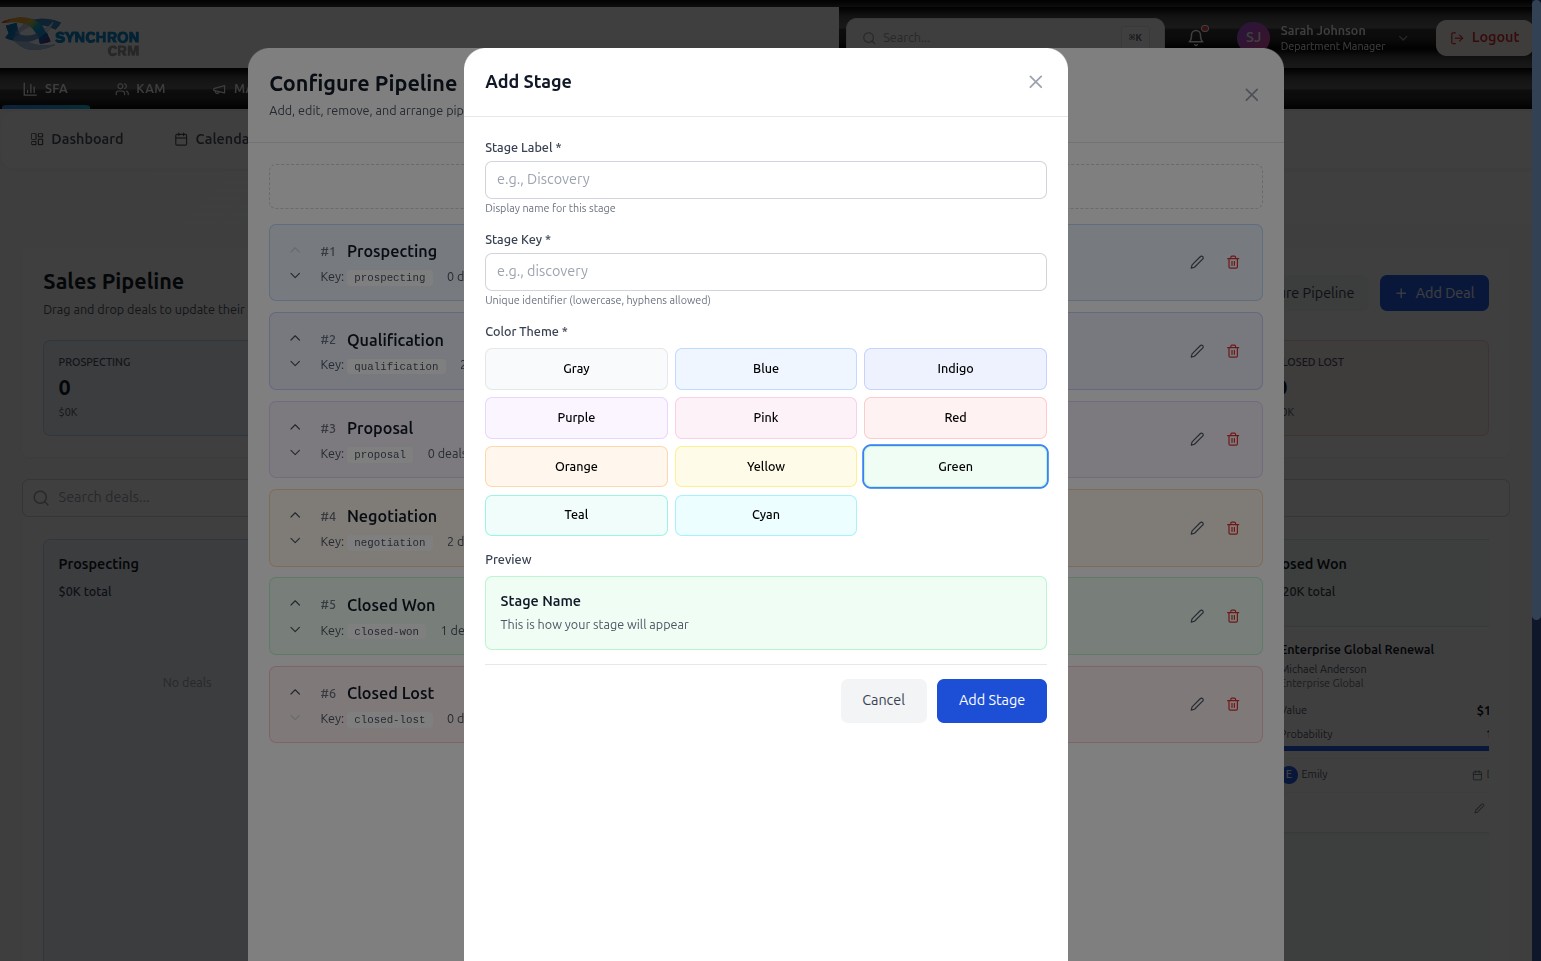
The selected swatch displays a blue border to confirm your selection. The preview at the bottom reflects the chosen color and the label you entered.
Step 7 — Save
Click the Add Stage button to create the stage. It will appear:
- In the Configure Pipeline list as a new numbered entry
- As a new column on the Kanban board, positioned based on its order in the list
To discard without saving, click Cancel or the X icon in the top-right corner.
Validation
If you click Add Stage before filling in required fields, the system highlights the empty field with a validation message.
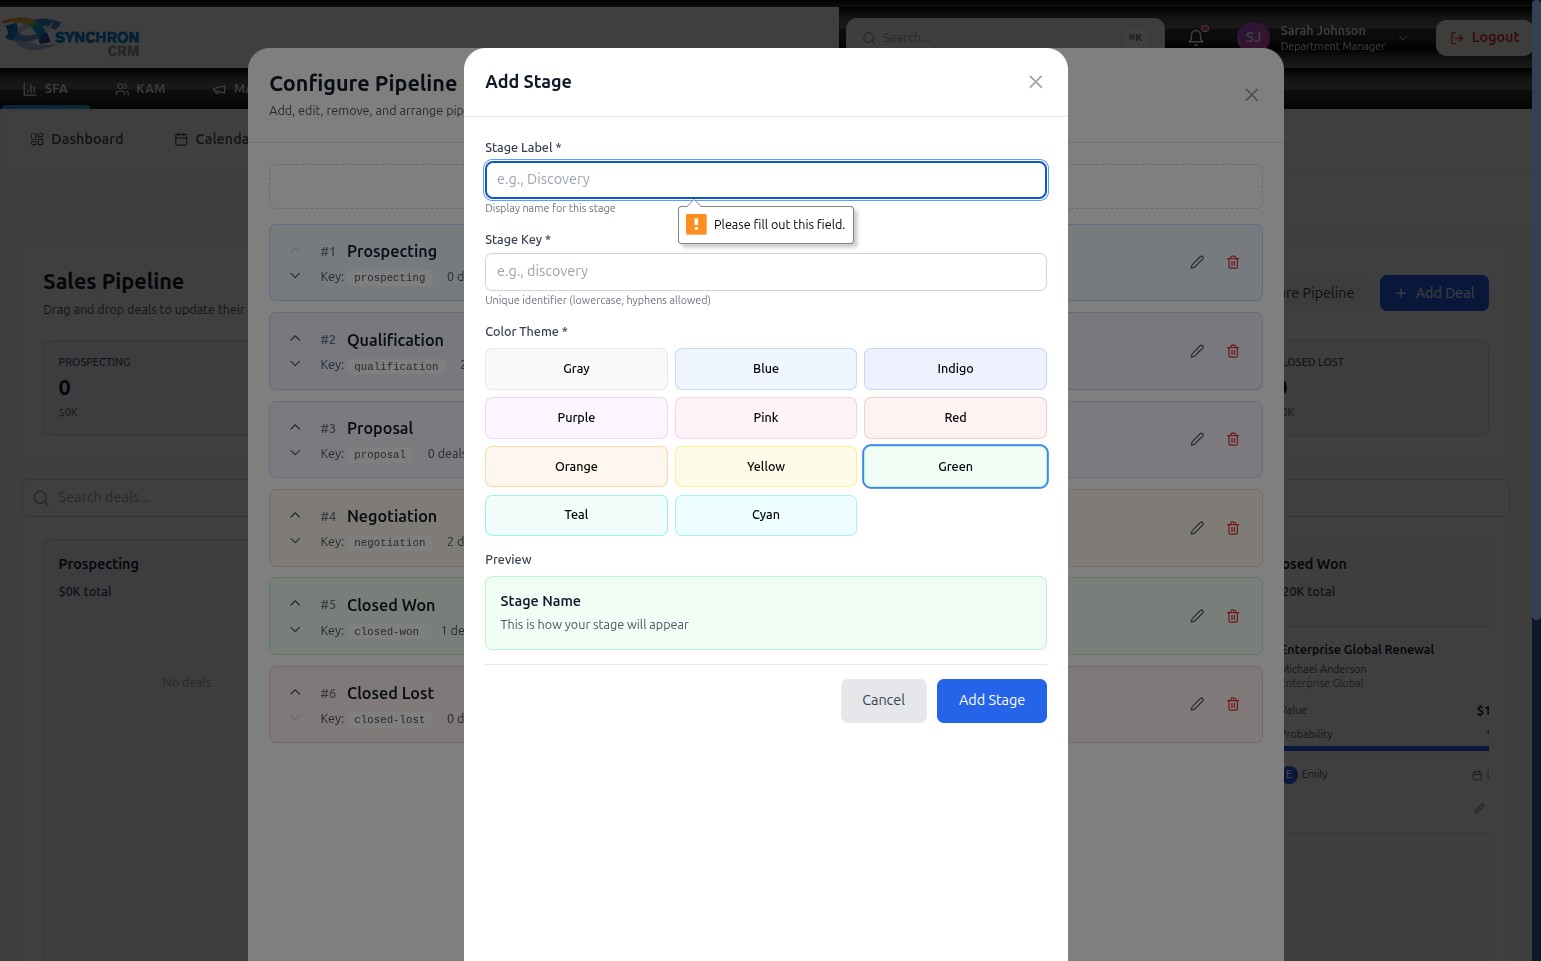
Complete the highlighted field and click Add Stage again to proceed.
Both the Stage Label and Stage Key are required. You cannot create a stage without both. If a key is already in use by another stage, the system will alert you to choose a different one.