Manage Sales Targets
Define sales targets for individuals or teams by specifying a monetary goal, scope, revenue type, time period, and date range. Targets are visible in the Sales → Targets sub-tab and contribute to dashboard performance metrics.
Step 1 — Navigate to the Targets sub-tab
In the Sales module, click the Targets sub-tab.
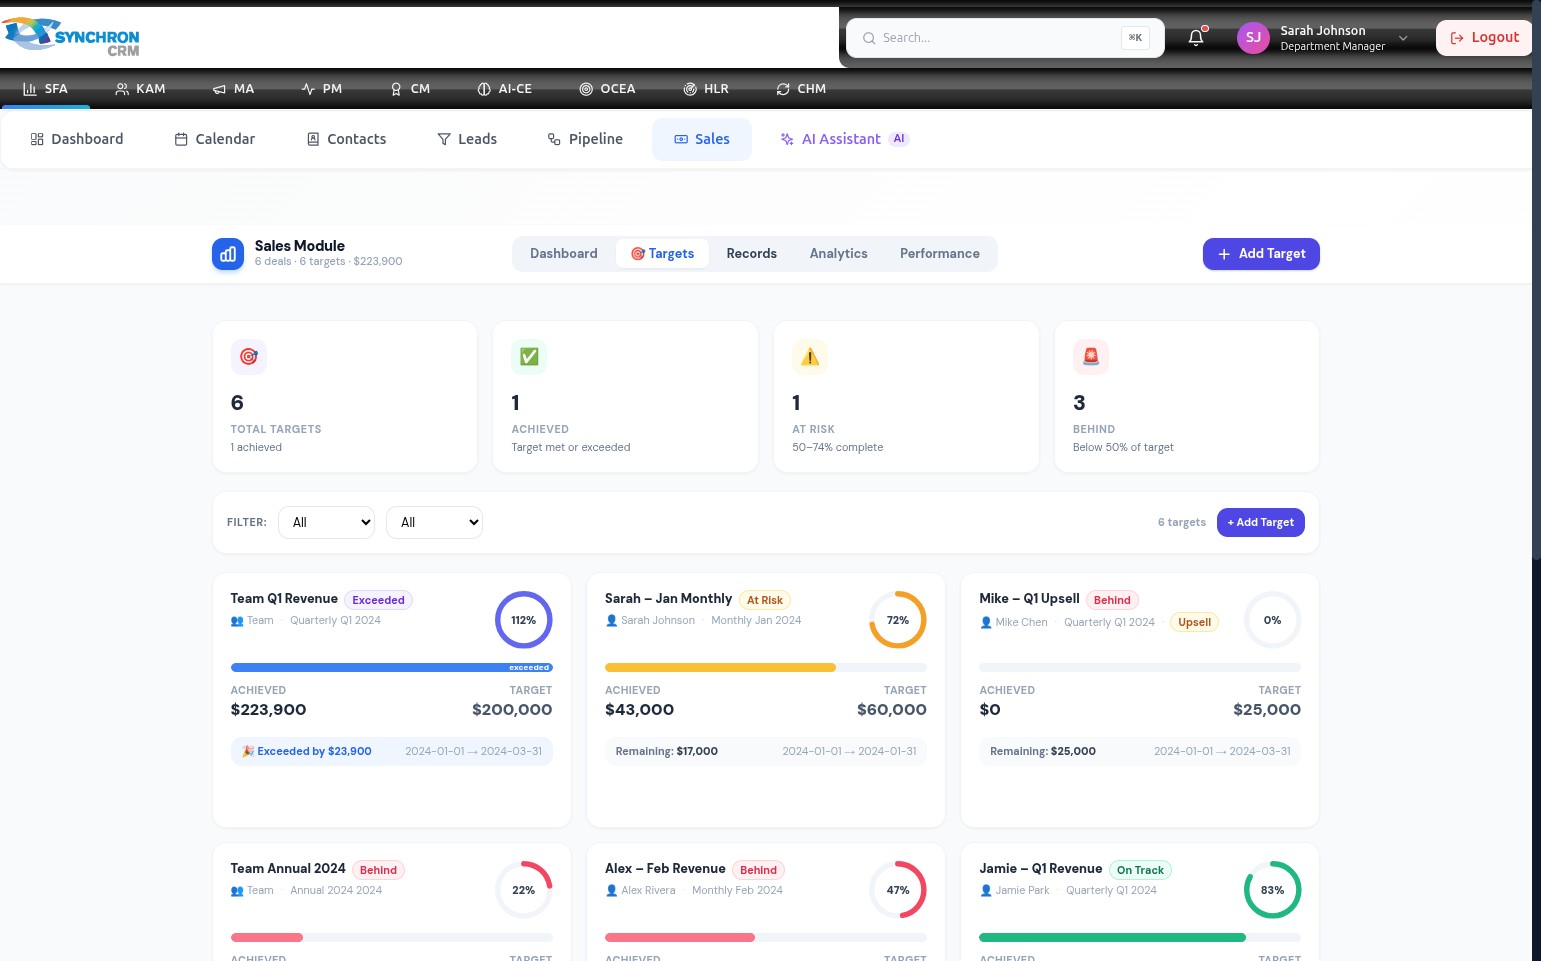
The Targets page loads and displays all existing targets in a table. Each row shows the target name, amount, scope, period, date range, and current progress.
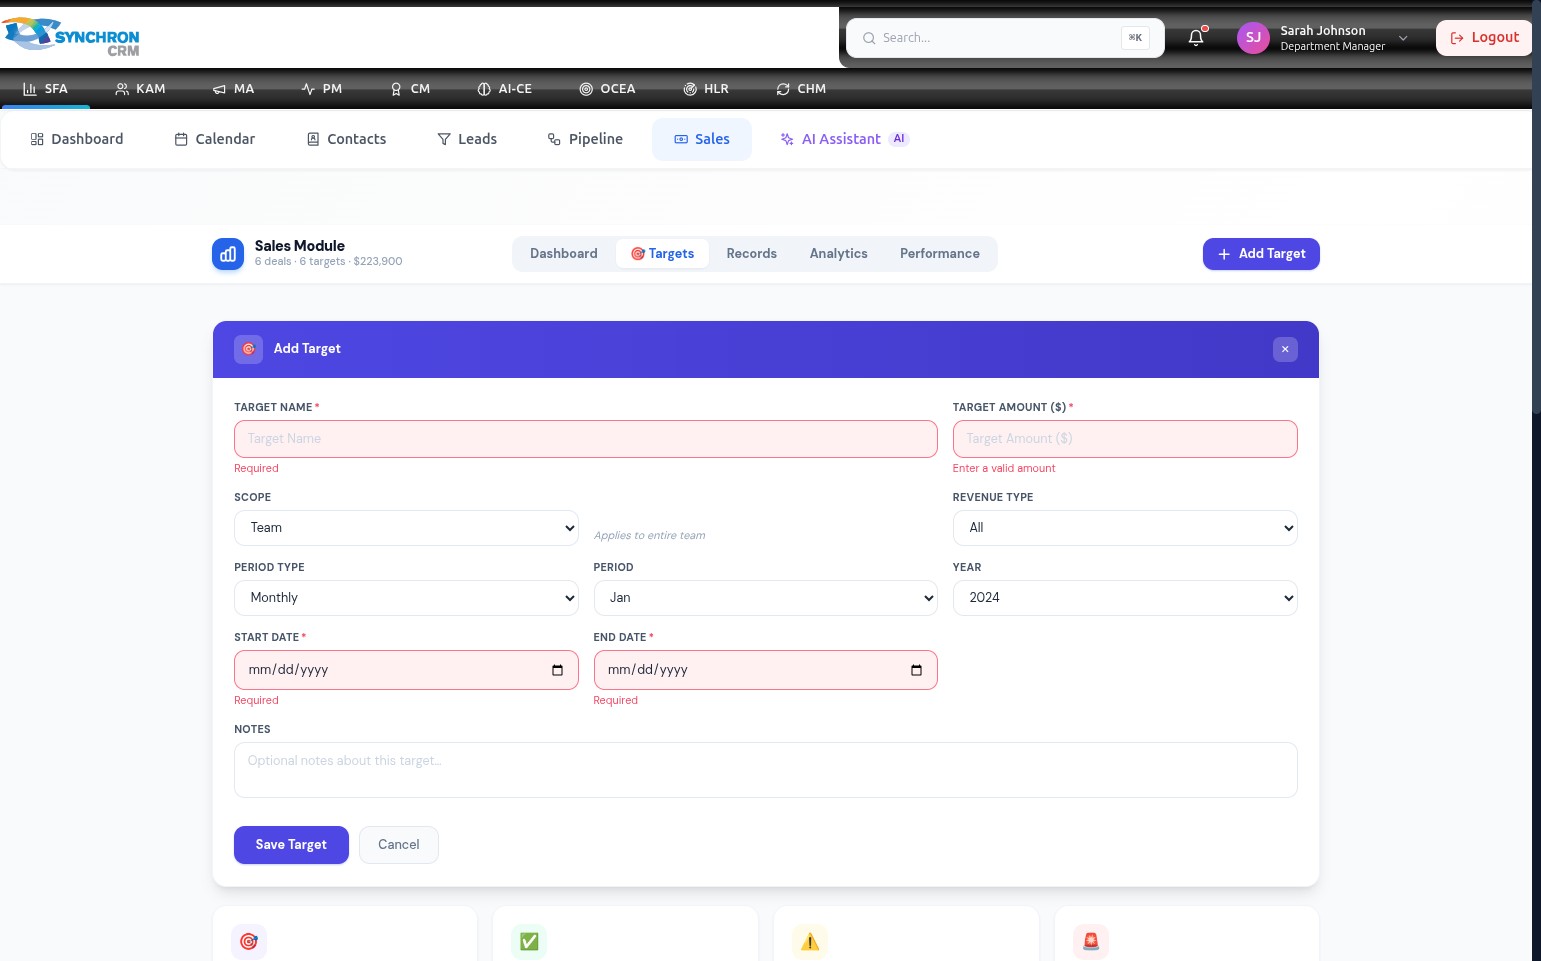
Step 2 — Open the Add Target form
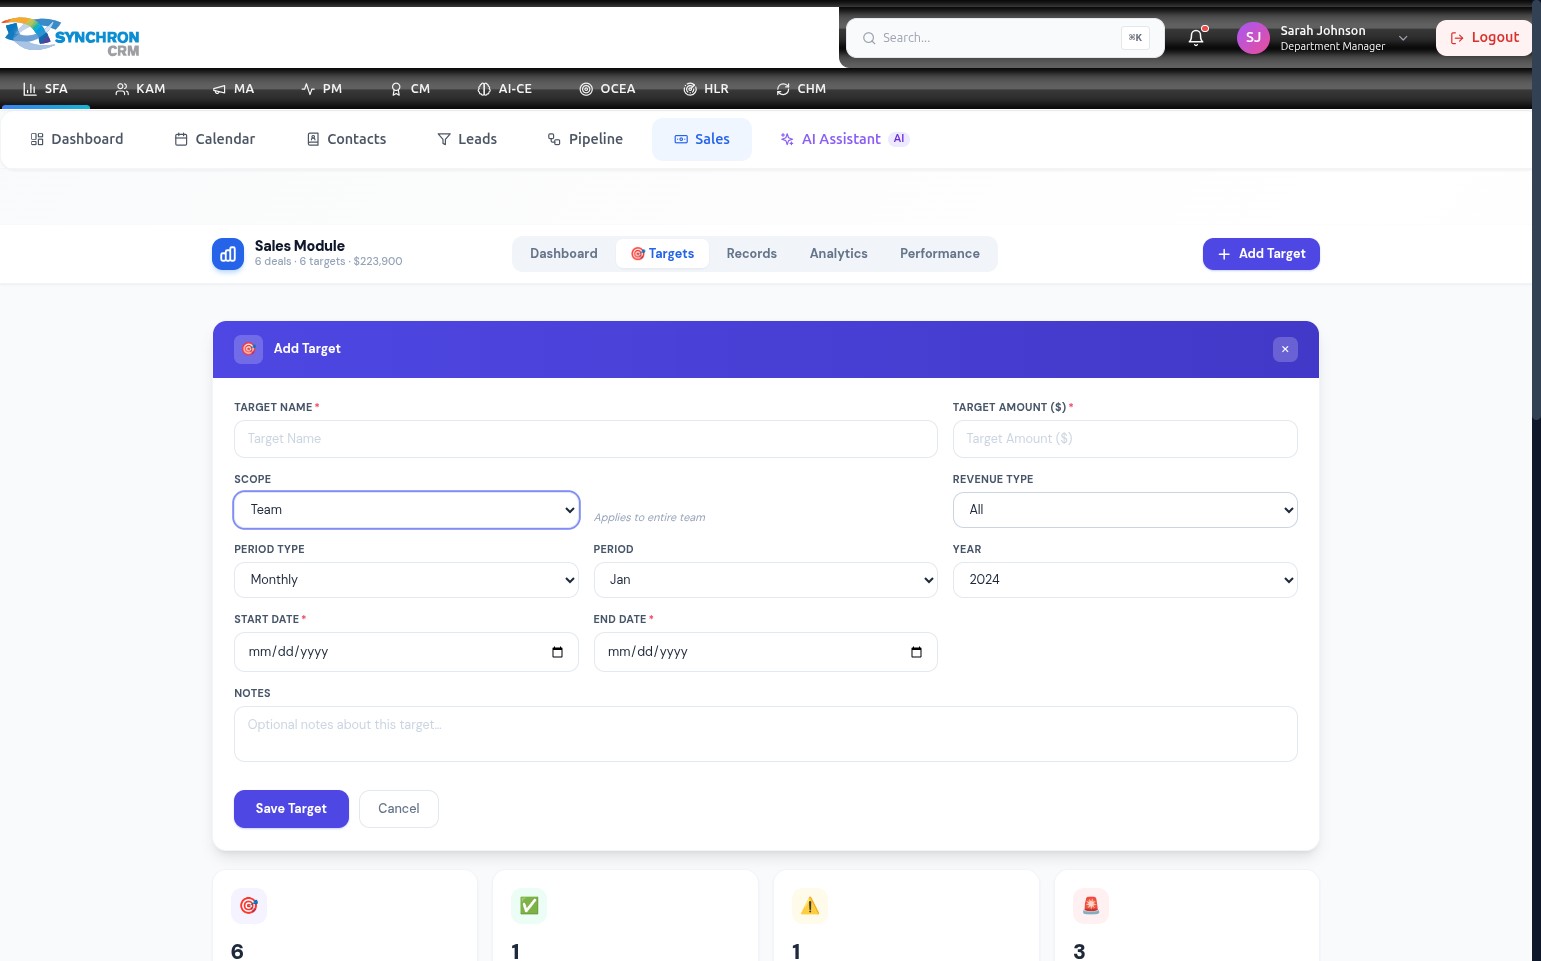
Click the + Add Target button in the top-right corner.

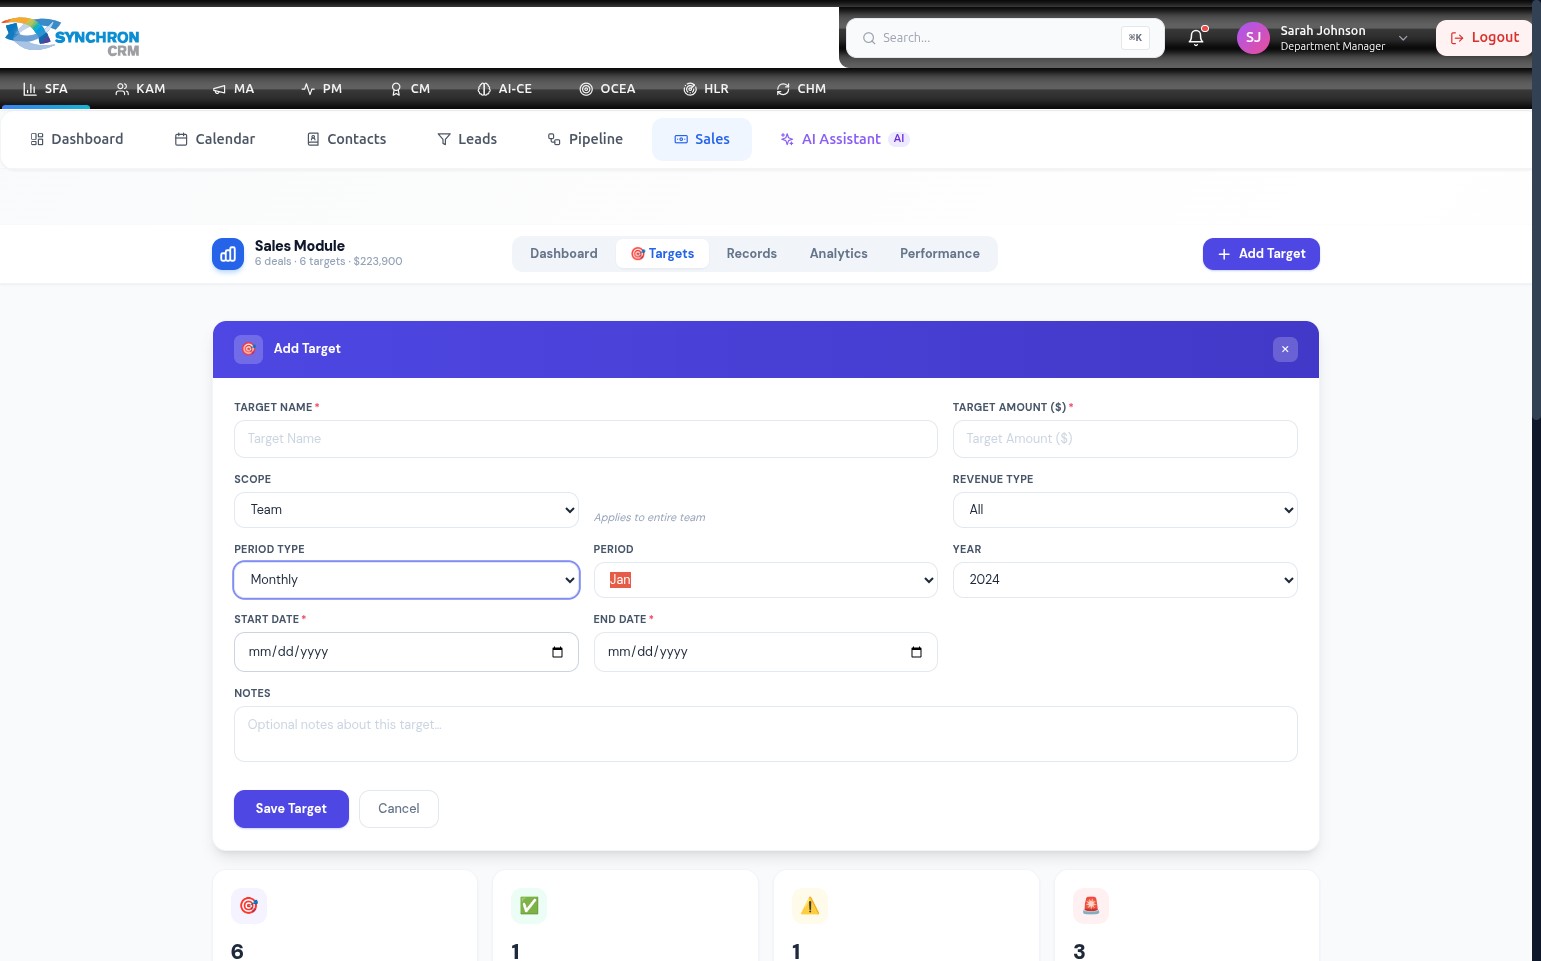
The "Add Target" modal opens. Fields marked with an asterisk (*) are required.
Step 3 — Review the full form

The form contains:
- Target Name and Target Amount — the core required text fields
- Scope, Revenue Type, Period Type, Period, and Year — dropdown configuration fields
- Start Date and End Date — required date range fields
- Notes — an optional free-text field
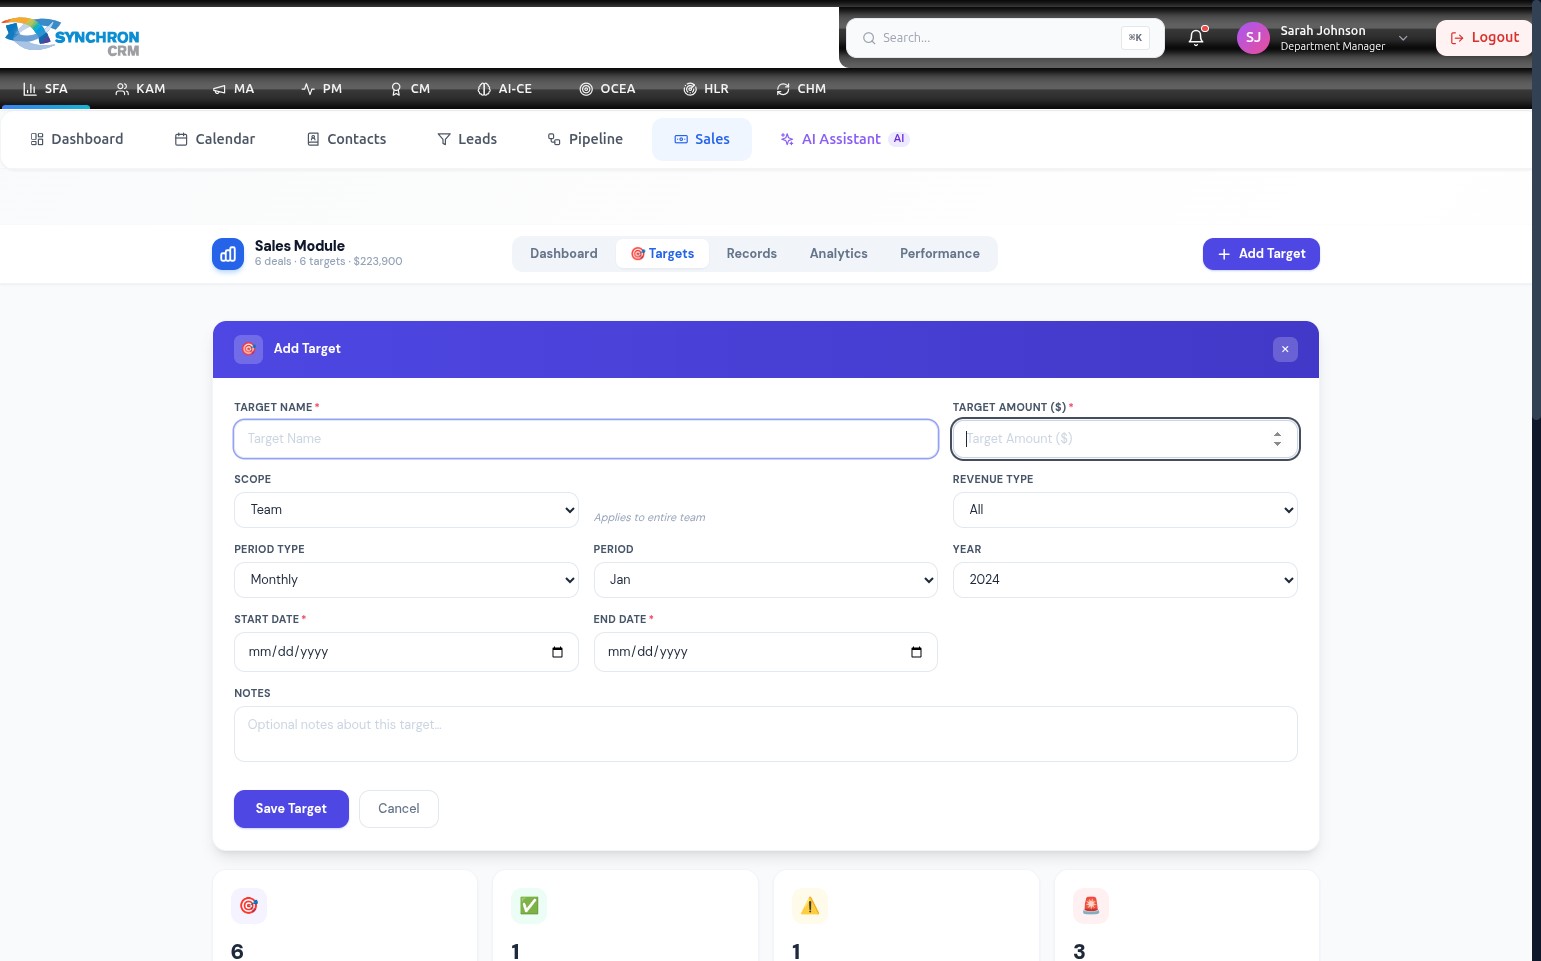
Step 4 — Name the target and set the amount
- Target Name* — enter a clear, descriptive name so it is easy to identify in reports and dashboards (e.g., "Q1 Team Revenue Goal", "Annual New Business Target").
- Target Amount ($)* — enter the monetary goal as a number (e.g., 50000 for a $50,000 target).
Step 5 — Select the scope
Click the Scope dropdown and choose who this target applies to.
| Option | Description |
|---|---|
| Team | The target applies to the entire sales team |
| Individual | The target is assigned to a specific sales representative |
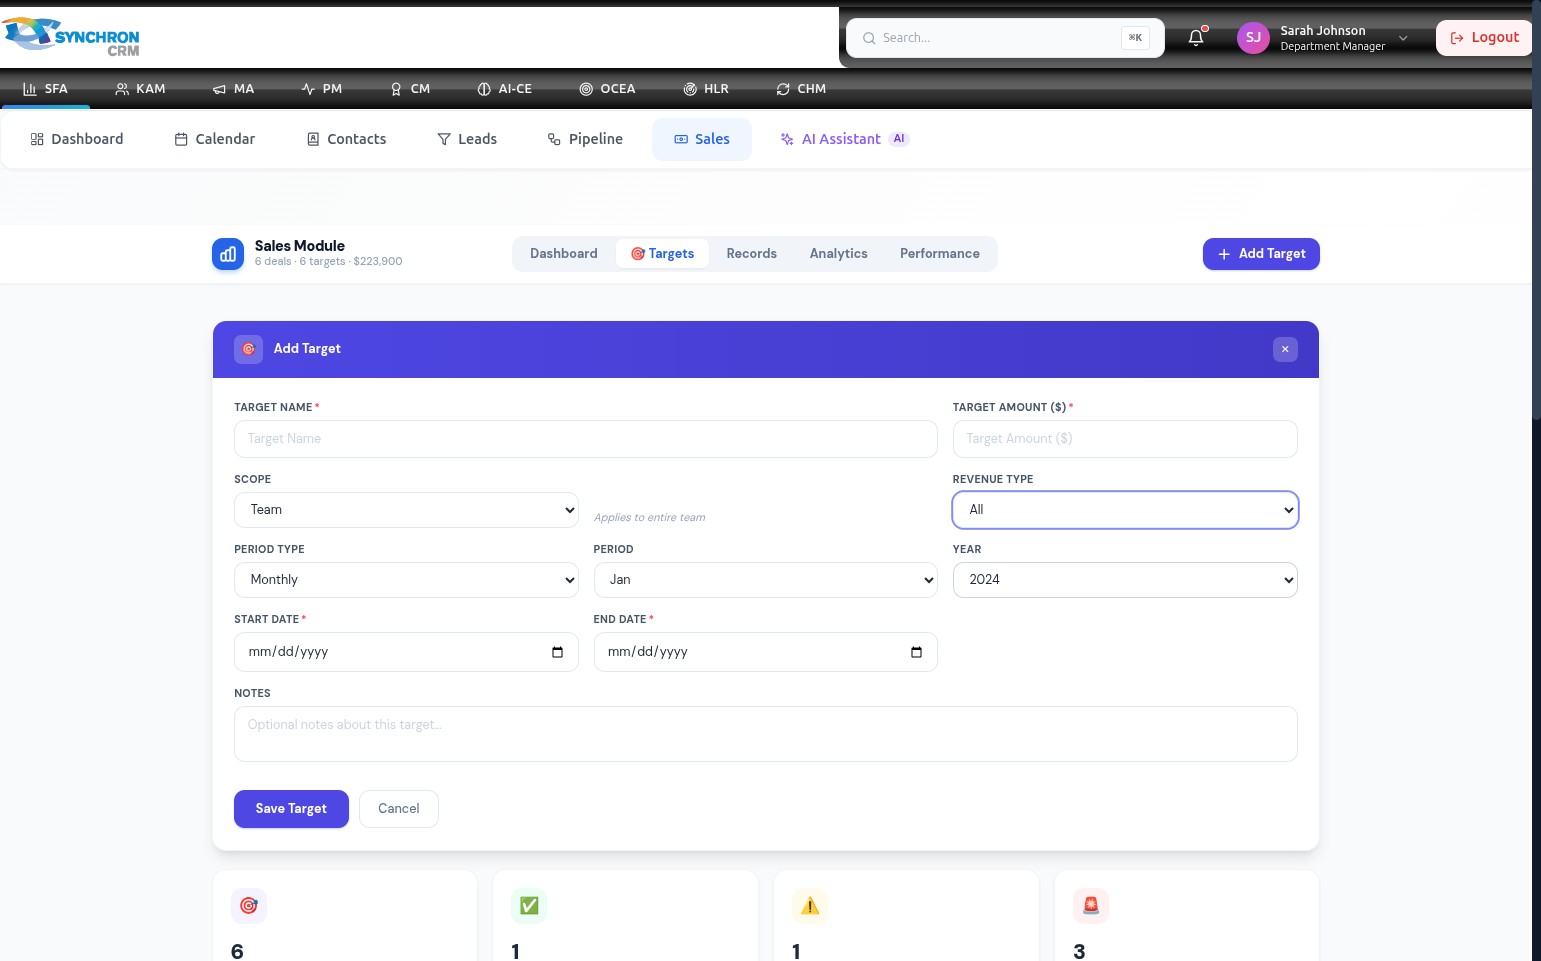
Step 6 — Set the revenue type
Click the Revenue Type dropdown to specify which revenue categories count toward this target.
| Option | Description |
|---|---|
| All | All revenue sources count toward the target |
| New Business | Only new deals count |
| Recurring | Only recurring revenue deals count |
Step 7 — Configure period type and period
Use the dropdown menus to define the granularity and specific period:
| Field | Description | Example |
|---|---|---|
| Period Type | The frequency granularity | Monthly, Quarterly, Annual |
| Period | The specific period within the year | Jan, Feb … Dec; Q1, Q2, Q3, Q4 |
| Year | The target year | 2024, 2025, 2026 |
Step 8 — Set the start date
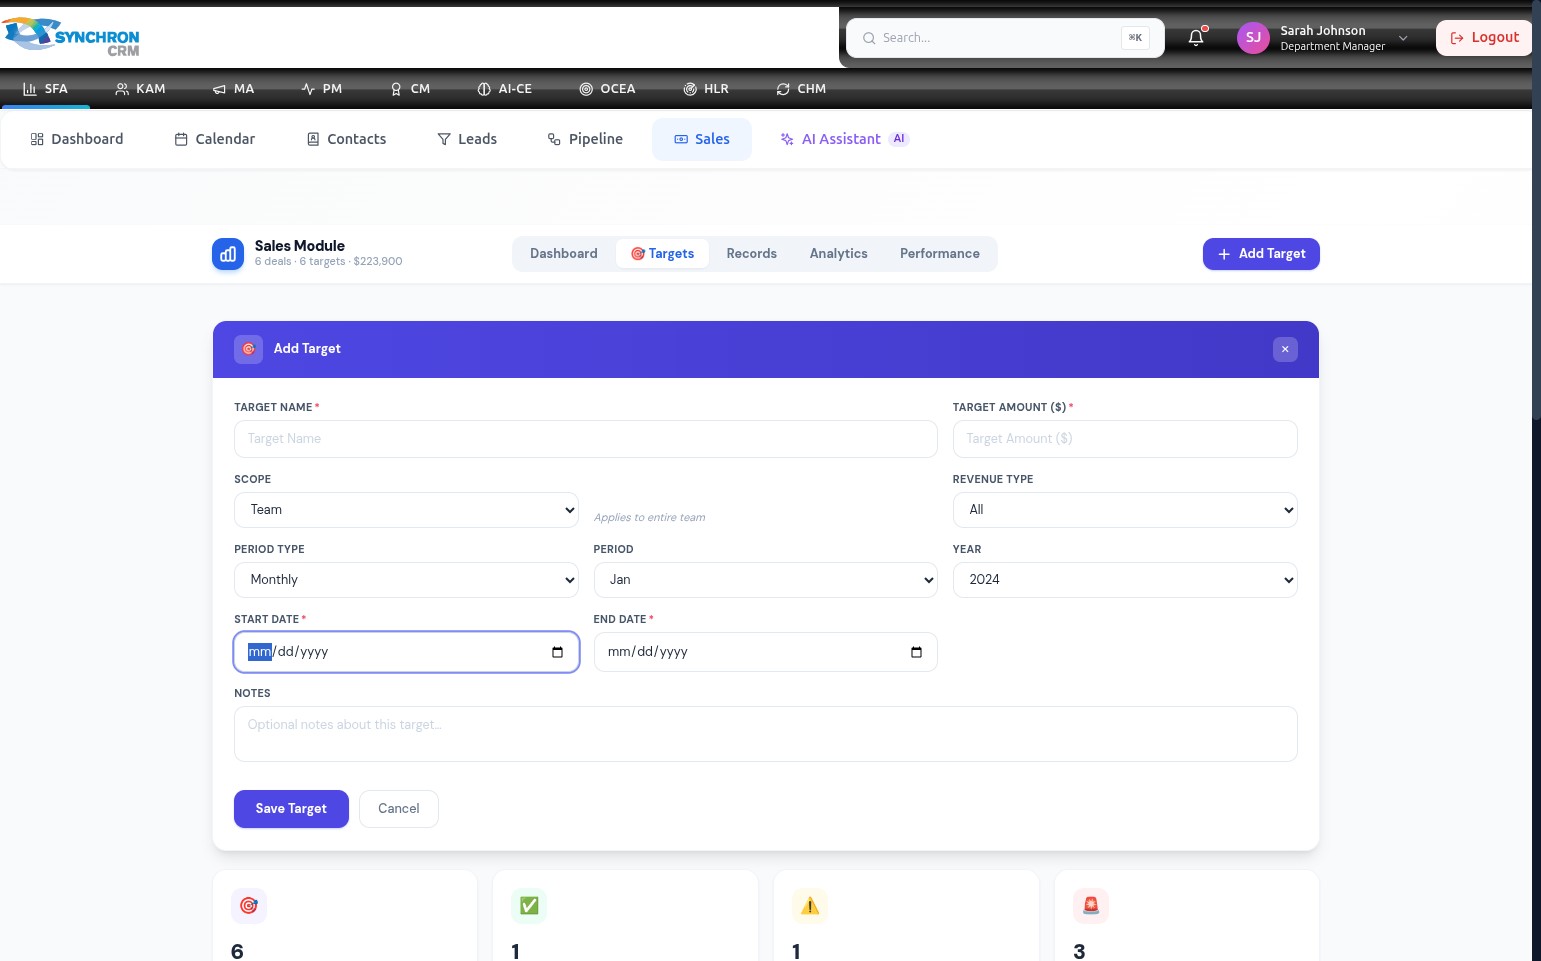
Click the Start Date* field and select the beginning date from the calendar picker, or type directly in MM/DD/YYYY format.
Step 9 — Set the end date
Click the End Date* field and select the closing date for this target period. The date range defines the exact window during which deals must close to count toward this target.
Step 10 — Add notes (optional)
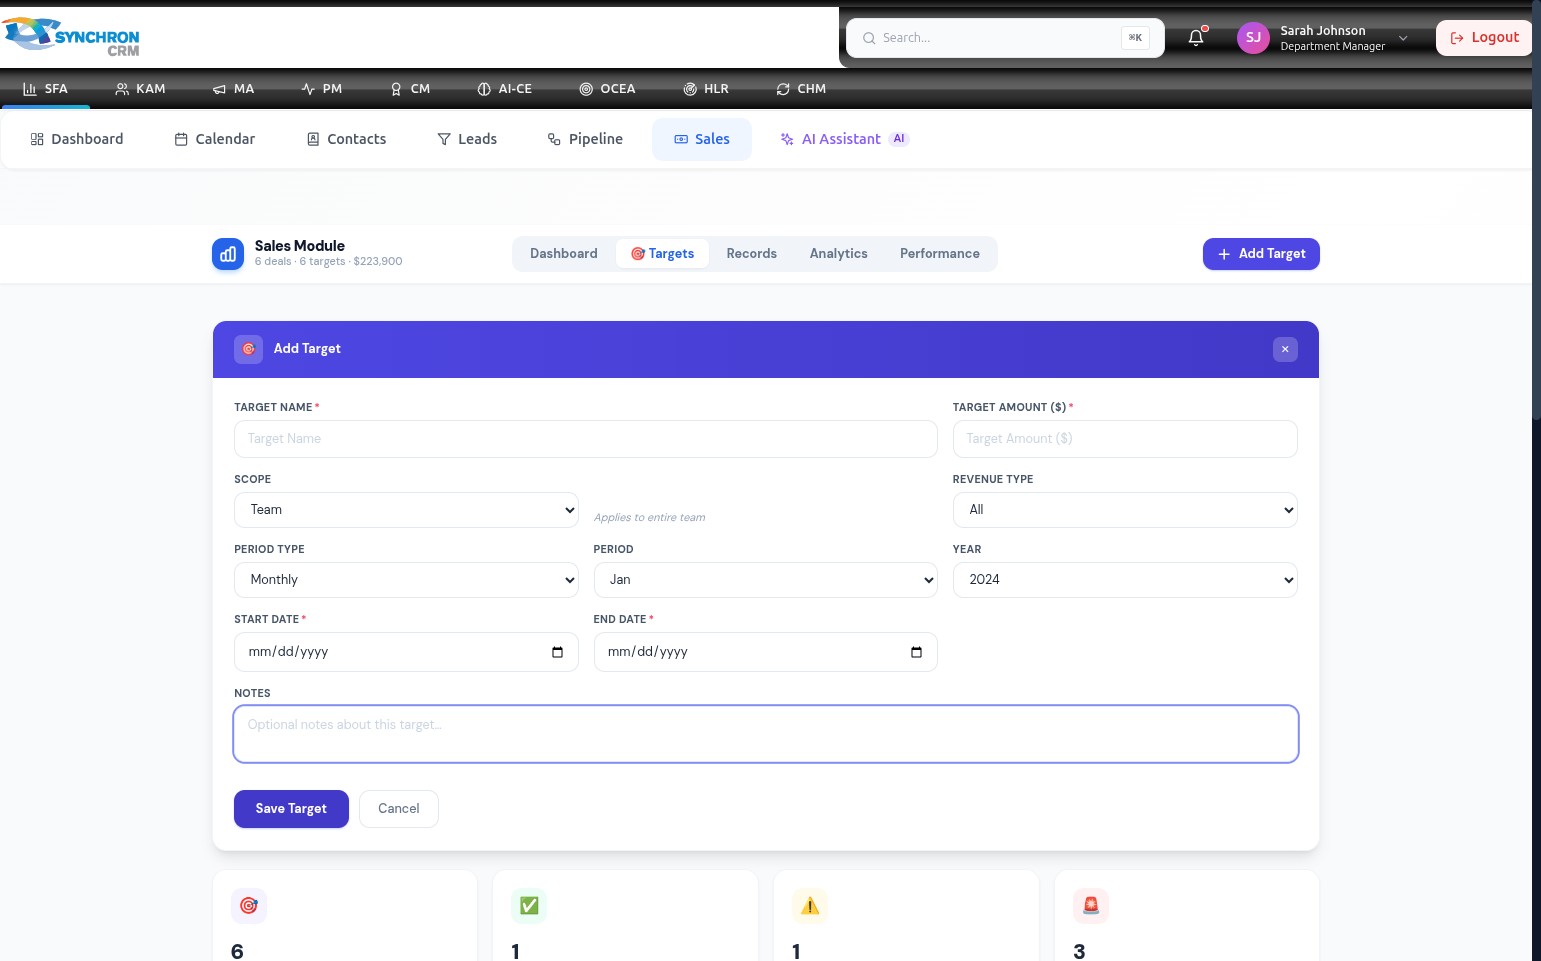
In the Notes text area, enter any relevant context about the target — for example, the rationale, linked campaigns, or assumptions made when setting the amount.
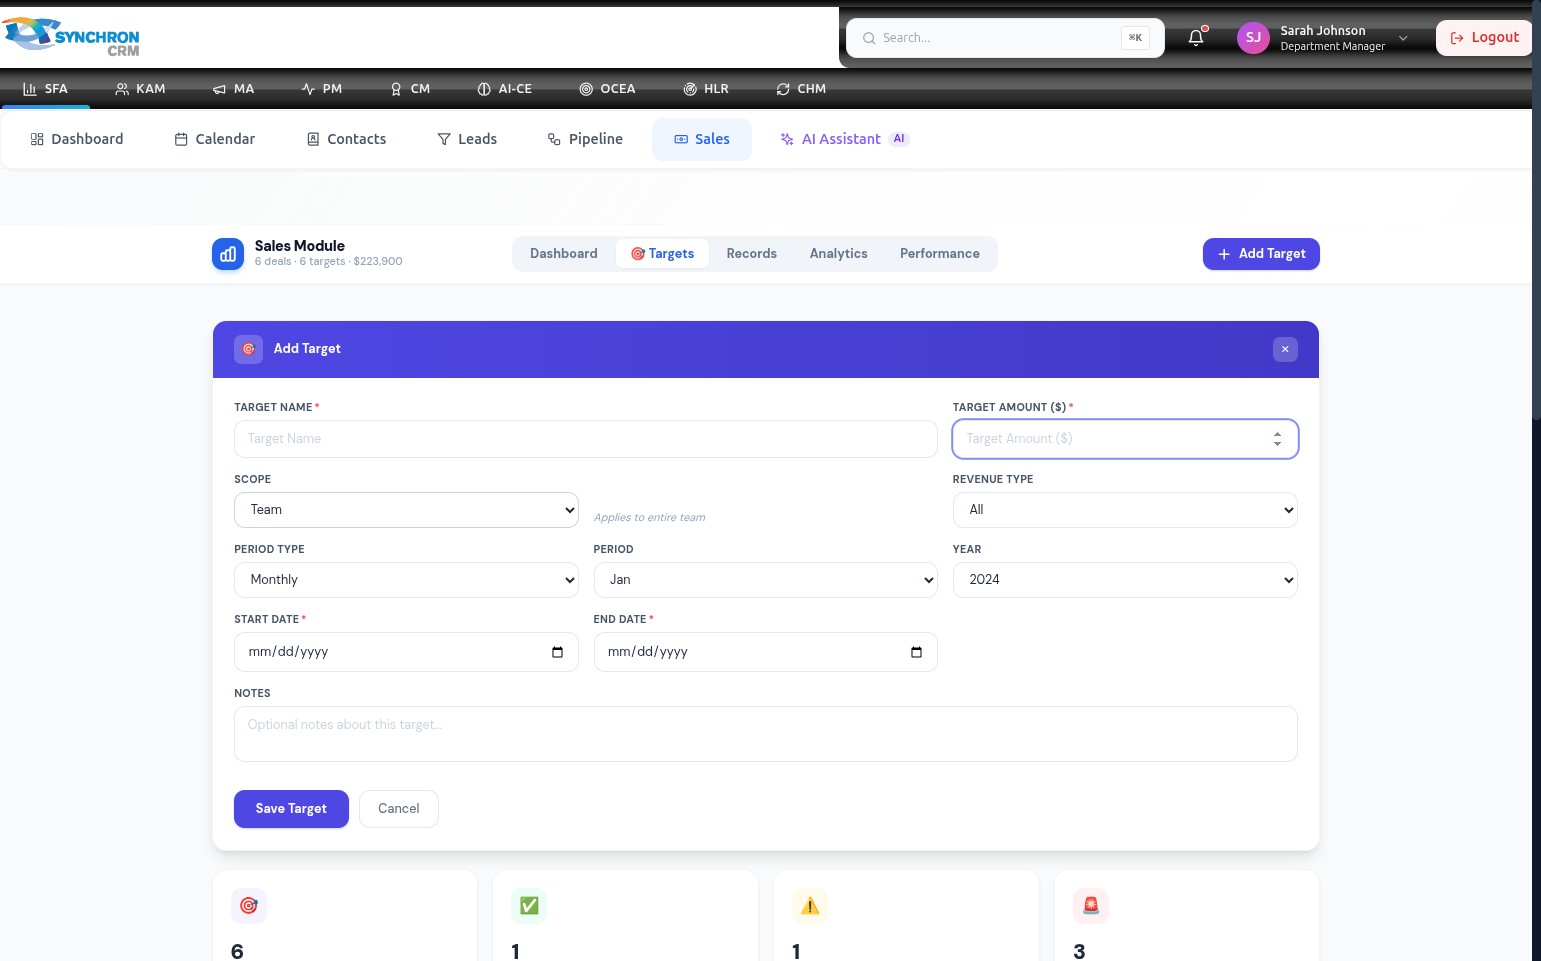
Step 11 — Review the completed form
Before saving, review all required fields (marked with *) to confirm they are complete. The four required fields are: Target Name, Target Amount, Start Date, and End Date.
Step 12 — Save the target

Click the Save Target button to create the target. It will appear in the Targets table and begin contributing to the dashboard performance metrics.
To discard without saving, click Cancel or the X icon in the top-right corner.
Target Name, Target Amount, Start Date, and End Date are all required fields marked with (*). The target cannot be saved until all four are filled in.
Use the Scope dropdown to create both team-level targets (visible to managers) and individual targets (assigned to a specific sales representative). Setting both allows you to compare individual contribution against the team goal.