Create a Deal
Add a new sales opportunity to the pipeline by entering the deal title, contact, value, stage, probability, expected close date, and assigned team member. The deal will appear as a card in the matching stage column on the Kanban board.
Step 1 — Open the New Deal form
Navigate to the Pipeline tab and click the blue + Add Deal button in the top-right corner.

The "New Deal" modal opens. All fields marked with an asterisk (*) are required.
Step 2 — Enter the deal title
In the Deal Title* field, type a clear, descriptive name for the opportunity (e.g., "Enterprise License Agreement", "StartUp Co Starter Plan"). This name appears as the card header on the Kanban board.
Step 3 — Select a contact
Click the Contact* dropdown to expand the list of contacts available in your system.
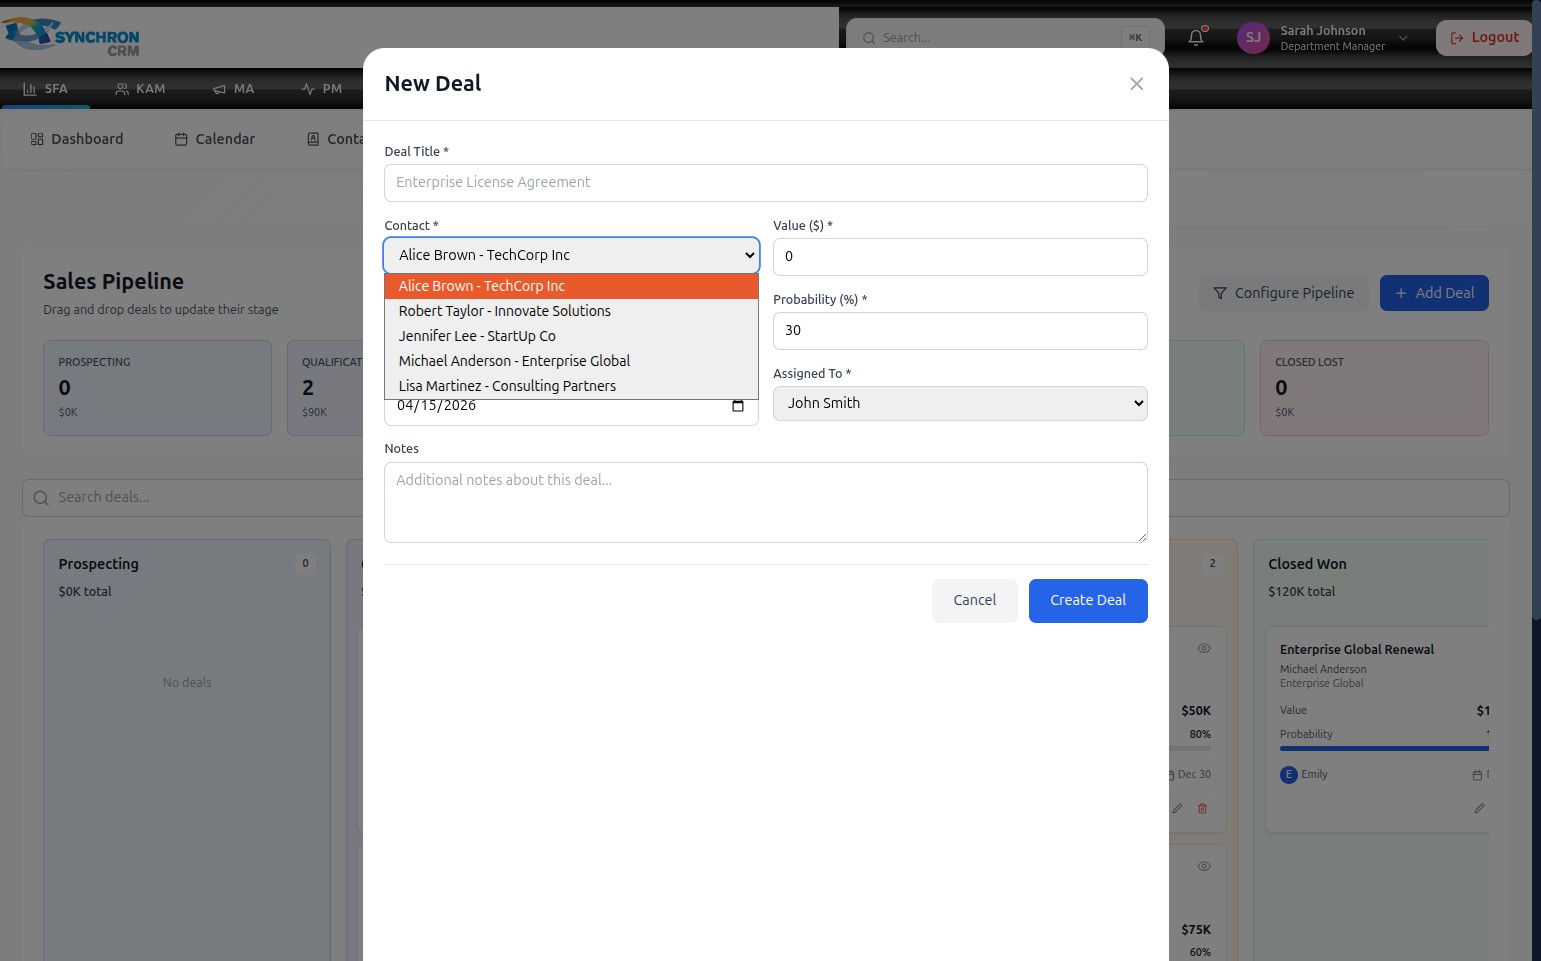
Click the name of the associated contact to select them (e.g., "Alice Brown - TechCorp Inc"). The dropdown closes and the selected contact appears in the field.
Step 4 — Enter the deal value
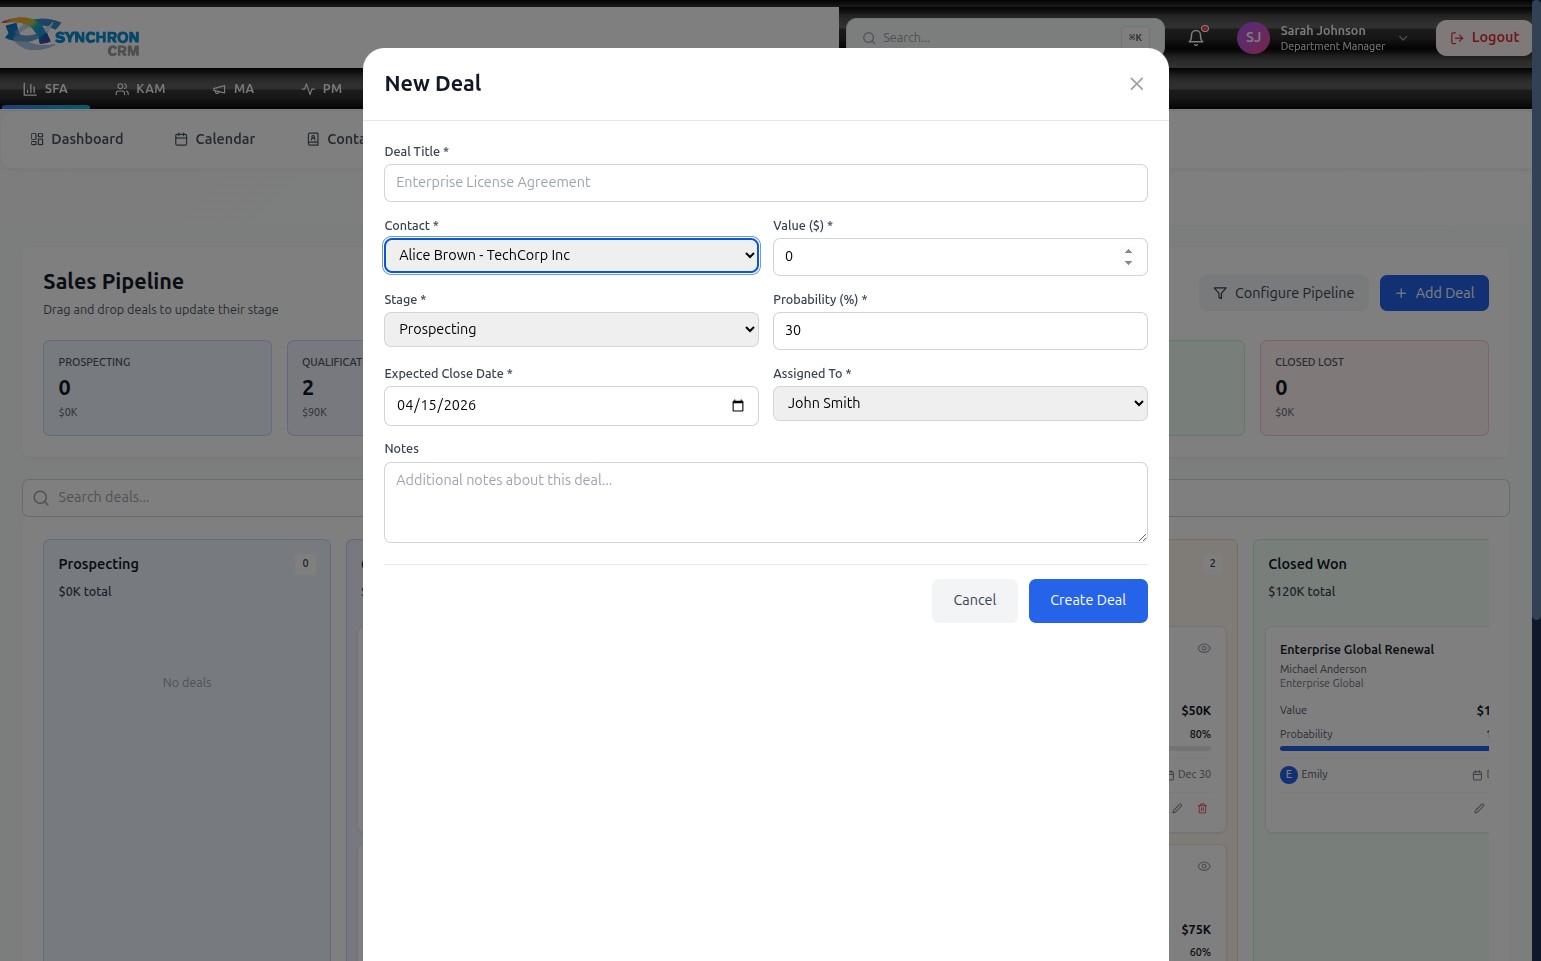
In the Value ($)* field, enter the estimated monetary value of the deal as a number (e.g., 50000 for a $50,000 deal). This value appears on the deal card and counts toward the stage total in the summary bar.
Step 5 — Select the pipeline stage
Click the Stage* dropdown to expand the list of available pipeline stages.
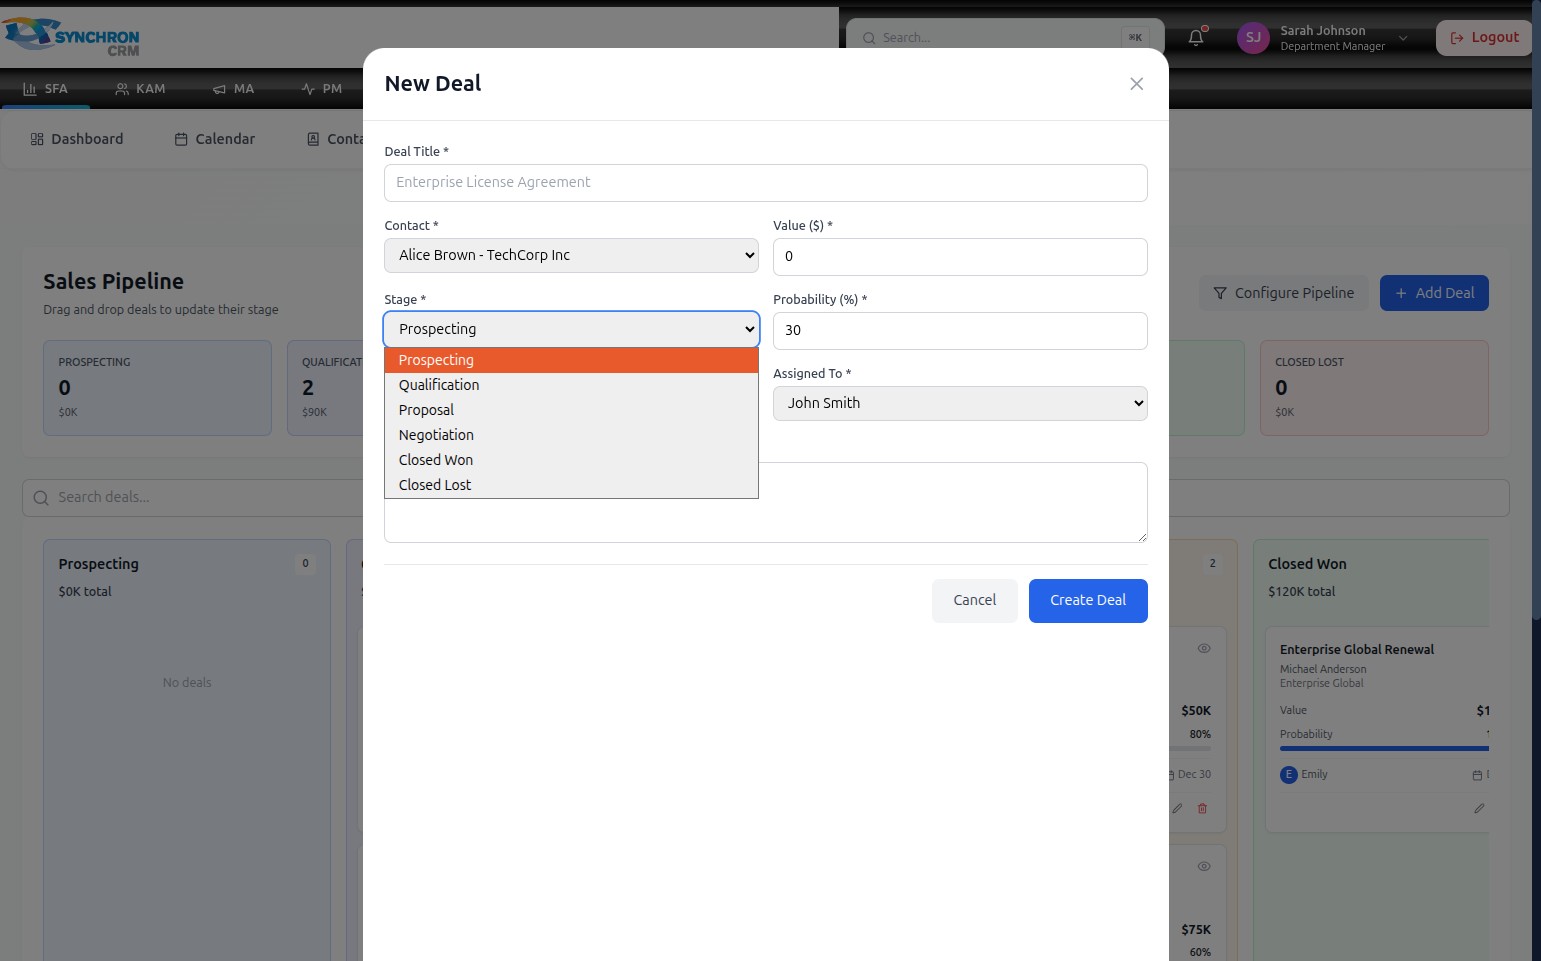
Select the stage that best reflects the current position of this deal:
- Prospecting — initial contact made, opportunity identified (default probability: 30%)
- Qualification — determining whether the prospect is a good fit
- Proposal — quote or proposal submitted to the client
- Negotiation — terms and pricing under active discussion
- Closed Won — deal successfully closed
- Closed Lost — deal was not won
Step 6 — Confirm probability
After selecting a stage, check the Probability (%)* field. It auto-fills based on the stage you selected.
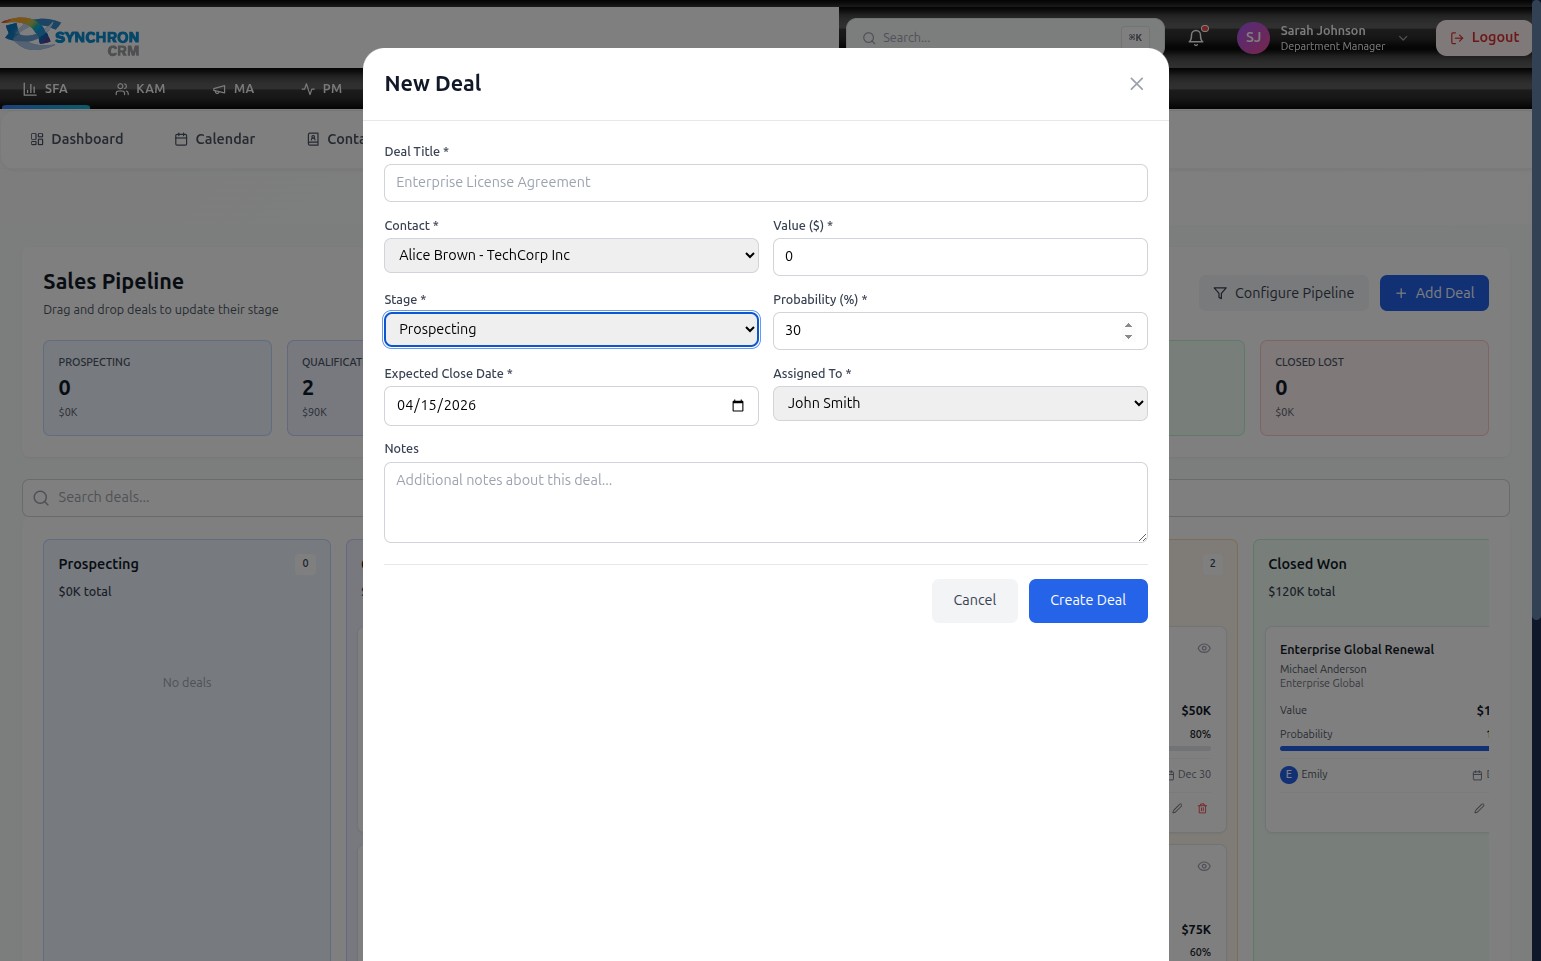
Adjust the percentage manually if your specific circumstances warrant a different estimate (e.g., if you have strong verbal commitment from the customer, you may increase the probability beyond the stage default).
Step 7 — Set the expected close date
In the Expected Close Date* field, click the date picker icon or type directly in MM/DD/YYYY format to enter the anticipated closing date.
Step 8 — Assign the deal to a team member
Click the Assigned To* dropdown and select the sales representative responsible for managing this deal.
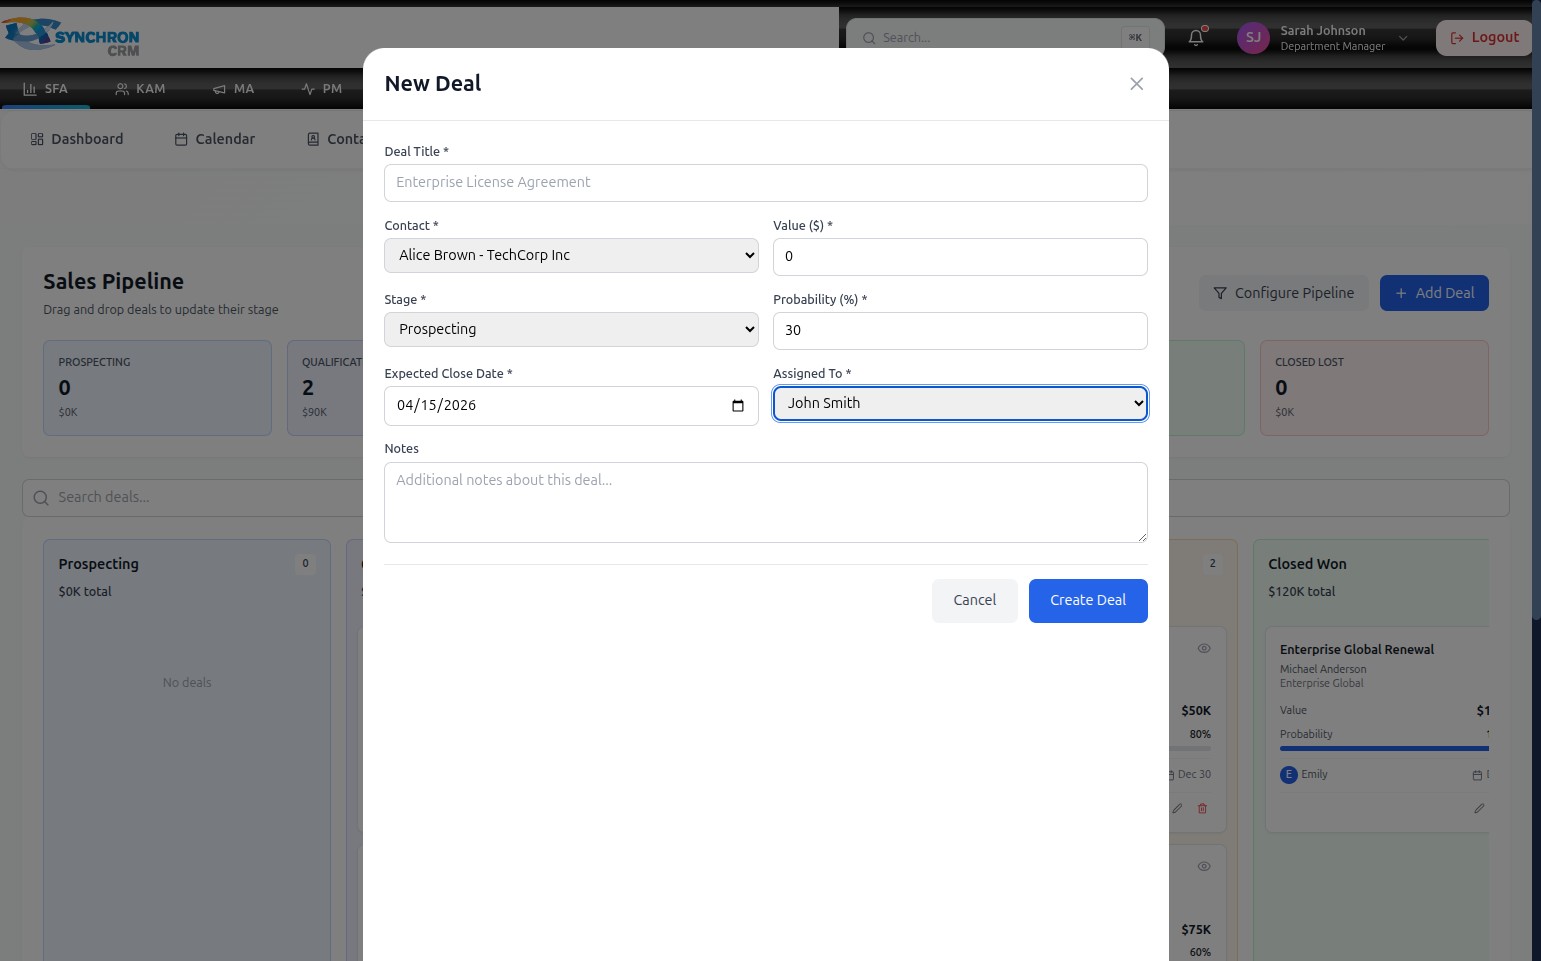
The assigned team member's initials appear on the deal card on the Kanban board and they become accountable for deal progression.
Step 9 — Add notes (optional)
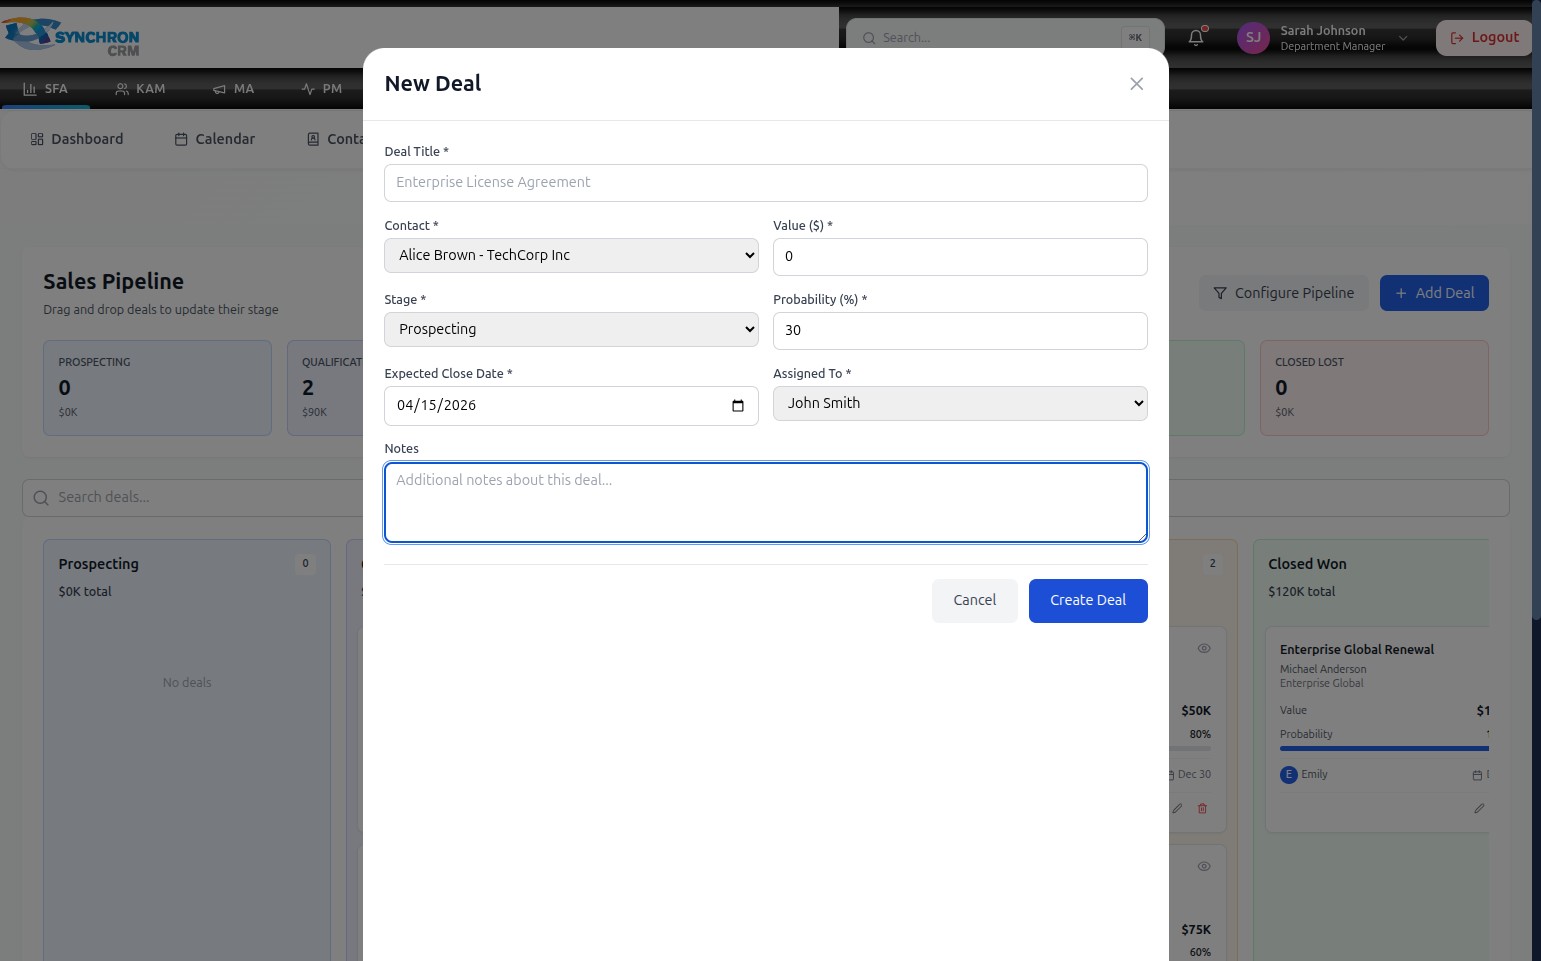
In the Notes text area, enter any relevant context: meeting notes, special requirements, or follow-up actions. This field is optional but useful for tracking deal history and briefing other team members.
Step 10 — Save
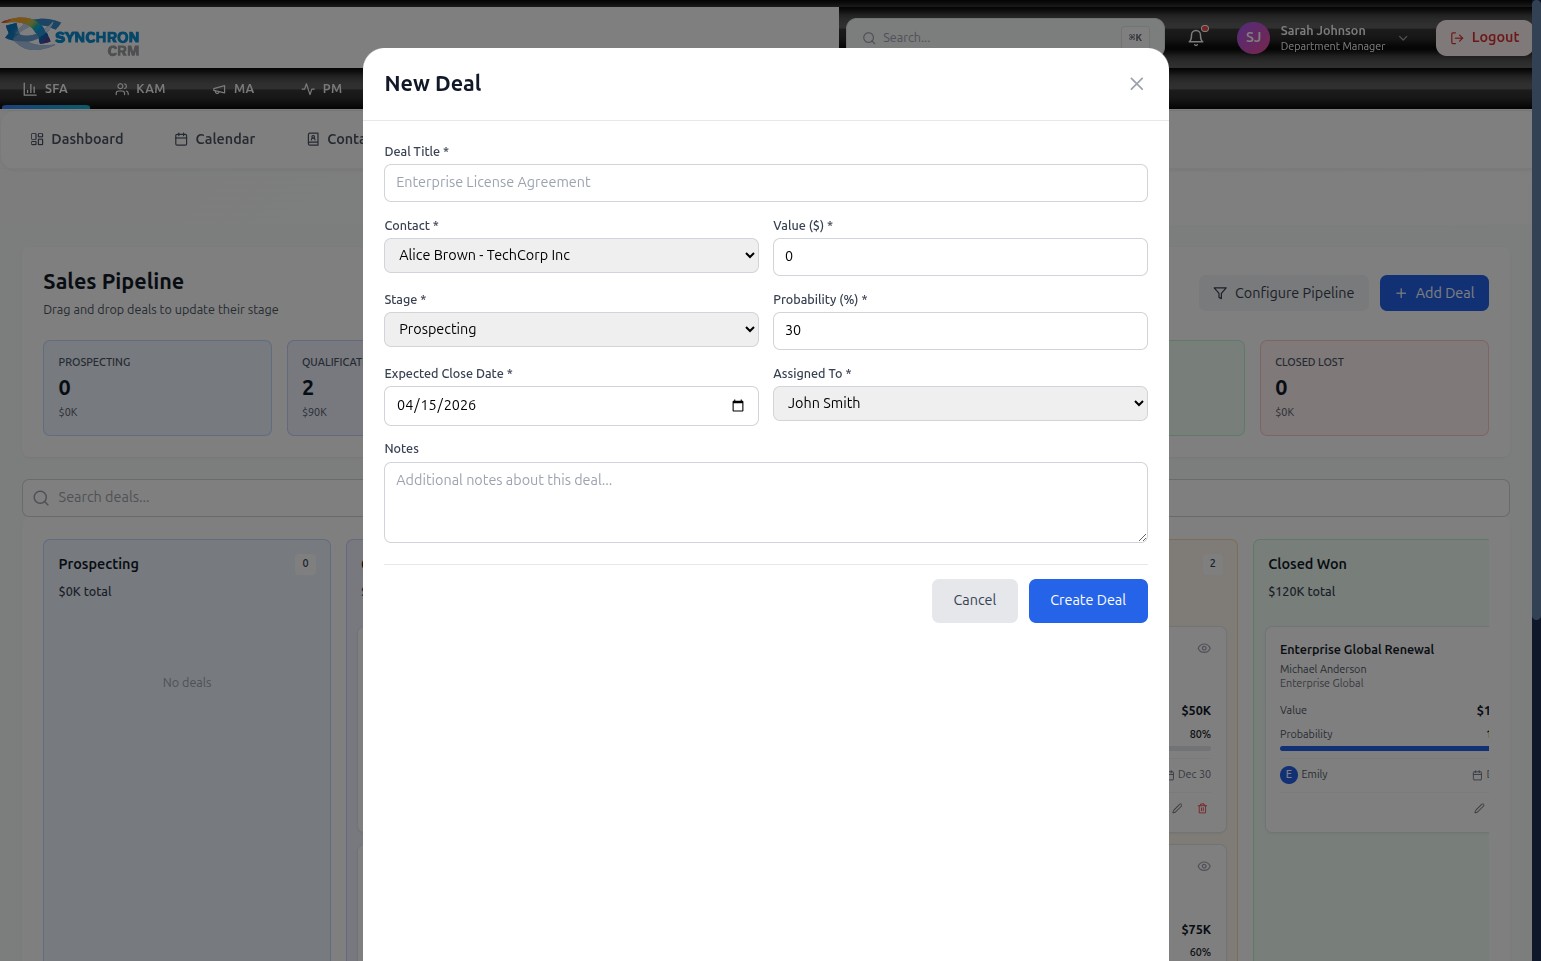
Review all required fields (marked with *) to confirm they are complete. Click the blue Create Deal button. The modal closes and the new deal card appears in the column matching the selected stage on the Kanban board.
To discard without saving, click Cancel or the X icon in the top-right corner of the modal.
The Probability (%) field auto-updates whenever you change the Stage. You can override it manually for deals where you have stronger-than-usual confidence or a specific assessment from the customer.
Required fields — Deal Title, Contact, Value, Stage, Probability, Expected Close Date, and Assigned To — must all be filled before the deal can be created.