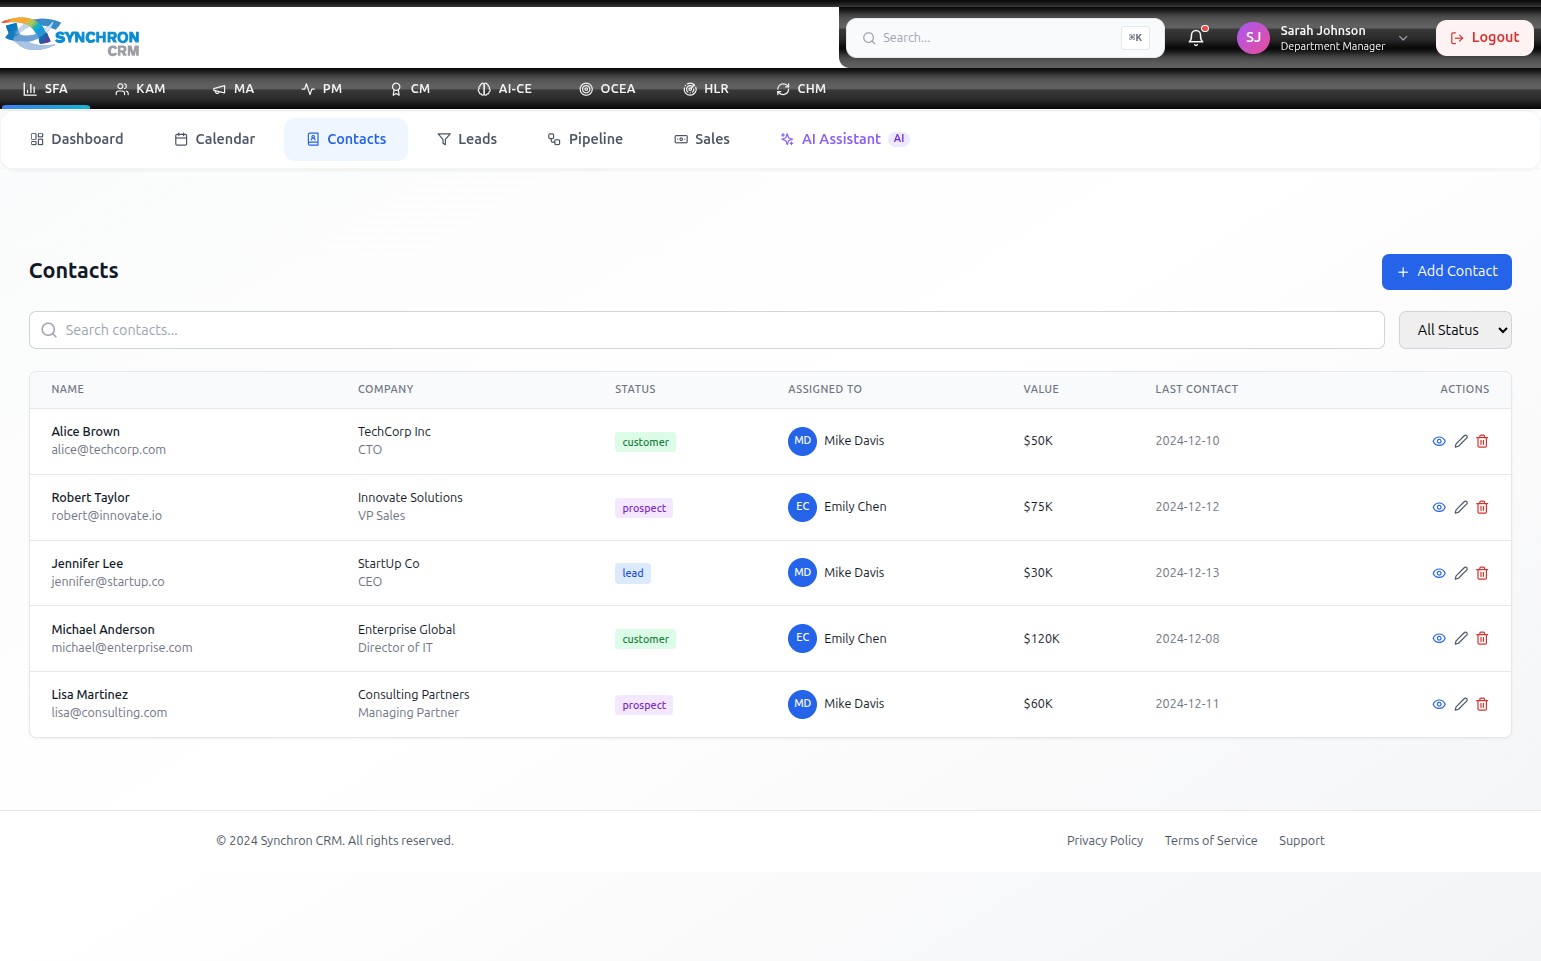
Contacts Overview
The Contacts module displays all customer and prospect records in a searchable, filterable table. From here you can view contact details, search and filter the list, add new contacts, or edit and delete existing ones.
Access contacts
Click the Contacts tab in the secondary navigation menu (between Calendar and Leads).
The contacts table loads immediately with all records.
Understand the table
| Column | Description |
|---|---|
| Name | Contact's full name and email address |
| Company | Organisation name and the contact's role/position |
| Status | Color-coded badge: Customer (green), Prospect (purple), Lead (blue) |
| Assigned To | Team member responsible for managing this contact |
| Value | Estimated deal value associated with the contact (e.g., $30K) |
| Last Contact | Date of the most recent logged interaction |
| Actions | View (eye), Edit (pencil), and Delete (trash) icons |
Search and filter contacts
To search: Click the "Search contacts..." field and type a name, email address, or company name. The table filters in real-time as you type. Clear the field to show all contacts again.
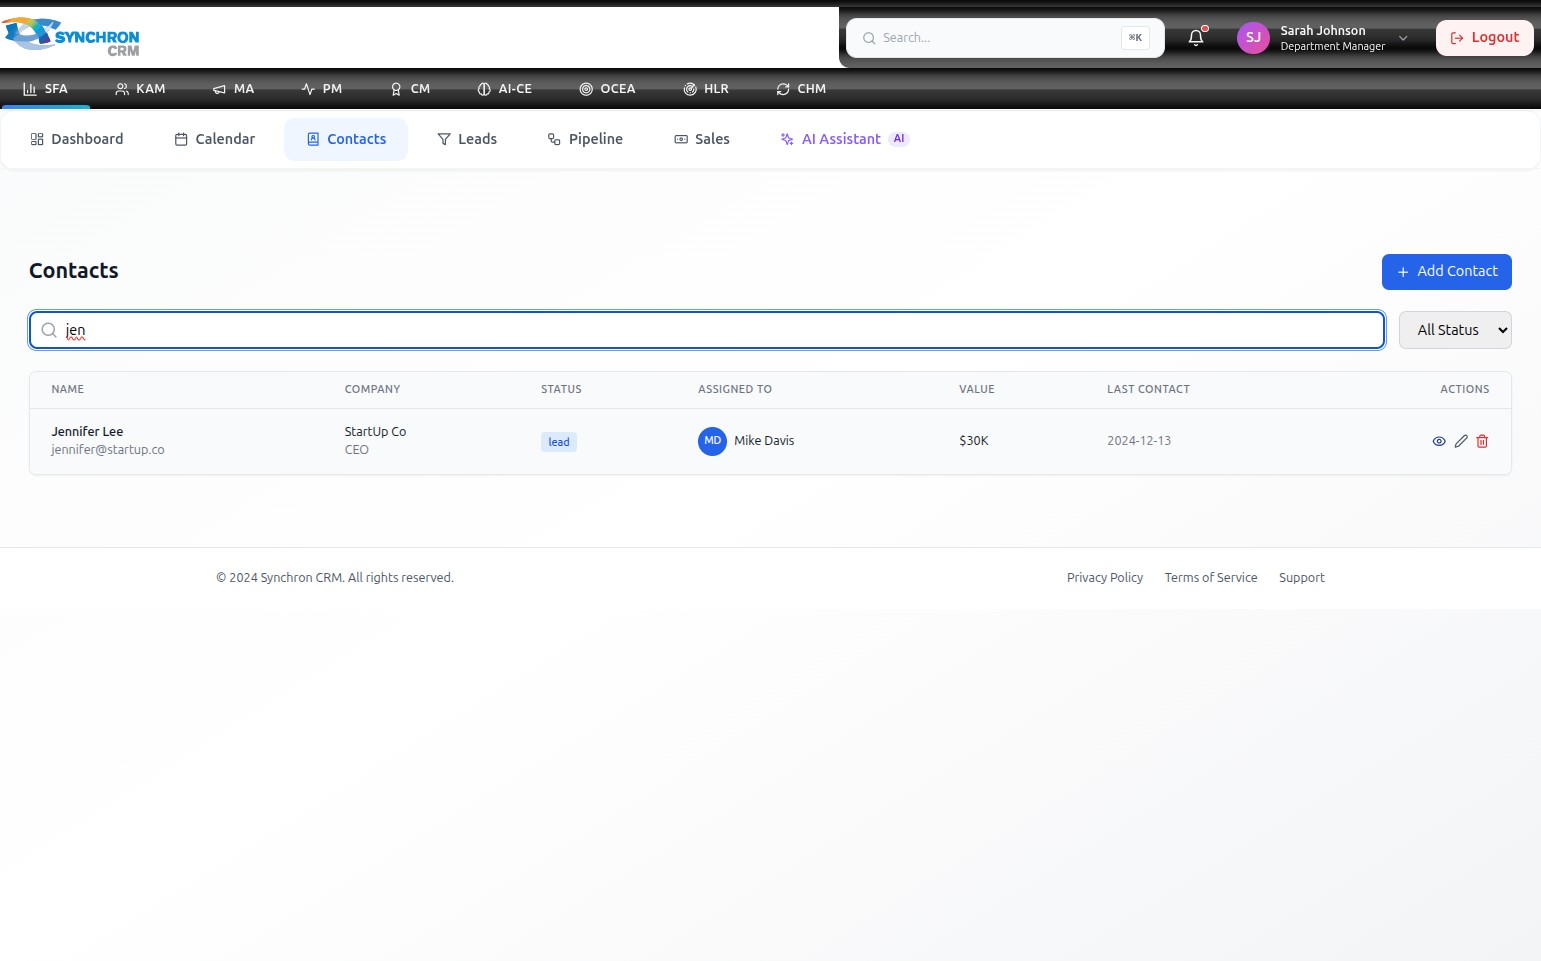
The system matches against the lead's name, email address, and company. One or more matching records appear as you type.
To filter by status: Click the "All Status" dropdown and select a specific status (Customer, Prospect, or Lead). Select All Status again to clear the filter.
Add a new contact
Click the blue + Add Contact button in the top-right corner to open the contact creation form. See Manage Contacts for full instructions on creating and editing contacts.
Interact with an existing contact
Use the action icons in the Actions column:
- Eye icon — opens the Contact Details panel showing full profile, related deals, and recent activities
- Pencil icon — opens the Edit Contact form
- Trash icon — permanently deletes the contact record