Record a Sale
Register a completed or in-progress sales transaction by entering customer details, deal value, revenue type, payment terms, and a sales representative. All sale records are stored in the Sales → Records tab.
Step 1 — Navigate to the Sales module
Click the Sales tab in the secondary navigation menu to open the Sales module.

The Sales module opens on the Dashboard sub-tab, which shows pipeline summary metrics, recent deal activity, and performance indicators.
Step 2 — Open the Record New Sale form
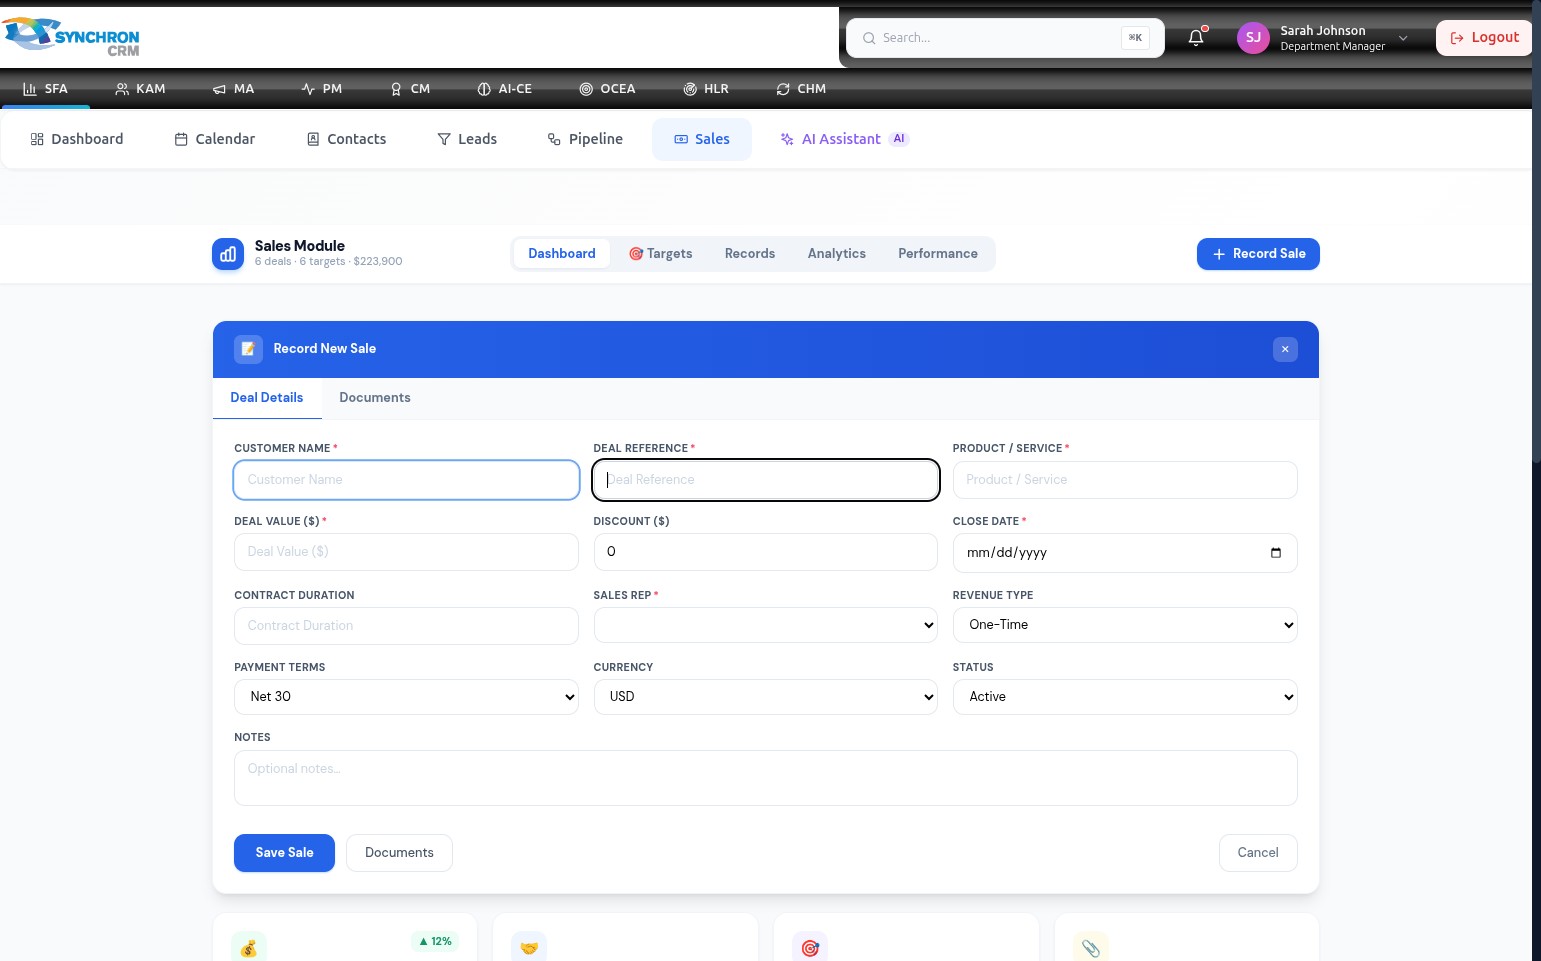
Click the + Record Sale button in the top-right corner of the Sales Module dashboard.

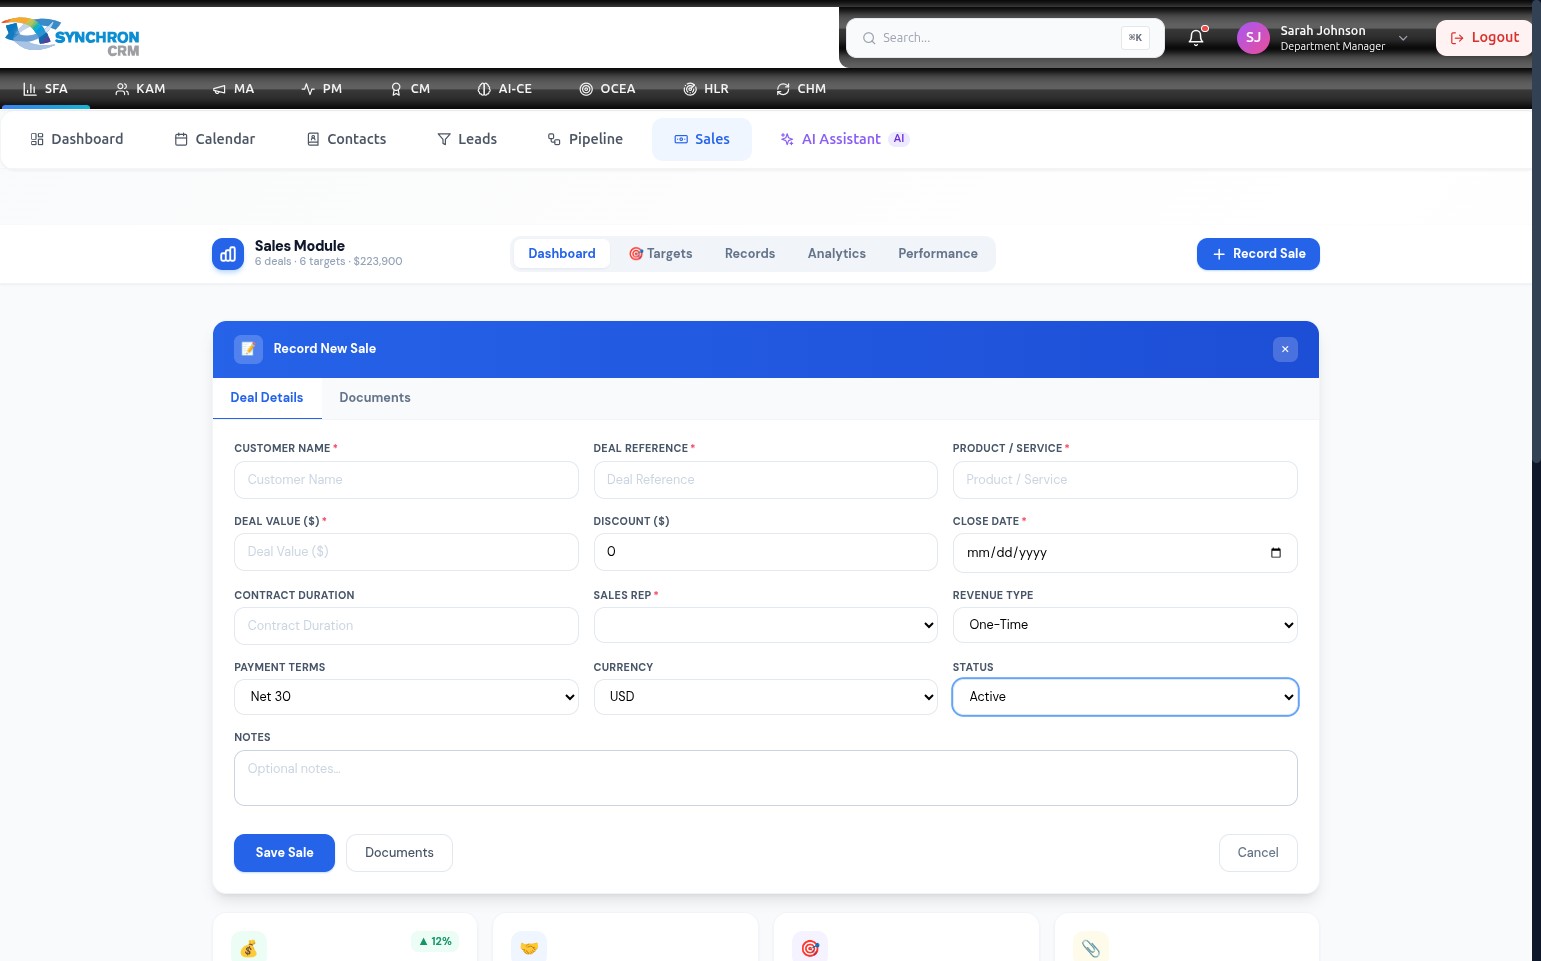
The "Record New Sale" modal opens on the Deal Details tab. All fields marked with an asterisk (*) are required and must be completed before saving.
Step 3 — Review the full form structure

The form is divided into two sections:
- Top section — core required fields: Customer Name, Deal Reference, Product/Service, Deal Value, Close Date, and Sales Rep
- Bottom section — optional configuration fields: Discount, Contract Duration, Revenue Type, Payment Terms, Currency, Status, and Notes
Step 4 — Enter the customer name and deal reference
- Customer Name* — type the full name of the customer or organisation (e.g., "Acme Corporation").
- Deal Reference* — enter a unique identifier for this transaction (e.g., "DEAL-2025-042"). This reference appears in the Sales Records table and can be used to search for this deal later.
Step 5 — Enter the product and deal value

- Product / Service* — enter the name of the product or service sold (e.g., "Enterprise SFA License").
- Deal Value ($)* — enter the gross value of the deal as a number (e.g., 25000 for a $25,000 deal).
Step 6 — Assign a sales representative
Click the Sales Rep* dropdown to expand the list of available representatives.
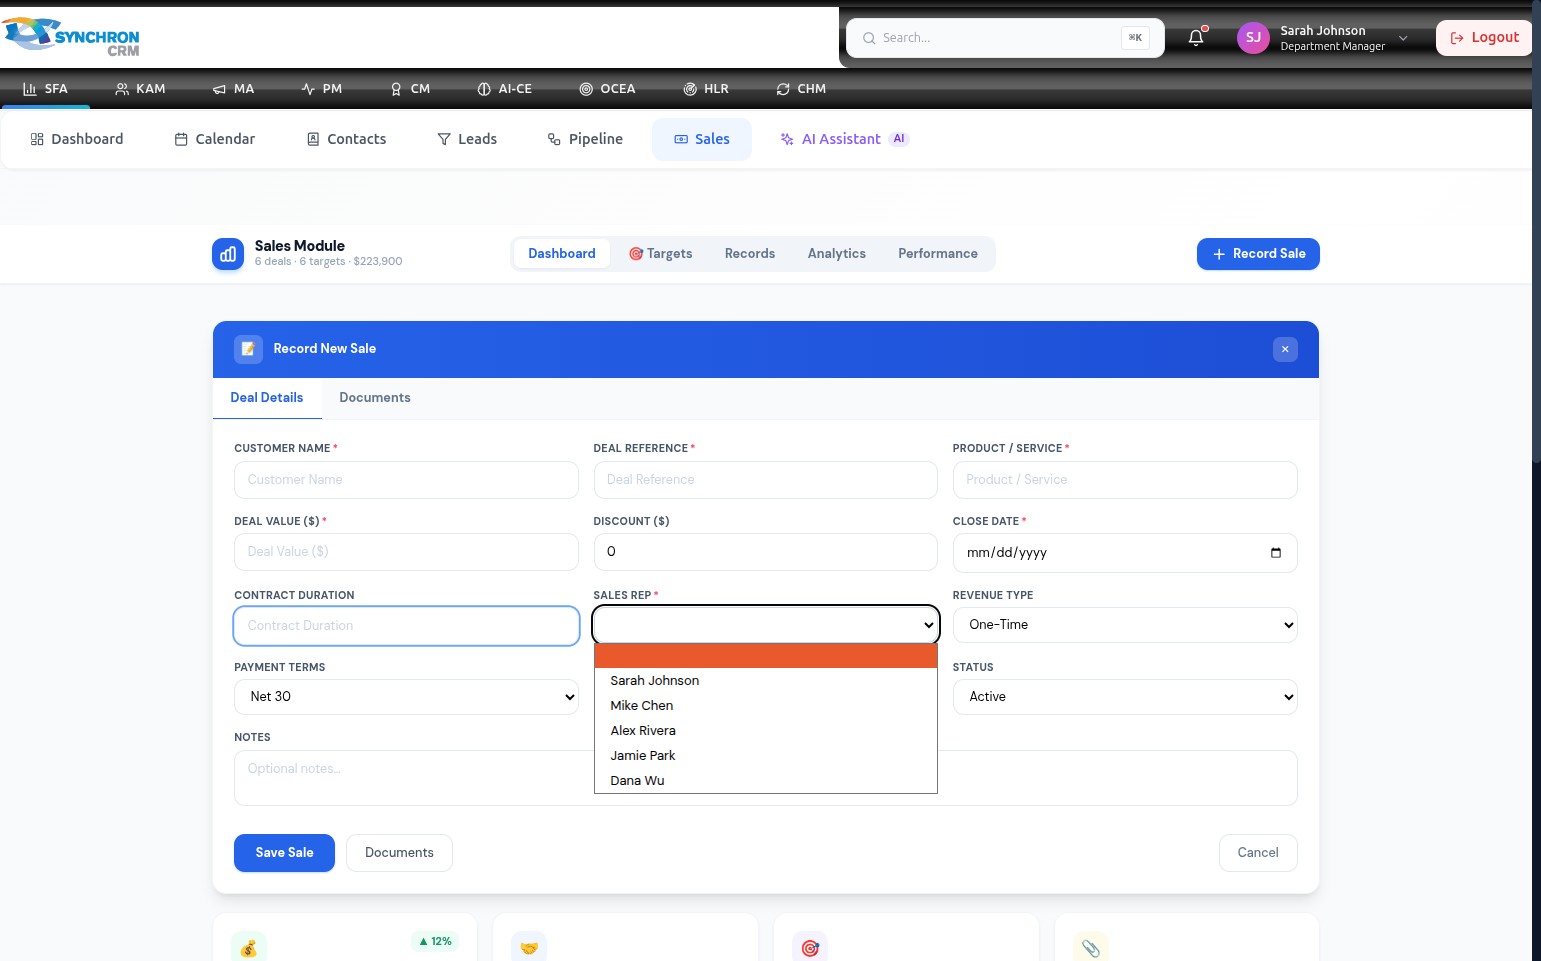
Click the representative's name to assign them. The dropdown closes and the selected name appears in the field. A sales rep must be assigned before the record can be saved.
Step 7 — Set the close date
Click the Close Date* field. A calendar picker appears — click the relevant date to select it, or type directly in MM/DD/YYYY format. The close date determines when the deal should be marked as complete.
Step 8 — Configure deal terms
Scroll down to the lower section of the form to adjust the optional deal configuration fields.
Adjust the following fields to match the deal's terms:
| Field | Default | Description |
|---|---|---|
| Discount ($) | 0 | Monetary discount applied to the gross deal value |
| Contract Duration | — | Length of the agreement (e.g., "12 months", "2 years") |
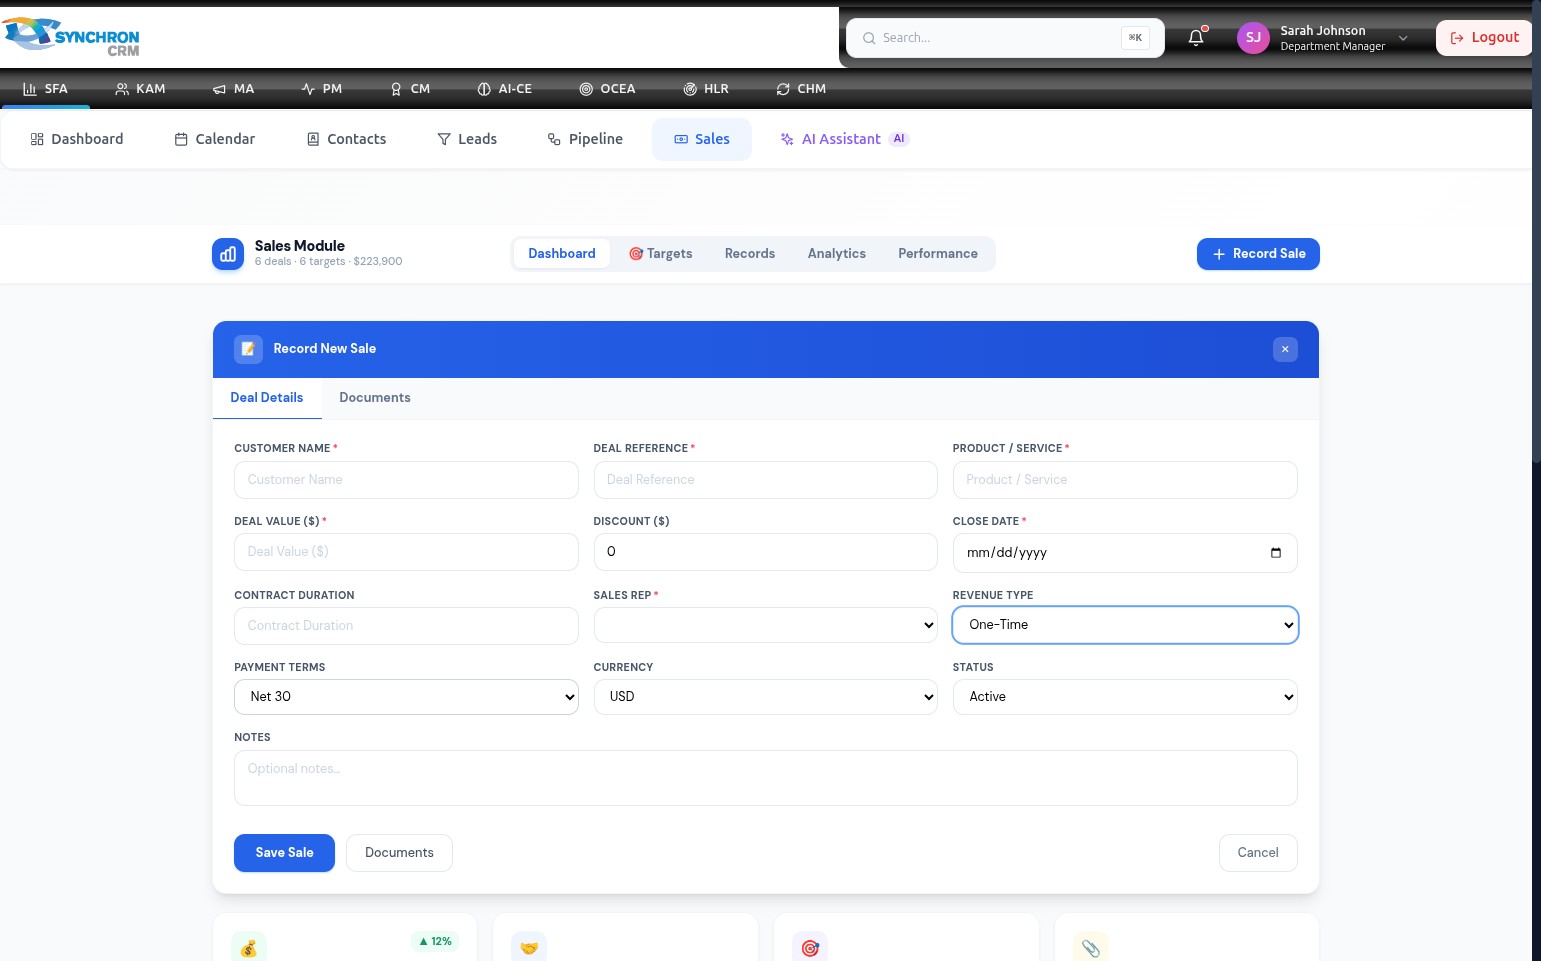
| Revenue Type | One-Time | One-Time or Recurring |
| Payment Terms | Net 30 | Agreed payment schedule (e.g., Net 30, Net 60, Immediate) |
| Currency | USD | Transaction currency |
| Status | Active | Current status (Active, Pending, Cancelled) |
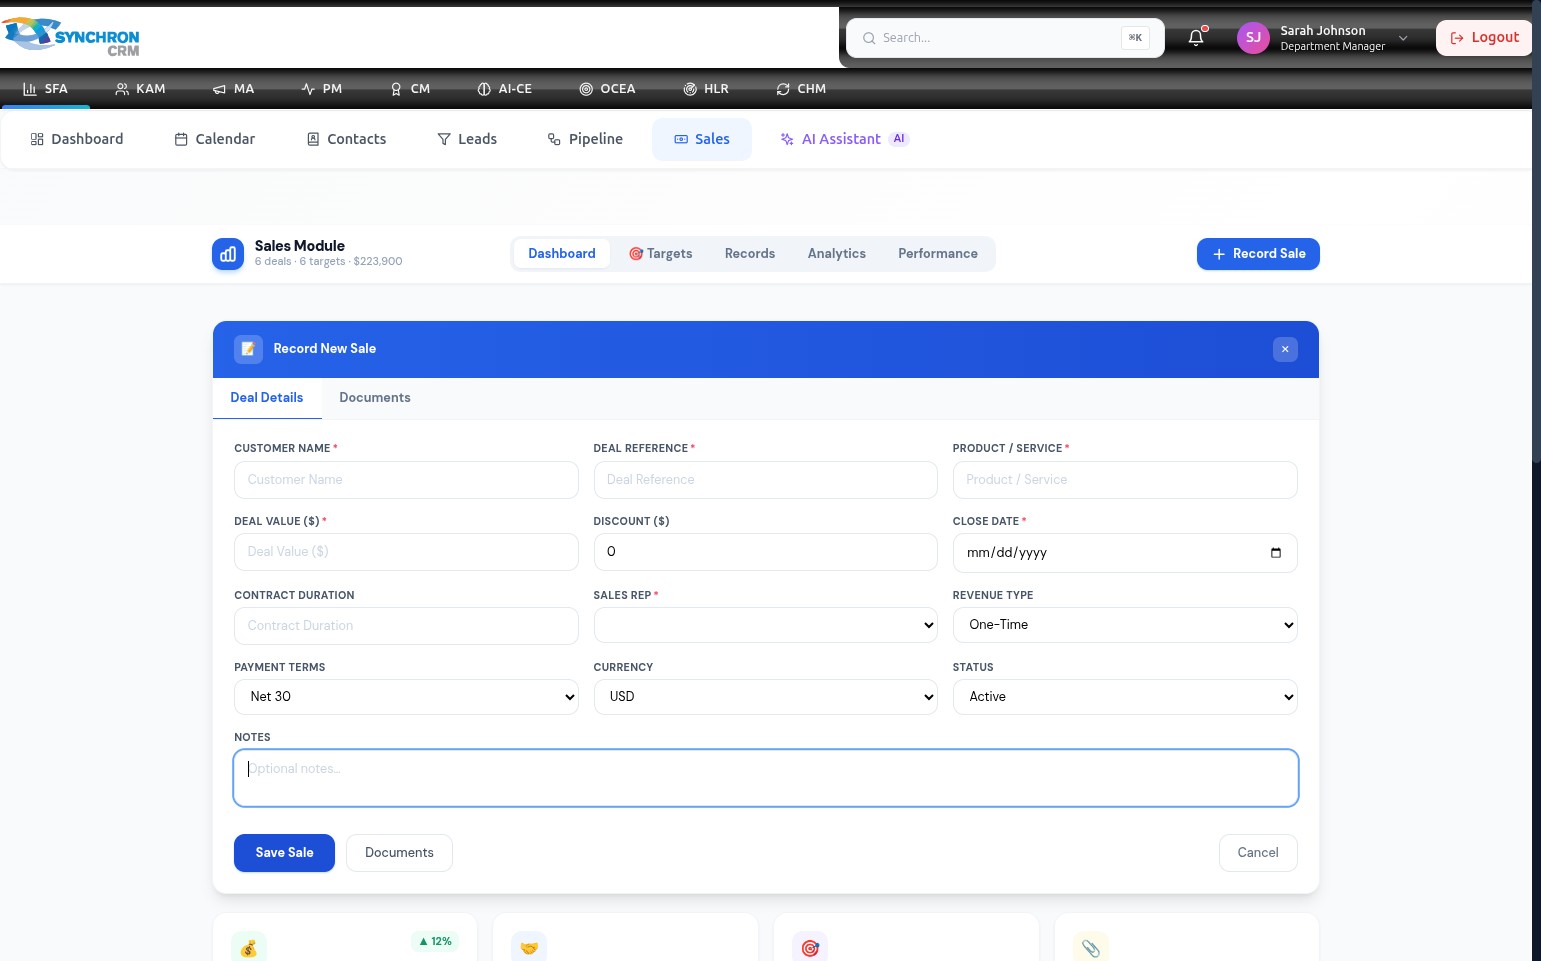
Step 9 — Add notes
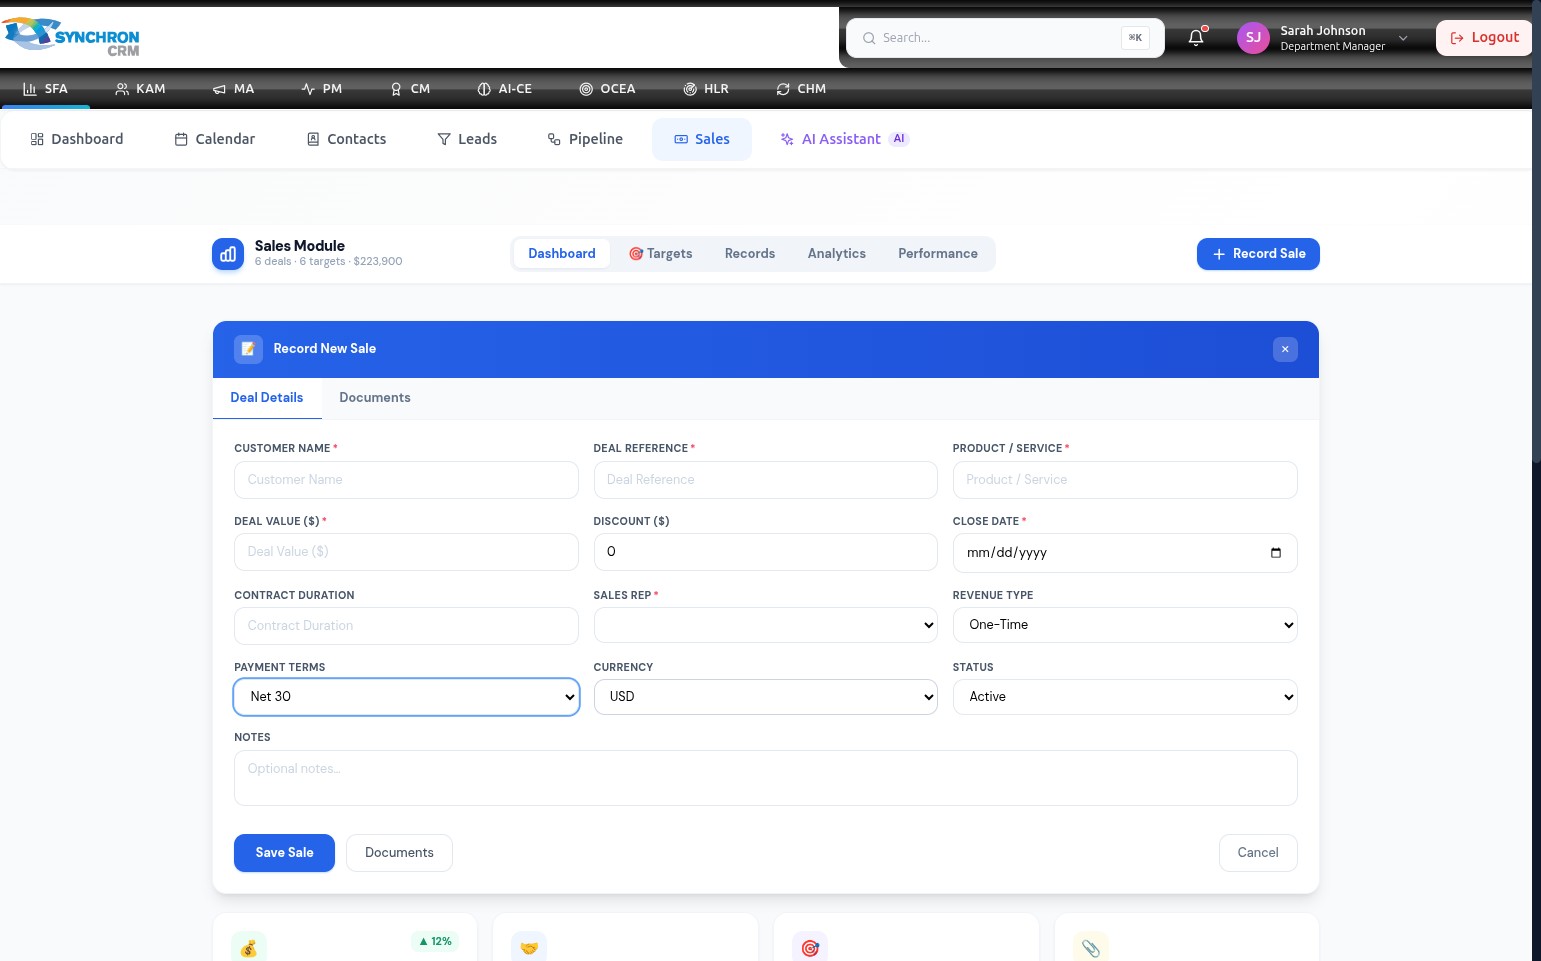
(Optional) In the Notes text area, enter any additional context for this sale — special conditions, customer requirements, or follow-up actions needed after the deal closes.
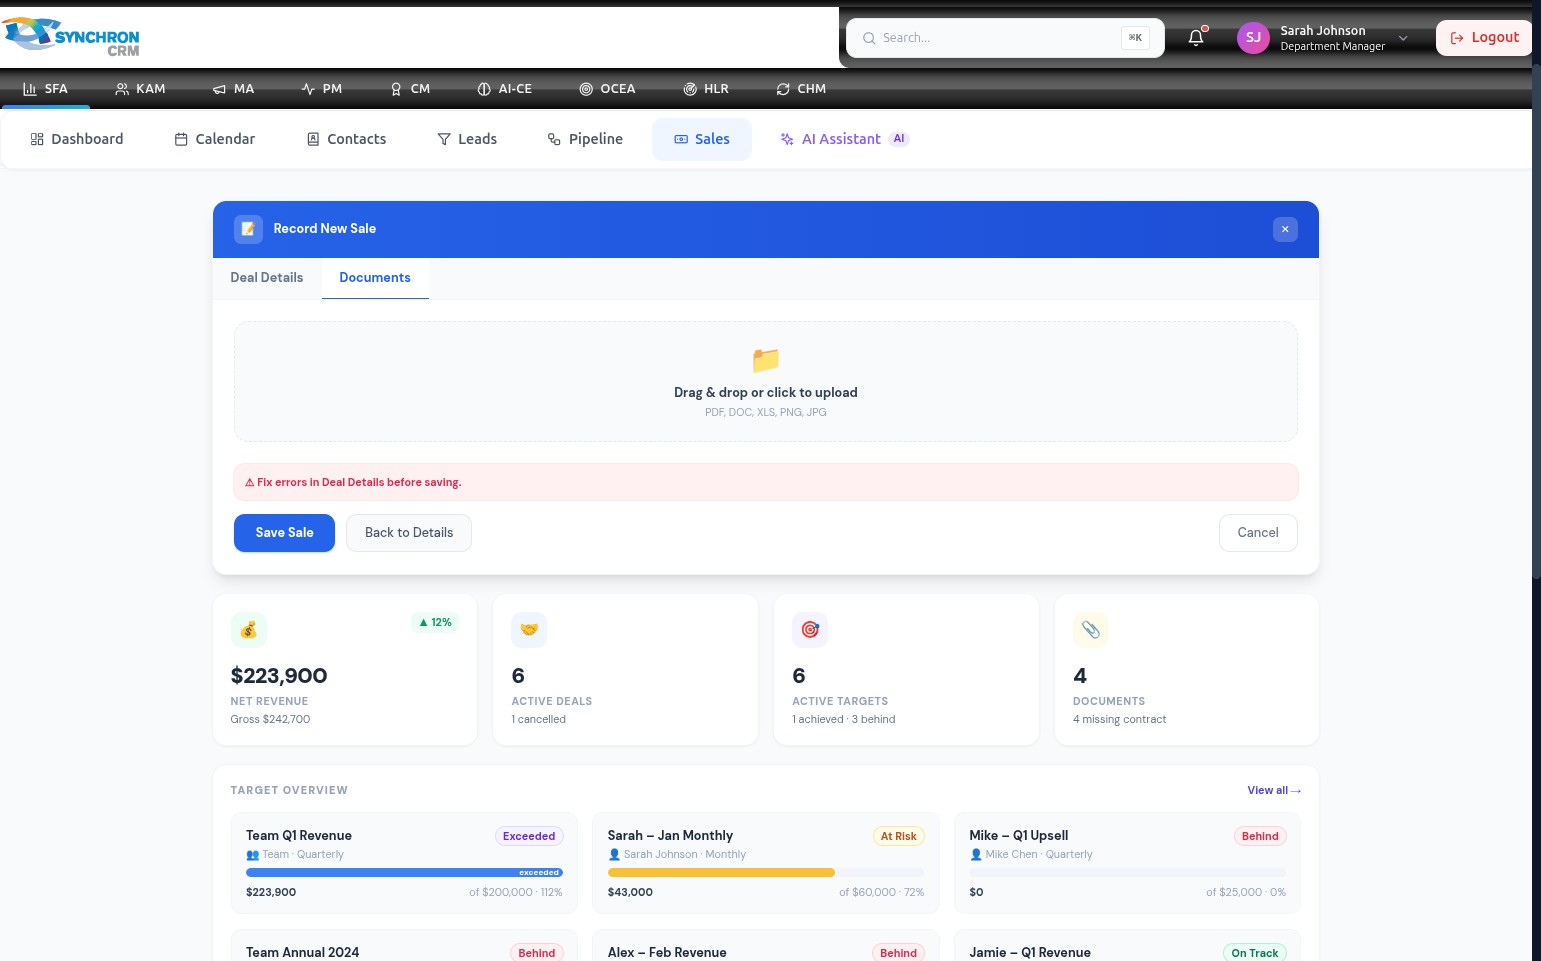
Step 10 — Attach documents (optional)
If supporting files need to be linked to this record, click the Documents tab at the top of the modal before saving.
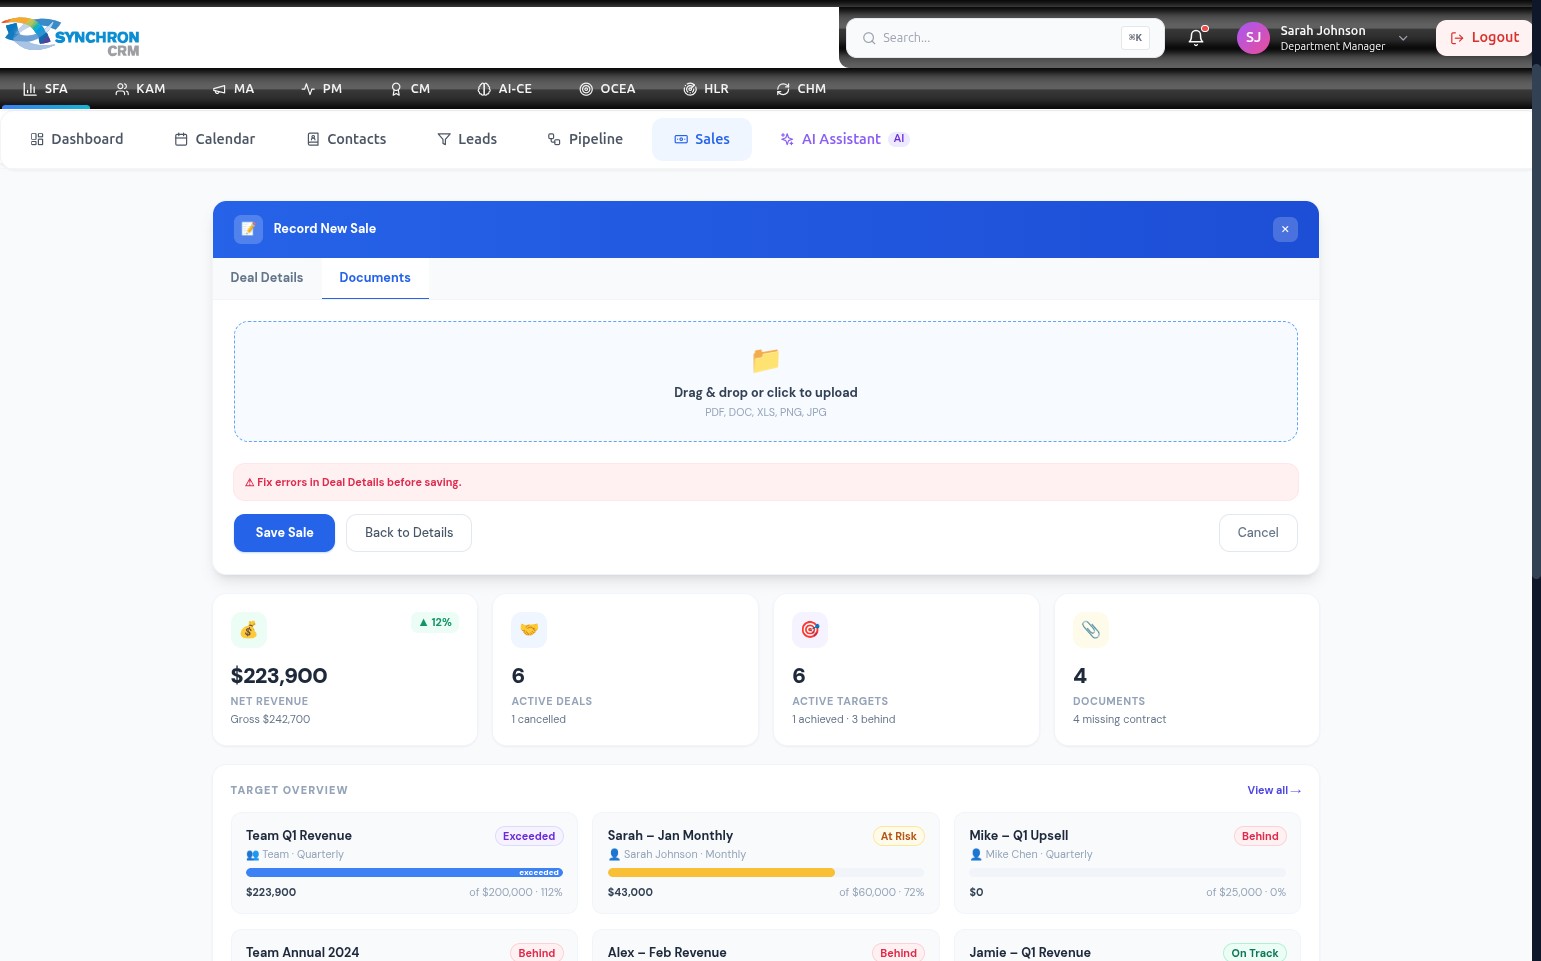
The Documents tab provides a file upload interface. Drag and drop files directly into the upload area, or click to browse your computer.
After uploading, the attached files appear listed in the Documents tab. You can upload multiple files. Click the Deal Details tab to return to the main form when finished.
Step 11 — Confirm currency and settings
Before saving, confirm the Currency, Revenue Type, and Payment Terms dropdowns reflect the correct settings for this deal.
Step 12 — Review the completed form
Scroll back to the top and review all required fields (marked with *) to confirm they are complete and accurate. No field should be empty or show a validation indicator.
Step 13 — Resolve validation errors (if any)
If you click Save Sale before completing all required fields, the system highlights the incomplete fields.
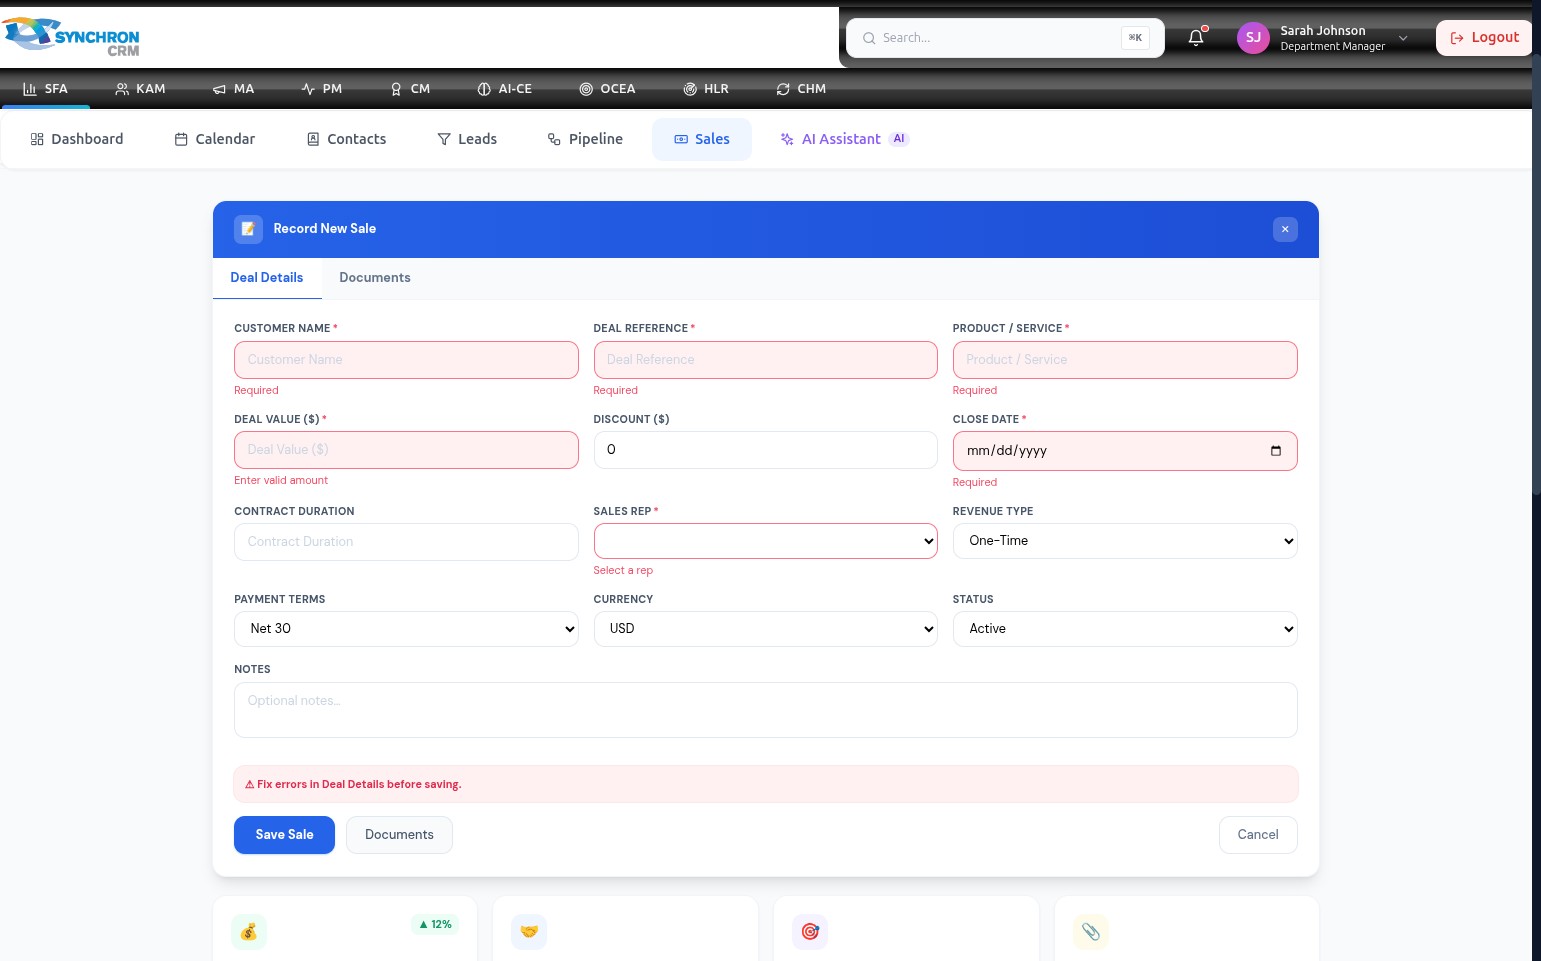
Red borders and error messages appear on each incomplete field. A banner at the top reads "Fix errors in Deal Details before saving." Fill in the highlighted fields and attempt to save again.
Step 14 — Save the record

Click the blue Save Sale button to commit the transaction to the system. The modal closes and the new record appears in the Sales → Records table.
To discard the entry without saving, click Cancel or the X icon in the top-right corner of the modal.
Required fields are indicated with a red asterisk (*). The sale record cannot be saved until all required fields — Customer Name, Deal Reference, Product/Service, Deal Value, Close Date, and Sales Rep — are complete.