Manage Contacts
Add new contacts, view full contact profiles, and update existing records including name, email, phone, company, status, assigned owner, and estimated value.
View a contact's profile
Click the eye icon in the Actions column for any contact in the Contacts list.
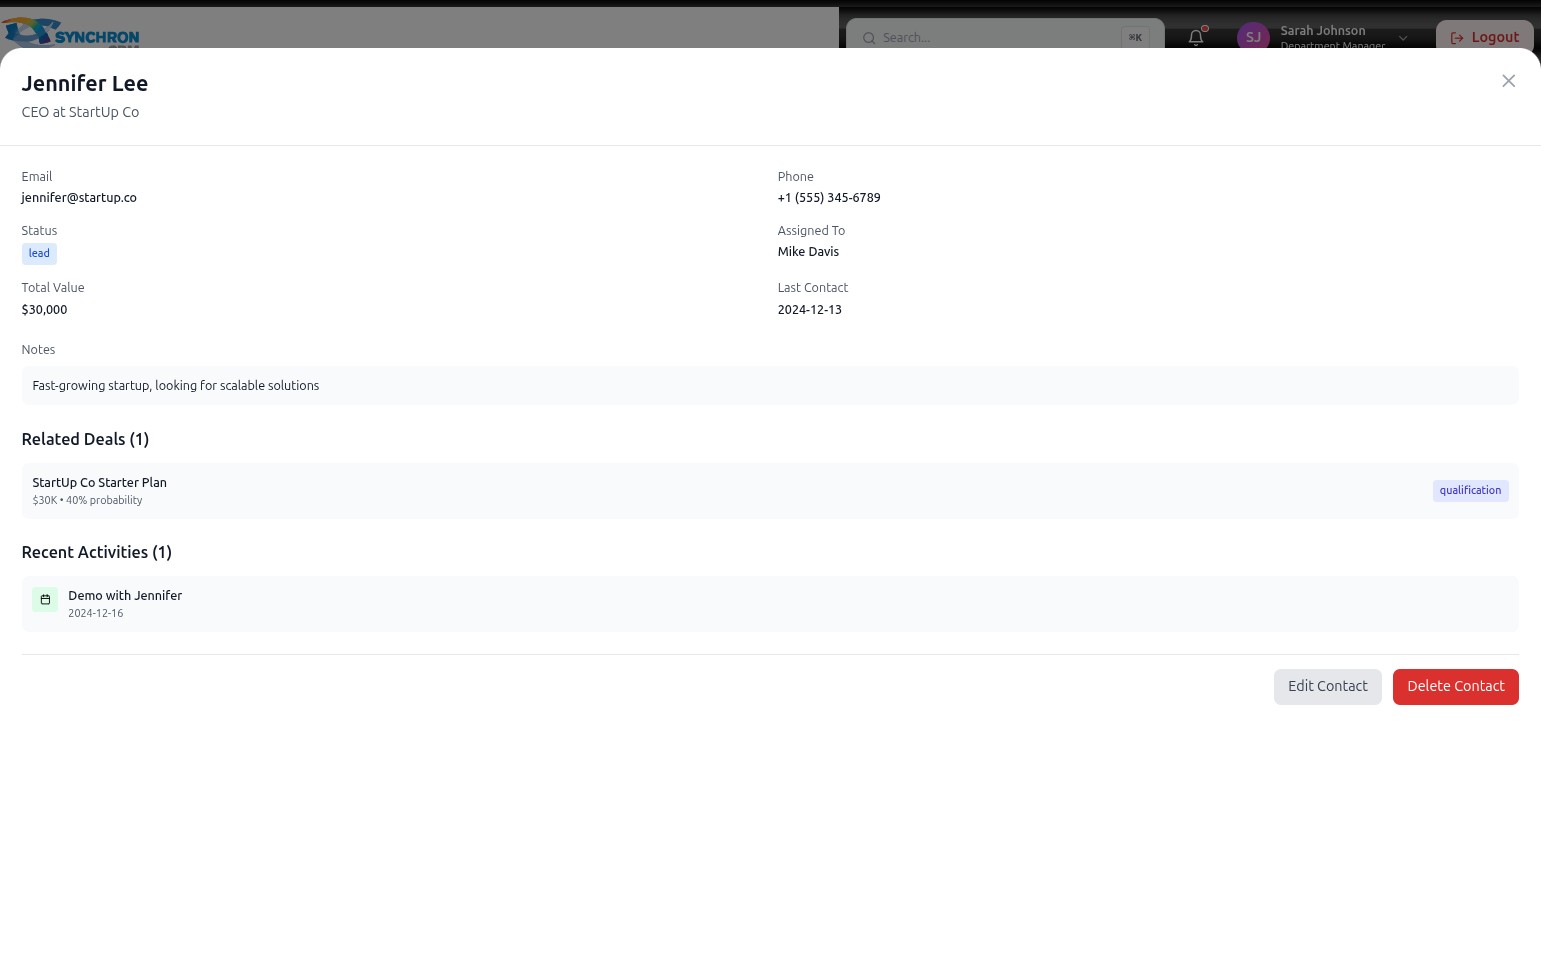
The Contact Details panel opens and shows:
- Header — contact name, job title, and company
- Contact info — email, phone, status badge, and assigned owner
- Total Value and Last Contact Date
- Notes — any saved context or background information
- Related Deals — linked sales opportunities showing deal name, value, and pipeline stage
- Recent Activities — the latest logged interactions (calls, meetings, demos)
Click Edit Contact at the bottom to update the record. Click Delete Contact to permanently remove it. Click the X icon to close the panel.
Add a new contact
- In the Contacts list, click the + Add Contact button in the top-right corner.
- Fill in the required fields (marked with *):
- Name* — full name
- Email* — email address
- Company* — organisation name
- Status* — current relationship status (Lead, Prospect, Customer)
- Assigned To* — the team member responsible for this contact
- Complete optional fields as needed: Phone, Position, Estimated Value ($), Last Contact Date, Notes.
- Click Create Contact to save.
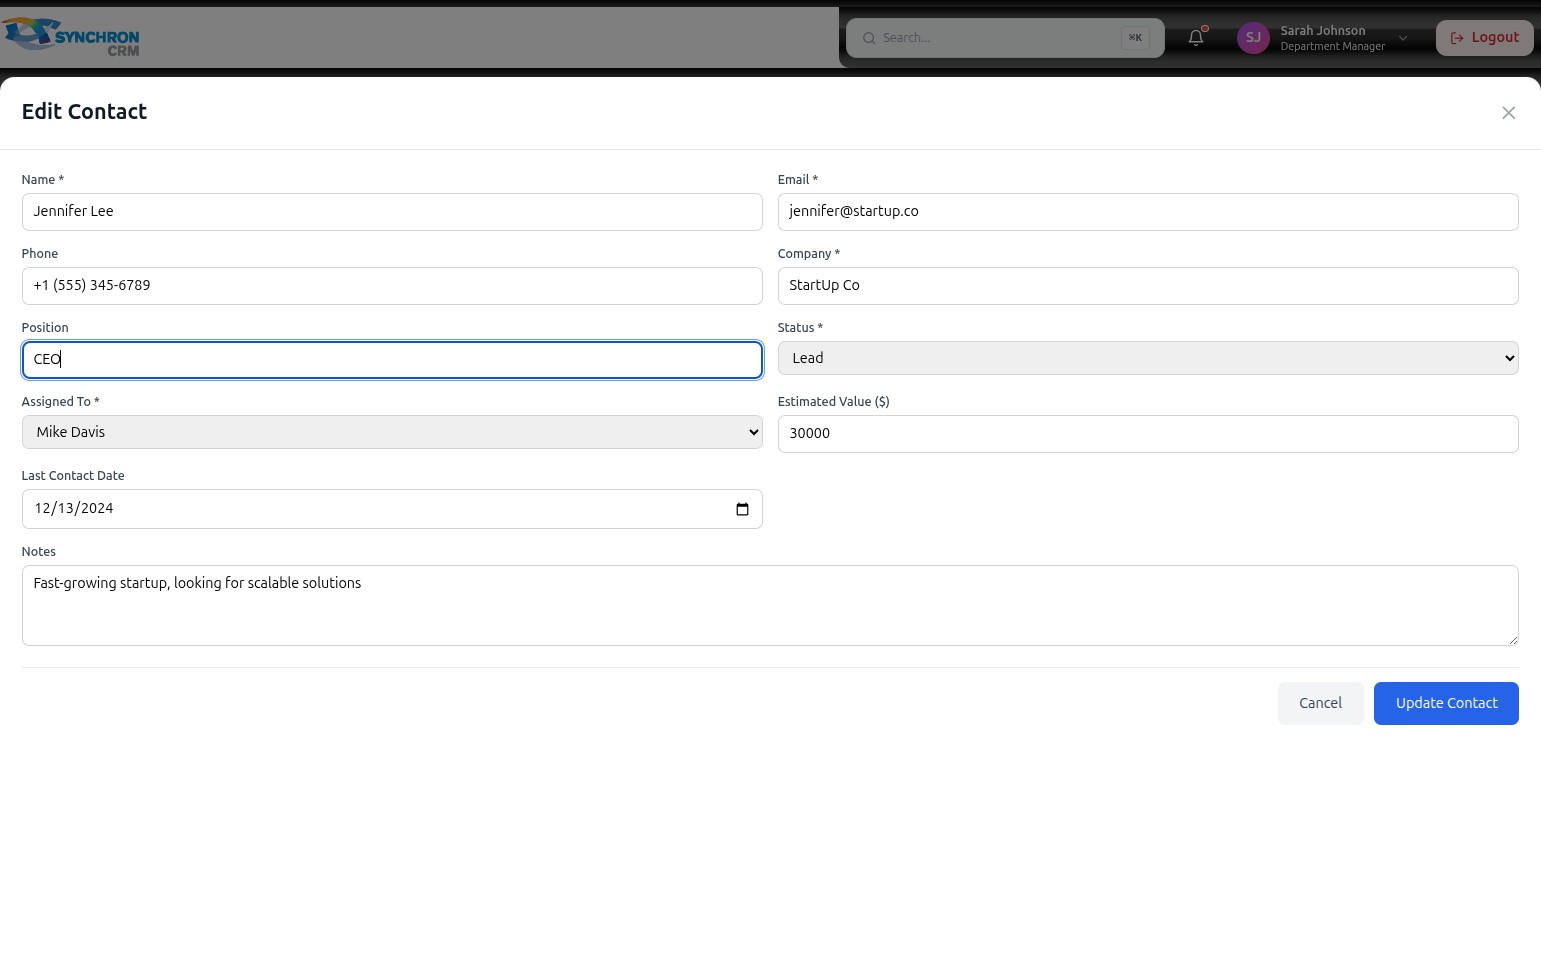
Edit an existing contact
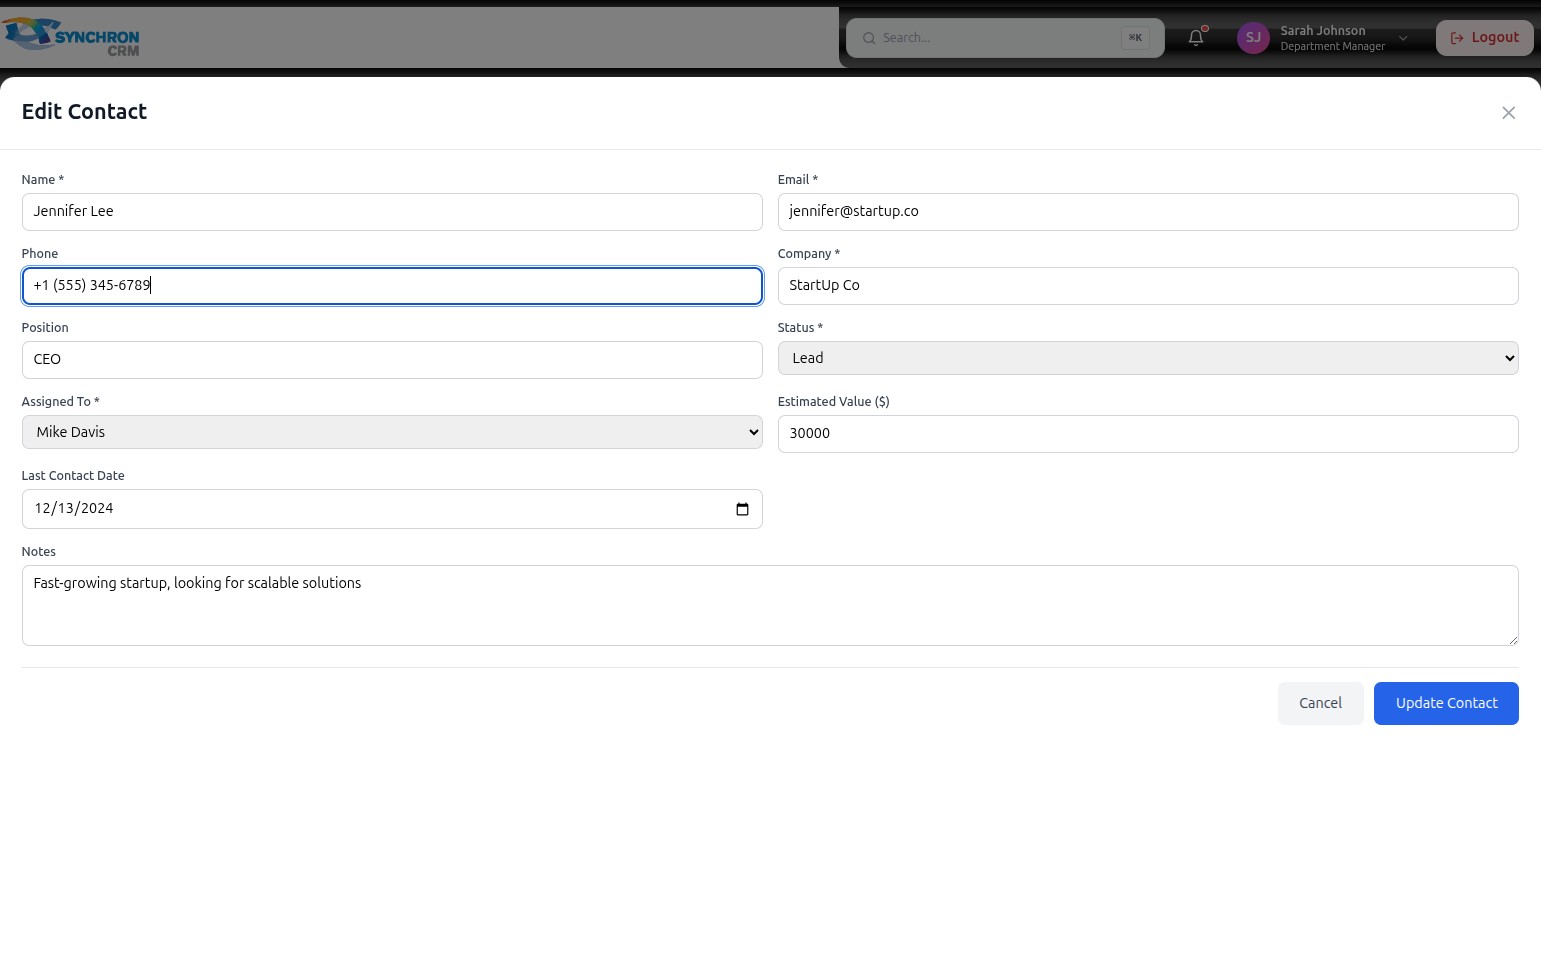
Click the pencil icon in the Actions column (or Edit Contact from the profile panel) to open the Edit Contact form.

The form is pre-populated with the contact's current information. Click into any field to update it.
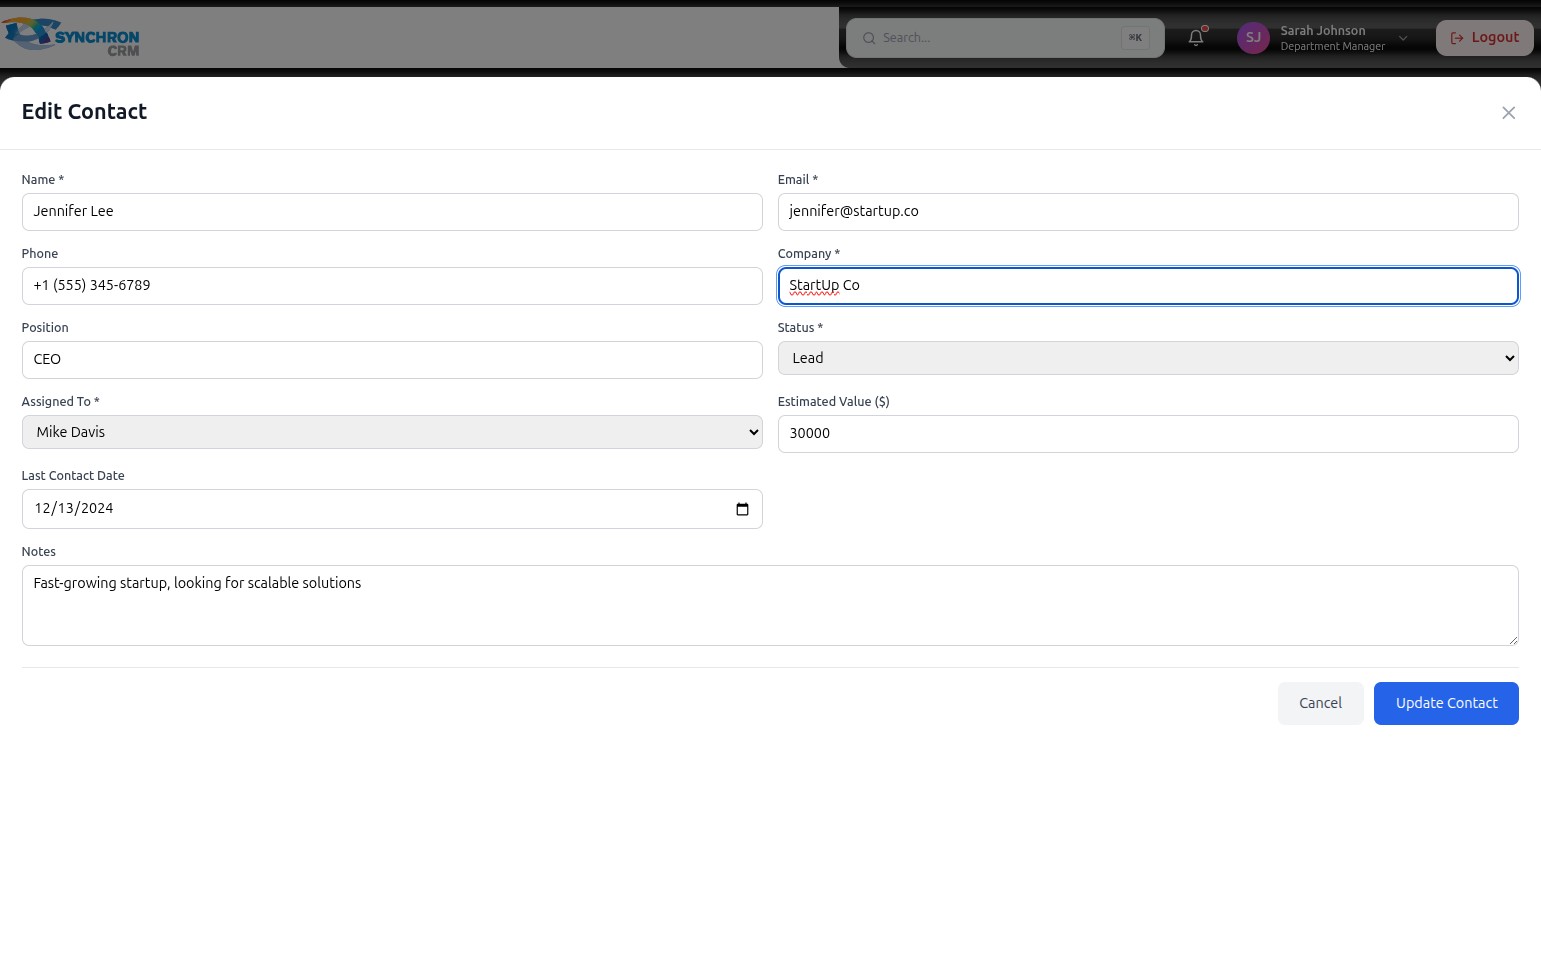
Step 1 — Update basic contact information
Modify any of the following text fields by clicking into them and typing the updated value:
- Name* — contact's full name (required)
- Email* — email address (required)
- Phone — phone number, include country code for international numbers
- Company* — organisation name (required)
- Position — job title or role at the organisation
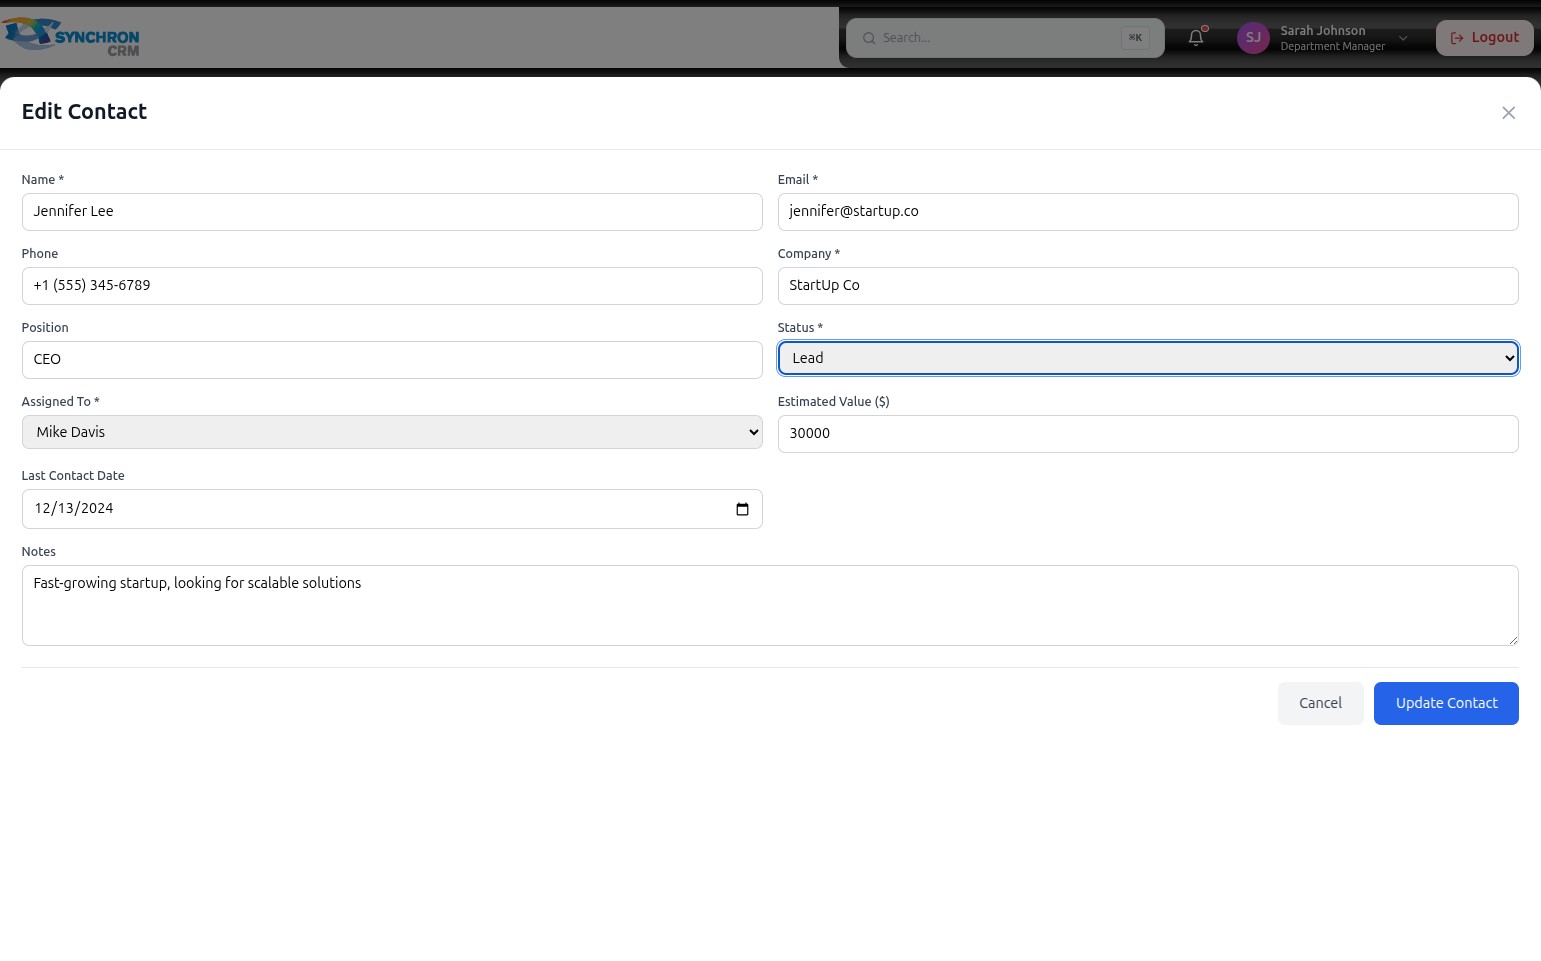
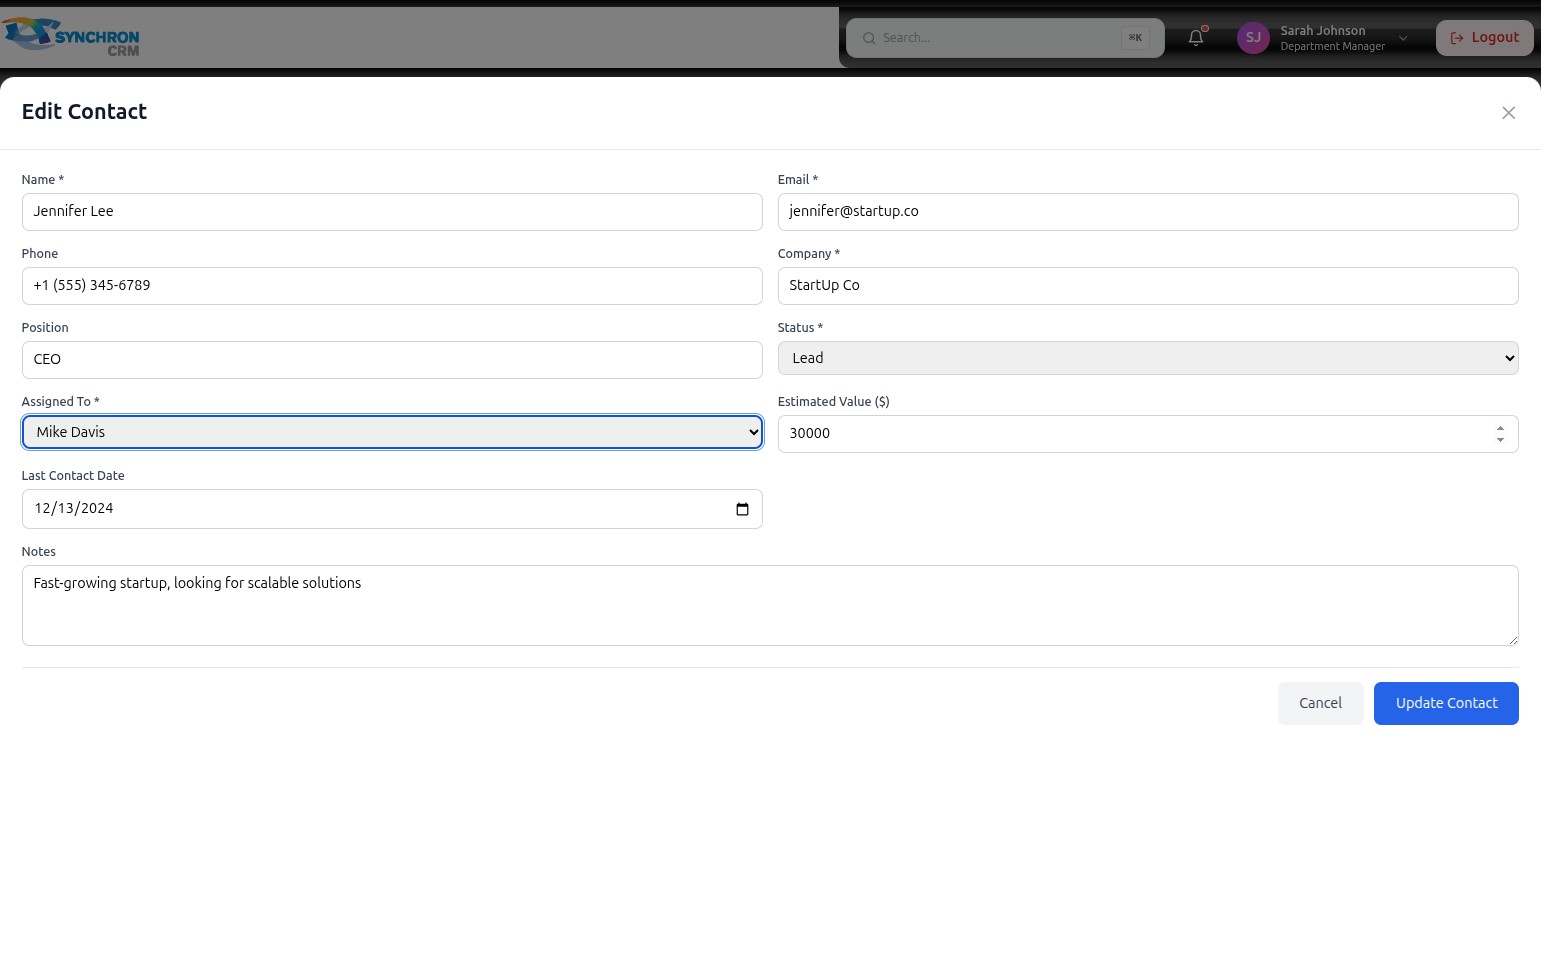
Step 2 — Update status and assignment
- Click the Status* dropdown and select the appropriate relationship stage:
- Lead — initial prospect, not yet engaged
- Prospect — actively evaluating the product or service
- Customer — existing paying customer
- Click the Assigned To* dropdown and select the team member responsible for managing this contact. This controls who receives notifications and is accountable for follow-up.
Step 3 — Update value and contact date
Update the following fields as the deal progresses:
| Field | Type | Notes |
|---|---|---|
| Name* | Text | Required |
| Email* | Required | |
| Phone | Text | Include country code for international numbers |
| Company* | Text | Required |
| Position | Text | Job title or role |
| Status* | Dropdown | Lead, Prospect, Customer — required |
| Assigned To* | Dropdown | Select from active team members — required |
| Estimated Value ($) | Number | Potential deal value in dollars |
| Last Contact Date | Date picker | Click the calendar icon or type MM/DD/YYYY |
| Notes | Text area | Any relevant context or interaction history |
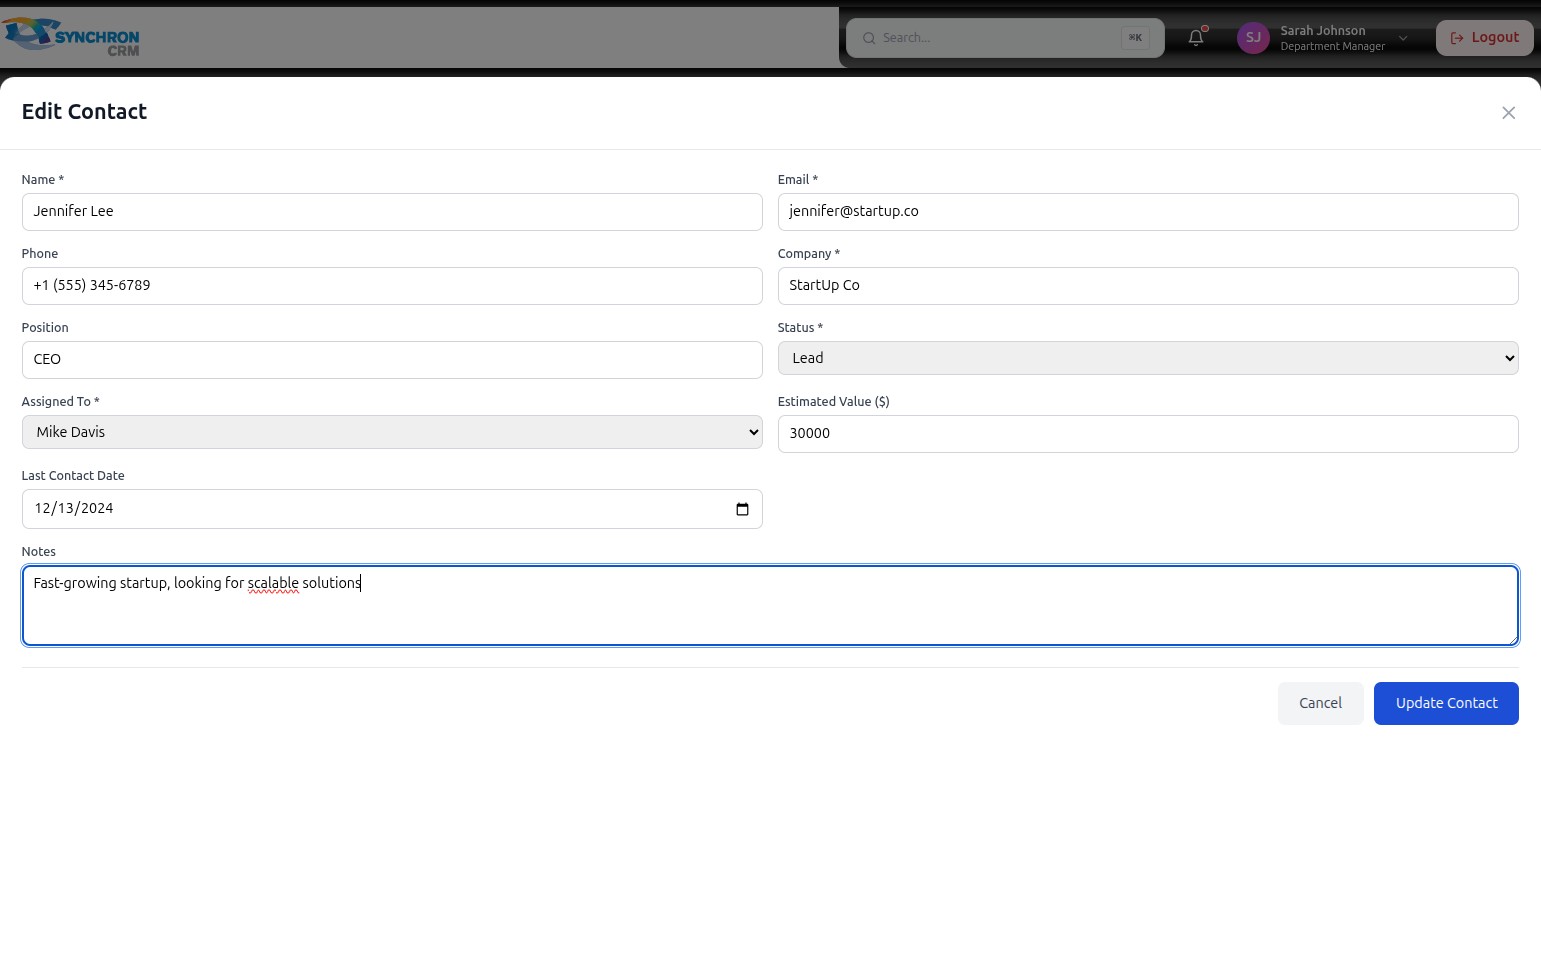
Step 4 — Update notes

Click into the Notes text area to add or update any relevant context — recent conversations, specific requirements, competitor information, or next steps agreed with the contact.
Step 5 — Review all required fields
Before saving, scroll through the form to confirm all required fields (marked with *) are filled in:
- Name, Email, Company, Status, and Assigned To must all contain values.
Step 6 — Save your changes
After making your changes, click the blue Update Contact button to save.
To discard changes without saving, click Cancel or the X icon in the top-right corner.
Required fields — Name, Email, Company, Status, and Assigned To — must all contain values before the contact can be saved or updated.