Create a Calendar Event
Schedule a new appointment or meeting by creating a calendar event with a title, date, time, category, and optional recurrence. Events appear immediately on the calendar in the relevant date cell or time slot.
Step 1 — Open the new event dialog
From anywhere in the Calendar module, click the blue + New Event button in the bottom-right corner of the screen.
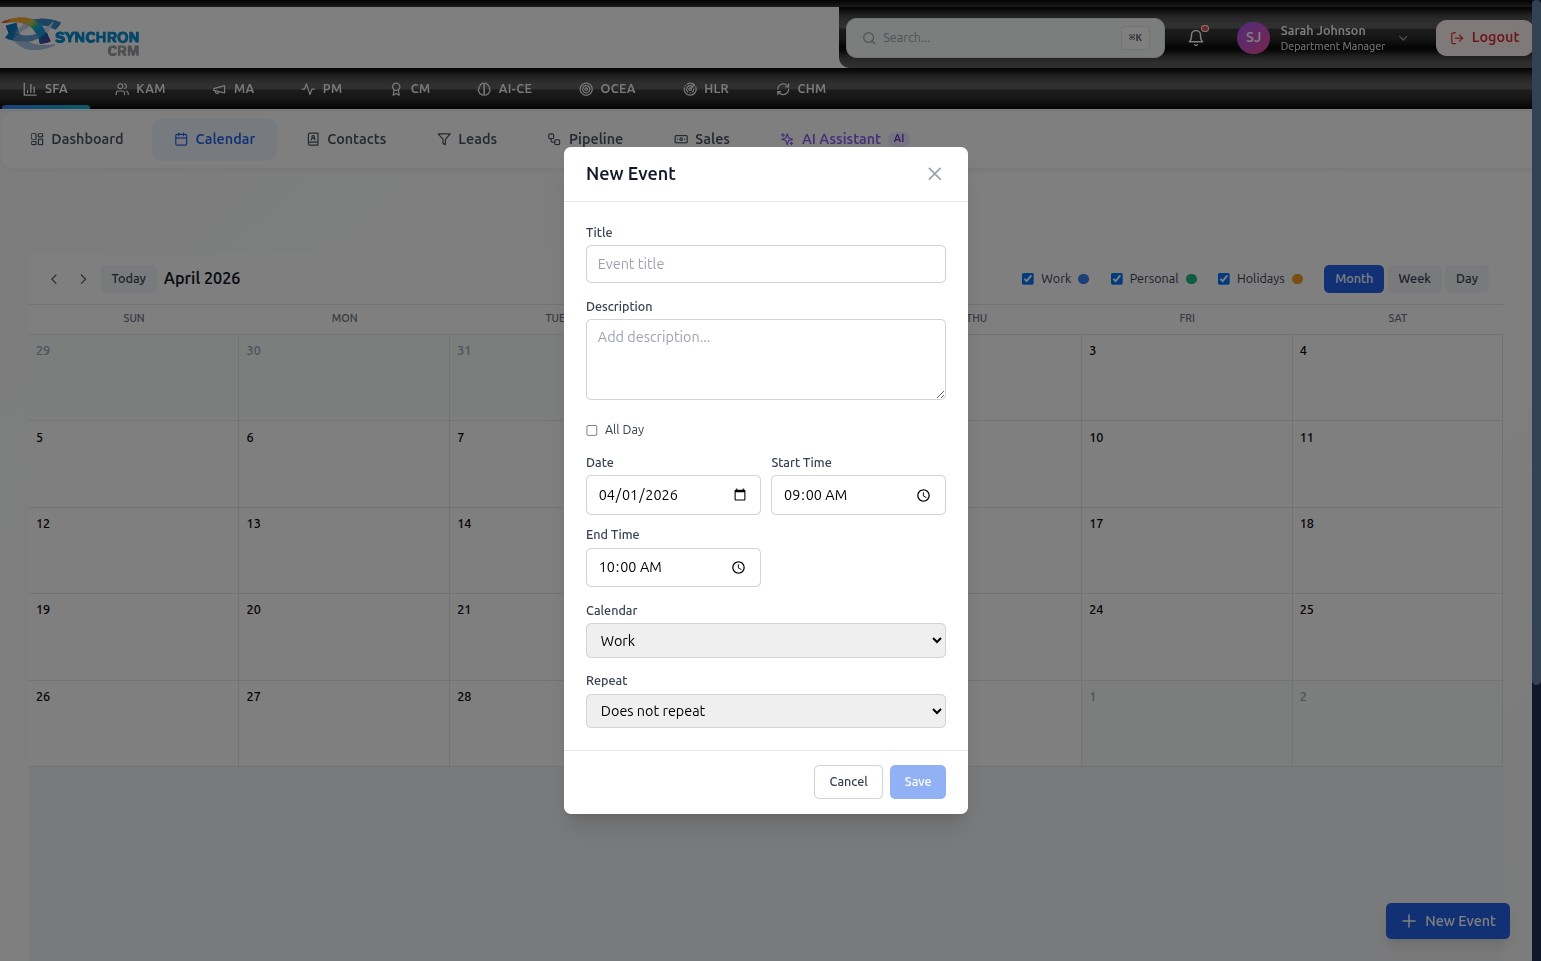
The "New Event" dialog appears on top of the calendar.
Step 2 — Enter the event title and description
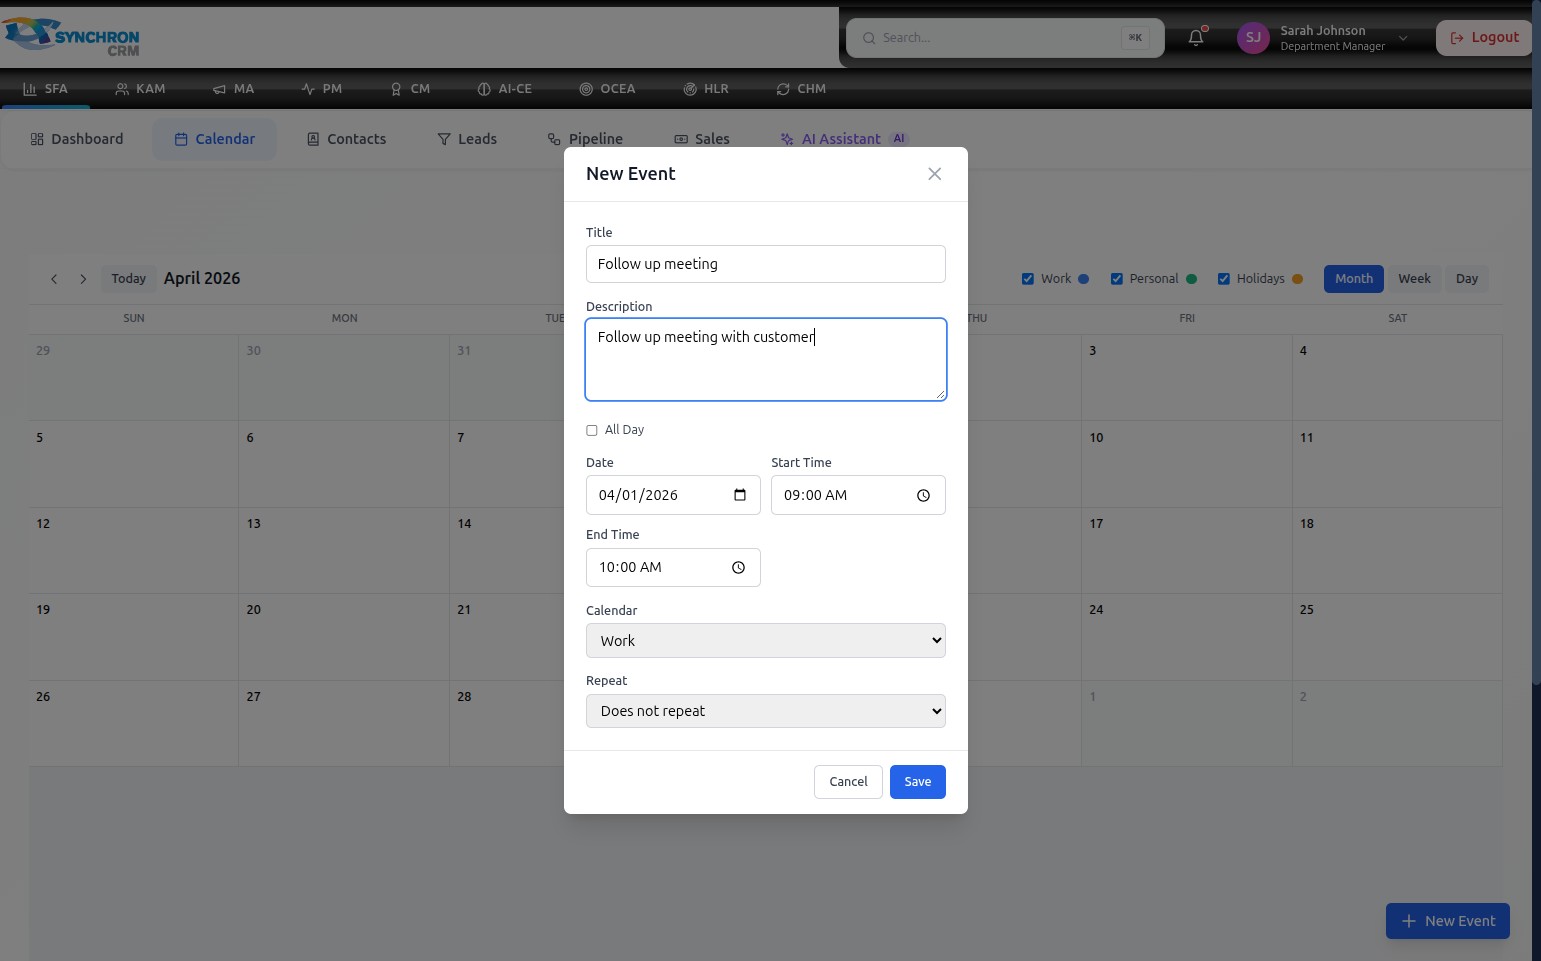
- In the Title field, type a short, descriptive name for the event (e.g., "Follow up meeting", "Client Call", "Team Stand-up").
- (Optional) In the Description field, add any additional details — meeting agenda, attendees, or dial-in information.
Step 3 — Set the date and time
- Click the Date field and select the event date from the calendar picker, or type directly in MM/DD/YYYY format.
- If the event lasts the entire day, check the All Day checkbox. This hides the Start Time and End Time fields.
- If it is a timed event:
- Set the Start Time using the time picker (e.g., 09:00 AM).
- Set the End Time (e.g., 10:00 AM). The default duration is one hour.
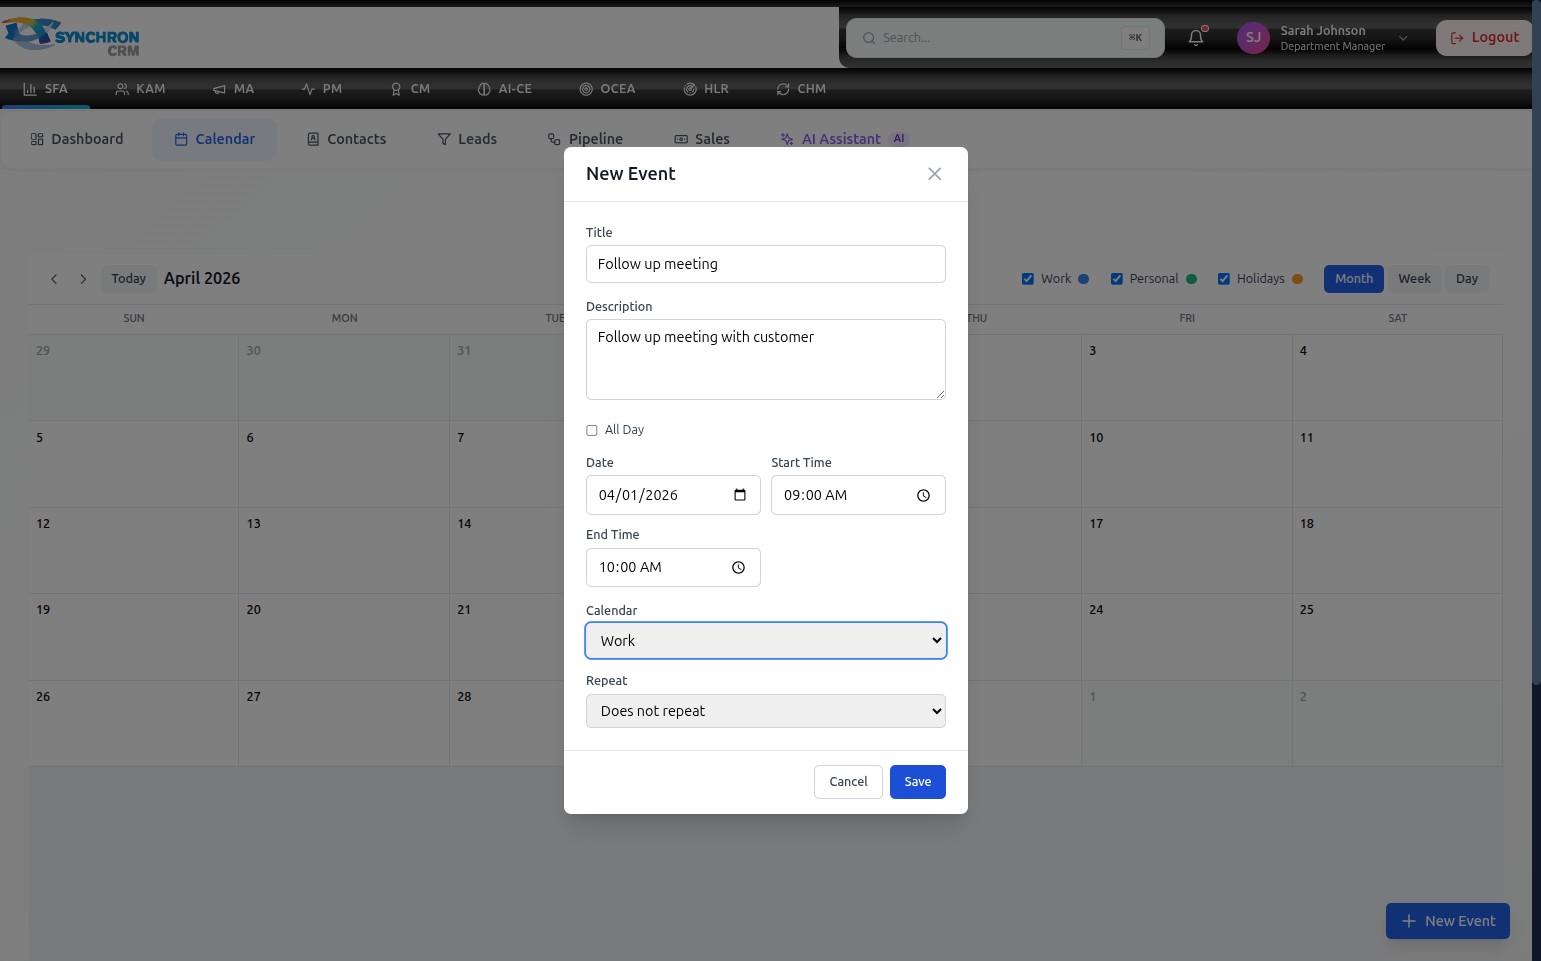
Step 4 — Configure category and recurrence

- In the Calendar dropdown, select the event category:
- Work — work-related meetings and tasks
- Personal — personal appointments
- Holidays — public or company holidays
- In the Repeat dropdown, choose how often the event recurs. Leave it as "Does not repeat" for a one-time event. Select a recurrence pattern (Daily, Weekly, Monthly, etc.) for recurring appointments.
Step 5 — Create events for different purposes
The New Event dialog works the same way regardless of the event type. Here is an example of creating a "Call with customer" appointment:
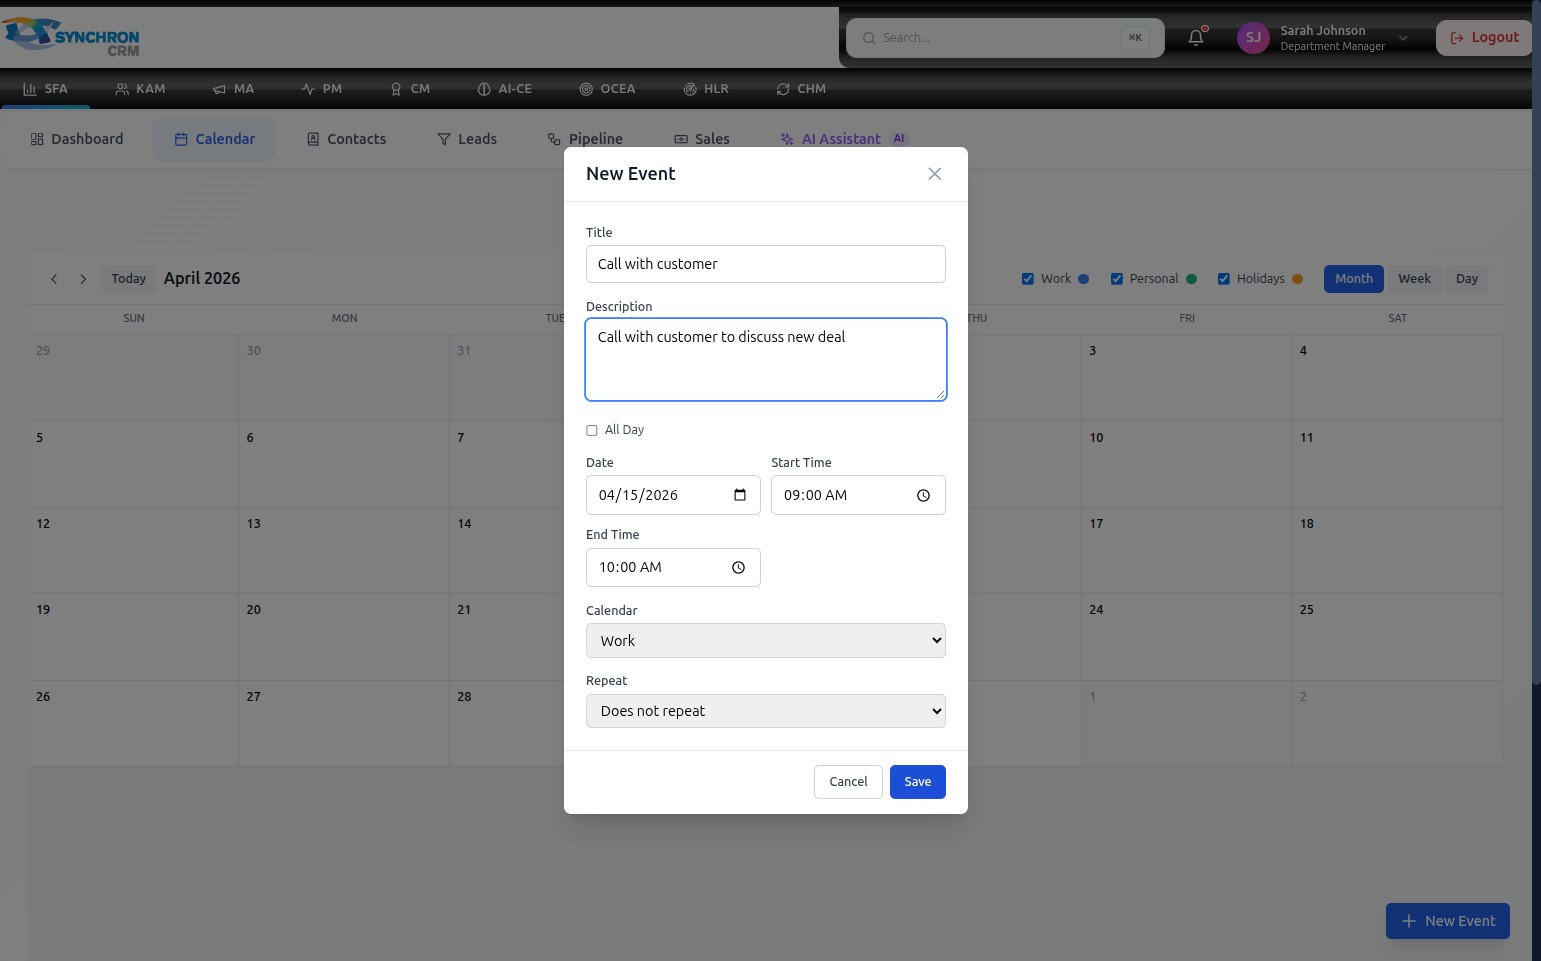
The completed form shows all required fields filled in. The event will appear on April 15 in both the month cell and as a block in the 09:00 time slot in Week and Day views.
Step 6 — Edit an existing event
To modify a previously created event, click on its entry in the calendar. The event editor opens pre-filled with the current details:
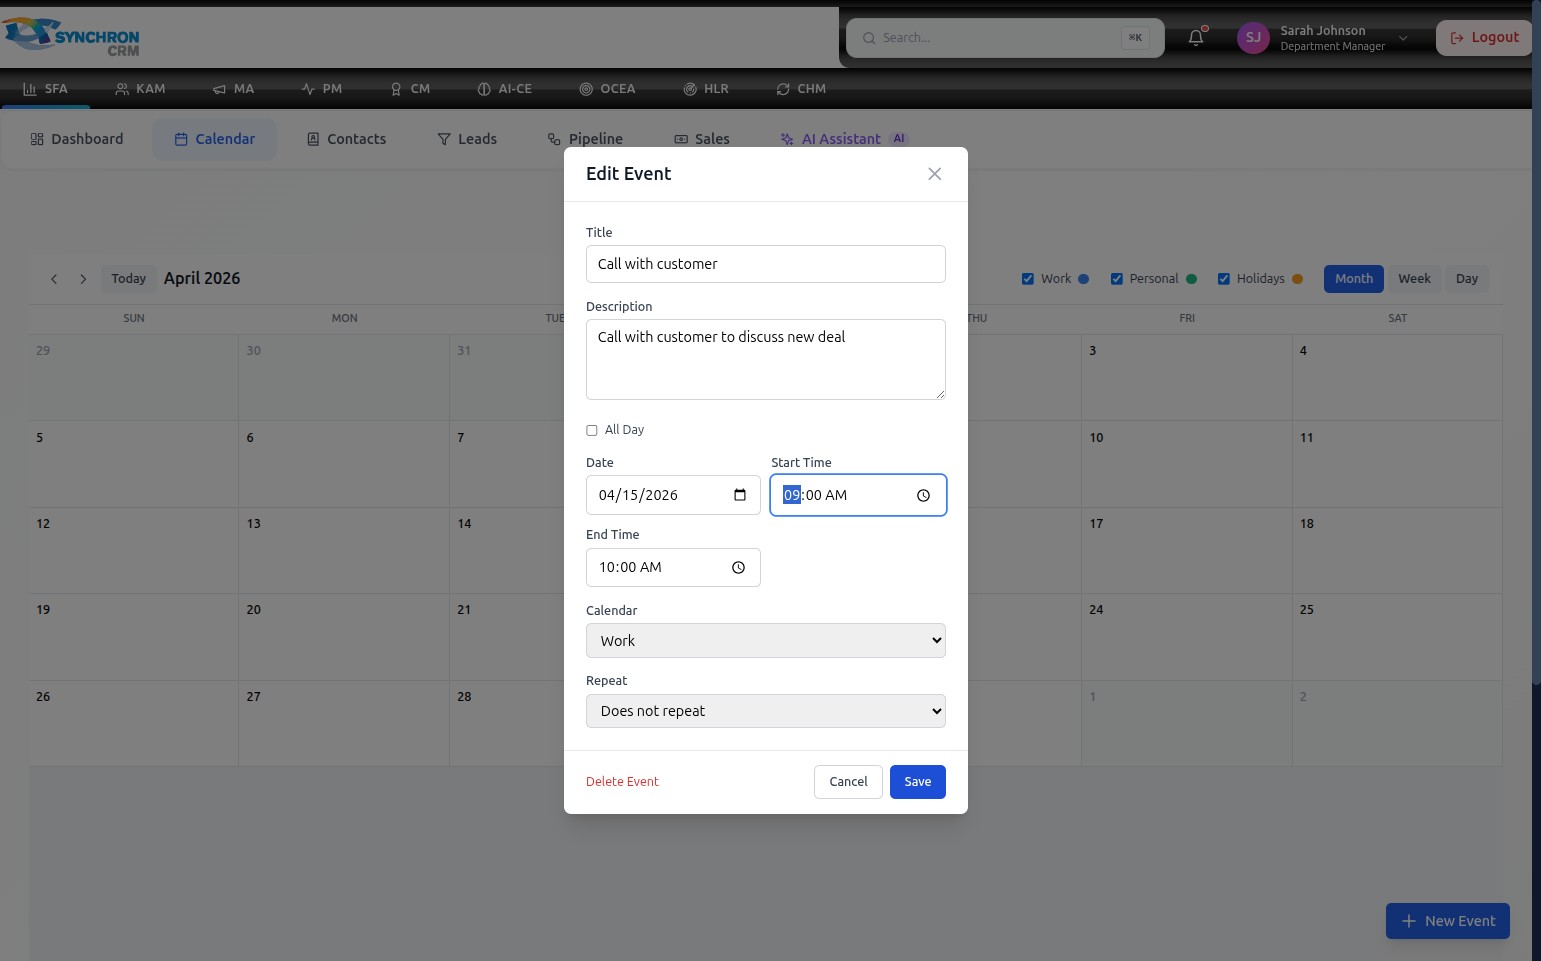
Update any field — title, date, time, category, or recurrence — and click Save to apply the changes. Click Cancel to close without modifying the event.
Step 7 — Save the event
Click the blue Save button at the bottom-right of the dialog to add the event to your calendar.
To discard the event without saving, click Cancel or the X icon in the top-right corner of the dialog.
Once saved, the event appears immediately in the calendar. In Month view it shows in the relevant day cell; in Week or Day view it appears as a colored block in the correct time slot.
If you need to schedule the same meeting repeatedly (e.g., every Monday), set the Repeat dropdown to your preferred cadence instead of creating individual events each time.